
1. නිෂ්පාදන අවසන්view
The QRD Wireless Controller (Model: US-T5-JB02) is a high-performance replacement controller designed for Nintendo Switch, Switch Pro, Lite, and OLED models. It features advanced technologies such as Hall Effect joysticks for precise, drift-free control, dual vibration motors for immersive feedback, and a 6-axis gyroscope for accurate motion sensing. This controller also includes programmable back buttons and customizable LED backlighting, enhancing your gaming experience.
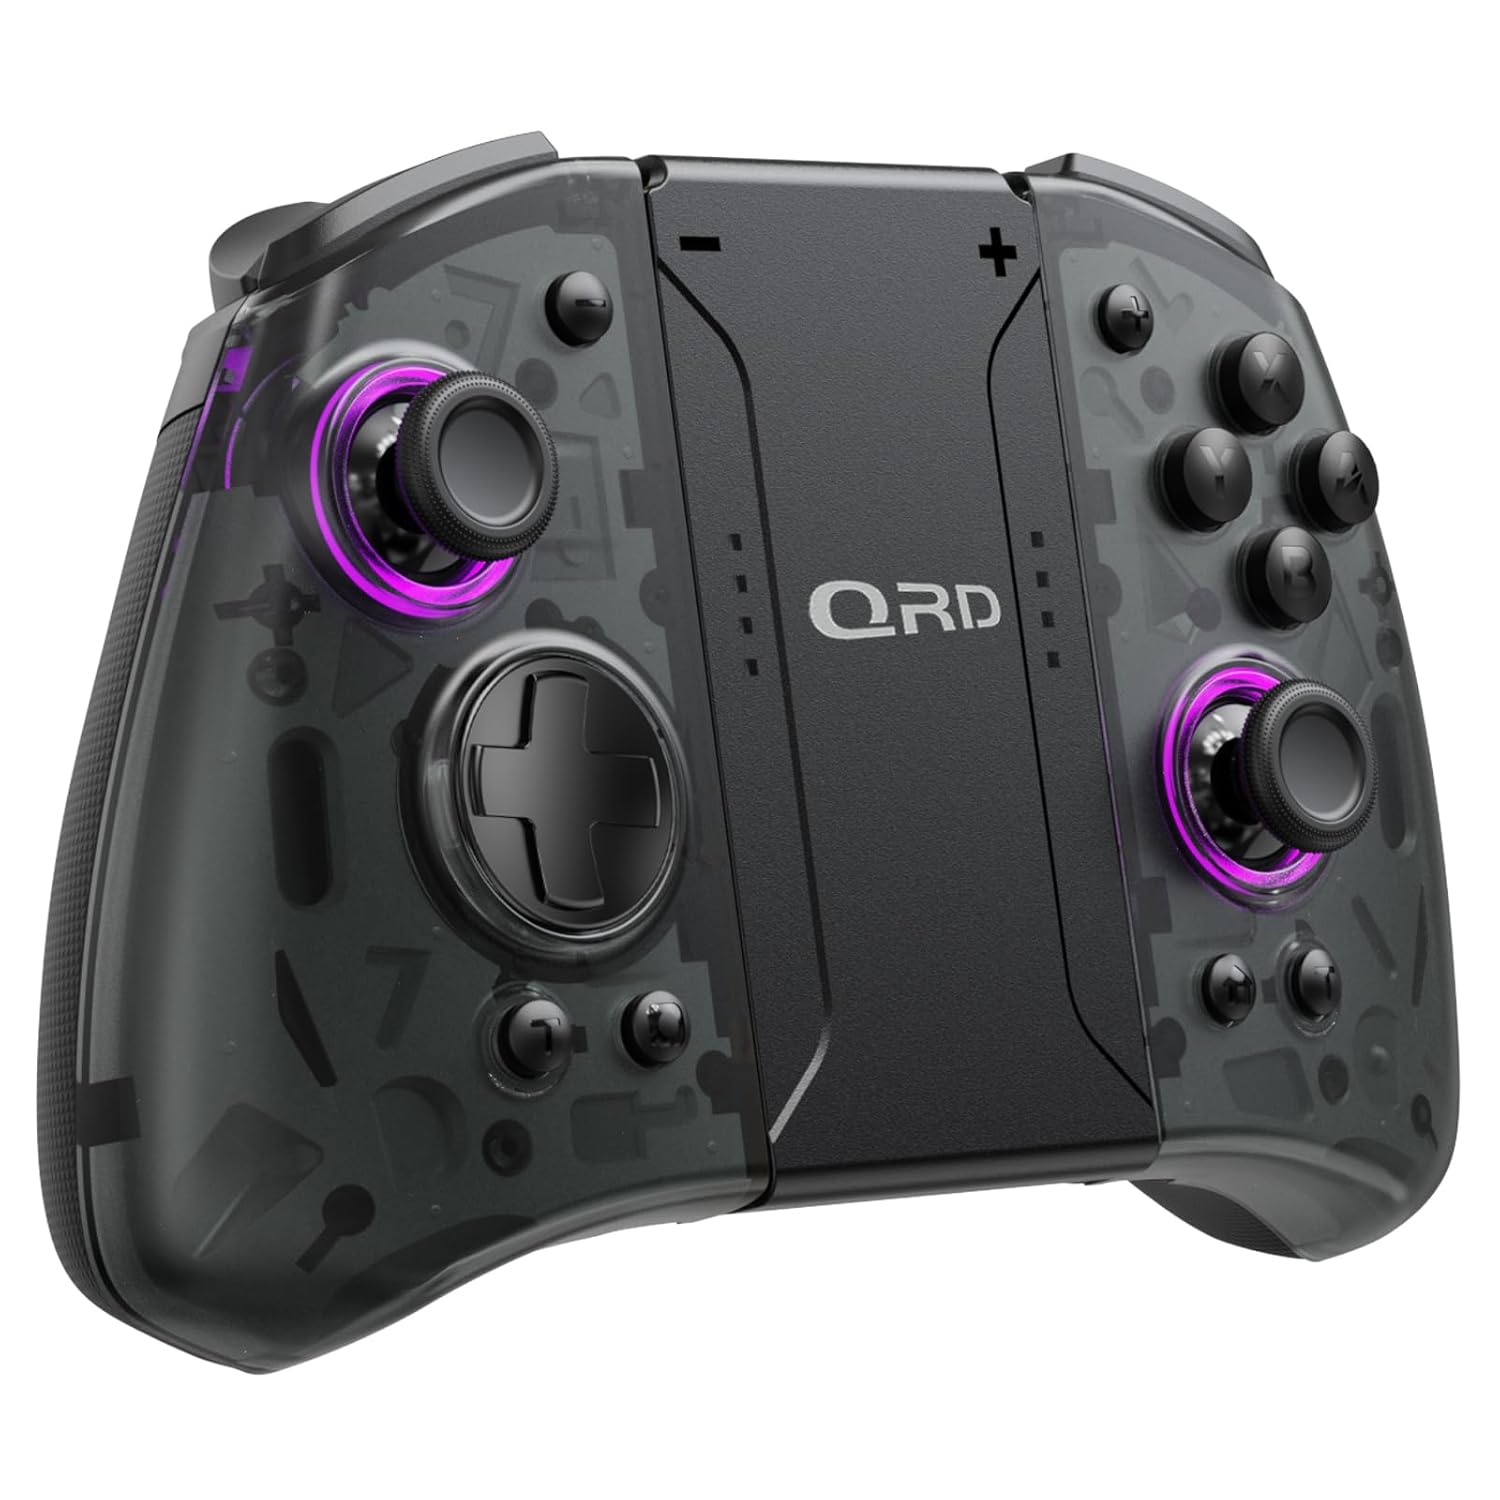
රූපය 1.1: ඉදිරිපස view of the QRD Wireless Controller, showcasing එහි ergonomic නිර්මාණය සහ බොත්තම් පිරිසැලසුම.
2 ප්රධාන ලක්ෂණ
- Wireless Bluetooth 5.3 Connectivity: Ensures stable, lag-free connection for seamless gameplay.
- හෝල් ප්රයෝග ජොයිස්ටික්ස්: Provides 360° precise, drift-free control and extended lifespan.
- ද්විත්ව කම්පන මෝටර: Offers 3 levels of adjustable vibration for enhanced tactile feedback.
- 6-අක්ෂ ගයිරොස්කෝප් චලන සංවේදනය: Enables accurate tilt detection for precise aiming and movement in compatible games.
- වැඩසටහන්ගත කළ හැකි පසුපස බොත්තම්: Customize controls with single or multiple mappings for efficient combo execution.
- ටර්බෝ ක්රියාකාරිත්වය: Allows for rapid firing of buttons.
- LED පසුබිම: Features 8 different colors with static, breathing, and flashing modes for personalized aesthetics.
- දිගු බැටරි ආයු කාලය: Up to 10 hours of uninterrupted gameplay on a single charge (2 hours charging time).
- Ergonomic Design: Comfortable grip for extended gaming sessions, includes a screenshot function.

Image 2.1: Diagram highlighting key features such as Bluetooth 5.3, Dual Vibration, 6-Axis Gyro, Turbo, Macro Back Paddles, and Colorful Options.

Image 2.2: Illustration demonstrating the Hall Effect Joysticks, emphasizing drift-free and accurate control.
3. පිහිටුවීම සහ සම්බන්ධ කිරීම
3.1 Initial Pairing with Nintendo Switch
- Ensure your Nintendo Switch console is powered on and updated to the latest system version.
- From the HOME Menu, select "Controllers" > "Change Grip/Order".
- On the QRD Wireless Controller, press and hold the මුල් පිටුව බොත්තම (usually located in the center) for 3-5 seconds until the LED indicators start flashing rapidly.
- Once the controller is successfully paired, the corresponding player LED(s) on the controller will light up solid.
- The controller can also be connected by sliding it into the Nintendo Switch Dock while the console is attached.
3.2 Reconnecting the Controller
To reconnect a previously paired controller, simply press the මුල් පිටුව බොත්තම once. The controller will automatically attempt to connect to the last paired console.
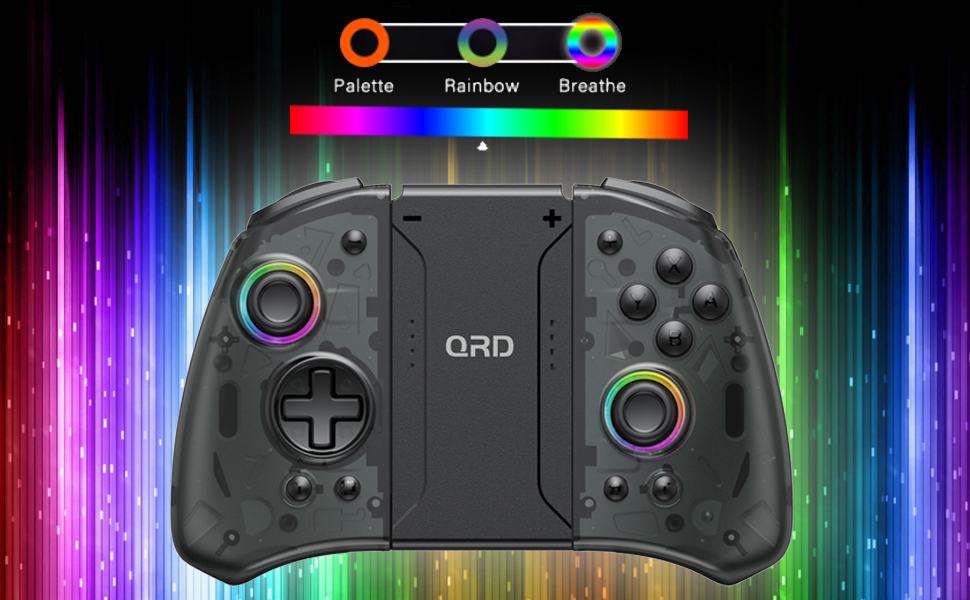
Image 3.1: Visual representation of controller compatibility with Nintendo Switch and Switch OLED models. Note: Not compatible with Switch Lite.
4. මෙහෙයුම් උපදෙස්
4.1 බොත්තම් පිරිසැලසුම
Familiarize yourself with the controller's button layout:
- වම් ජොයිස්ටික්: Movement control.
- දකුණු ජොයිස්ටික්: කැමරාව හෝ ඉලක්ක පාලනය.
- D-Pad: දිශානුගත ආදානය.
- A/B/X/Y බොත්තම්: ක්රියා බොත්තම්.
- L/R බොත්තම්: උරහිස් බොත්තම්.
- ZL/ZR බොත්තම්: ප්රේරක බොත්තම්.
- මුල් පිටුව බොත්තම: Returns to the HOME Menu, powers on/off the controller.
- තිර රුව බොත්තම: තිරපිටපත් ග්රහණය කරයි.
- +/- බොත්තම්: Plus and Minus buttons for in-game functions.
- M1/M2 (Back Buttons): Programmable macro buttons.
4.2 කම්පන තීව්රතාවය සකස් කිරීම
The controller supports 3 levels of vibration intensity. To adjust, press and hold the ටර්බෝ බොත්තම පසුව ඔබන්න D-Pad Up or D-Pad Down to cycle through intensity levels (Low, Medium, High, Off).
4.3 Turbo Function Setup
To set a button to Turbo mode:
- ඔබා අල්ලාගෙන සිටින්න ටර්බෝ බොත්තම.
- While holding Turbo, press the desired action button (e.g., A, B, X, Y, L, R, ZL, ZR). The button will now continuously register input when held down.
- To clear Turbo for a specific button, repeat the process. To clear all Turbo settings, press and hold the ටර්බෝ බොත්තම තත්පර 5 ක් සඳහා.
4.4 Programming Back Buttons (Macro)
The M1 and M2 back buttons can be programmed to execute a sequence of button presses (macro). Each macro can store up to 16 button presses.
- ඔබා අල්ලාගෙන සිටින්න M1 or M2 button you wish to program.
- While holding the M button, press the SET බොත්තම (refer to manual diagram for location, typically a small button on the back). The indicator light will flash slowly.
- Enter the desired sequence of button presses (e.g., A, B, X, Y, D-Pad directions).
- ඔබන්න SET බොත්තම again to save the macro. The indicator light will stop flashing.
- To clear a macro, press and hold the programmed M button and then press the SET බොත්තම දෙවරක්.
4.5 LED Backlight Adjustment
The controller features customizable RGB lighting. To cycle through modes and colors:
- ඔබන්න LED බොත්තම (refer to manual diagram for location) to change between static color, breathing, and flashing modes.
- In static mode, press the LED බොත්තම repeatedly to cycle through the 8 available colors.

Image 4.1: Display of the controller's LED backlight options, including Palette (static colors), Rainbow, and Breathe modes.
5. ආරෝපණය සහ බැටරි ආයු කාලය
The QRD Wireless Controller is equipped with a built-in rechargeable Lithium Polymer battery. A 2.5m USB-C cable is included for charging.
- Connect the USB-C end of the cable to the controller's charging port and the USB-A end to a power source (e.g., Nintendo Switch Dock, USB wall adapter, computer USB port).
- සම්පූර්ණ ආරෝපණයක් සඳහා ආරෝපණය කිරීම ආසන්න වශයෙන් පැය 2 ක් ගතවේ.
- A full charge provides up to 10 hours of continuous gameplay.
- The LED indicators on the controller will show charging status and battery level.
6. නඩත්තු කිරීම
To ensure the longevity and optimal performance of your QRD Wireless Controller, follow these maintenance guidelines:
- පිරිසිදු කිරීම: පාලකය පිස දැමීමට මෘදු වියළි රෙද්දක් භාවිතා කරන්න. මුරණ්ඩු අපිරිසිදුකම සඳහා, තරමක් dampරෙදි කැබැල්ල වතුරෙන් පුරවන්න. සැර රසායනික ද්රව්ය, ද්රාවක හෝ උල්ෙල්ඛ පිරිසිදුකාරක භාවිතා කිරීමෙන් වළකින්න.
- ගබඩා: පාලකය සෘජු හිරු එළිය, අධික උෂ්ණත්වයන් සහ අධික ආර්ද්රතාවයෙන් ඈත්ව සිසිල් වියළි ස්ථානයක ගබඩා කරන්න.
- හැසිරවීම: Avoid dropping the controller or subjecting it to strong impacts. Do not disassemble the controller, as this may void the warranty and cause damage.
- අයකිරීම: Do not leave the controller charging for excessively long periods after it is fully charged.
7. දෝශ නිරාකරණය
| ගැටලුව | විය හැකි හේතුව | විසඳුම |
|---|---|---|
| පාලකය සම්බන්ධ නොවේ. | Low battery; Not paired; Interference. | Charge the controller; Re-pair the controller following Section 3.1; Move closer to the console or away from other wireless devices. |
| Input lag or disconnection during gameplay. | Wireless interference; Distance from console; Low battery. | Ensure no strong wireless signals are nearby; Reduce distance to console; Charge the controller. |
| Joysticks drift or are unresponsive. | Calibration issue; Physical debris. | Go to Switch System Settings > Controllers and Sensors > Calibrate Control Sticks. Clean around the joystick base. |
| බොත්තම් ප්රතිචාර නොදක්වයි. | Stuck button; Software glitch. | Ensure buttons are not physically stuck. Try resetting the controller (if a reset button is present, otherwise power cycle). |
| කම්පනය ක්රියා නොකරයි. | Vibration setting off; Game does not support vibration. | Adjust vibration intensity (Section 4.2). Verify game compatibility. |
8. පිරිවිතර
| විශේෂාංගය | විස්තර |
|---|---|
| ආදර්ශ අංකය | US-T5-JB02 |
| සම්බන්ධතාවය | බ්ලූටූත් 5.3 |
| ගැළපුම | Nintendo Switch, Switch Pro, Switch OLED |
| ජොයිස්ටික් වර්ගය | ශාලාවේ බලපෑම |
| කම්පනය | Dual Motors, 3 adjustable levels |
| චලන පාලනය | 6-අක්ෂ ගයිරොස්කෝප් |
| වැඩසටහන්ගත කළ හැකි බොත්තම් | Yes (Back Buttons) |
| බැටරි වර්ගය | ලිතියම් පොලිමර් |
| ආරෝපණ කාලය | ආසන්න වශයෙන්. පැය 2 යි |
| සෙල්ලම් කාලය | පැය 10 දක්වා |
| ආරෝපණ වරාය | USB-C |
| මානයන් | 7.95 x 5.51 x 2.36 අඟල් (ආසන්න වශයෙන්) |
| බර | අවුන්ස 12.35 (ආසන්න වශයෙන්) |
9. වගකීම් සහ සහාය
9.1 වගකීම් තොරතුරු
QRD products are manufactured with high-quality materials and undergo rigorous testing. This product comes with a standard manufacturer's warranty against defects in materials and workmanship. Please refer to the product packaging or the official QRD webනිශ්චිත වගකීම් නියමයන් සහ කාලසීමාව සඳහා අඩවිය.
9.2 පාරිභෝගික සහාය
For technical assistance, troubleshooting, or warranty claims, please contact QRD Customer Support. Have your product model number (US-T5-JB02) and purchase information ready when contacting support.
- මාර්ගගත සහාය: Visit the official QRD website for FAQs, updated manuals, and support contact forms.
- ඊමේල් සහාය: [Insert QRD Support Email Address Here - if available, otherwise omit]
- දුරකථන සහාය: [Insert QRD Support Phone Number Here - if available, otherwise omit]
We are committed to providing excellent customer service and ensuring your satisfaction with QRD products.