හැඳින්වීම
This instruction manual provides detailed guidance for the installation and maintenance of the Generic LED Backlight Strip Set, Model OUNUOMMCM-1SET. This product is designed as a replacement backlight solution for compatible 55-inch television models, offering high brightness, energy efficiency, and an extended operating life. Please read this manual thoroughly before proceeding with installation to ensure proper function and safety.
වැදගත් ආරක්ෂක තොරතුරු
අවවාදයයි: Installation of this product requires technical expertise and involves working with high voltage components. Improper installation can result in electric shock, fire, or damage to the television. If you are not comfortable performing this repair, seek assistance from a qualified technician.
- Always disconnect the television from the power outlet before beginning any repair work.
- Wear appropriate personal protective equipment, including anti-static gloves, to prevent electrostatic discharge (ESD) damage to sensitive electronic components.
- Handle LED strips carefully to avoid bending or damaging the LEDs and their connections.
- Ensure all connections are secure and correctly aligned before reassembling the television.
- Dispose of old components responsibly according to local regulations.
ගැළපුම
This LED backlight strip set is compatible with various 55-inch television models. Please verify your TV's model number against the list below to ensure compatibility. The length and LED configuration must match your original backlight strips.
දන්නා අනුකූල ආකෘති:
- UA55MU6990JXXZ
- UA55JU5920
- UE55MU6120
- UE55KU6000
- UN55MU6300G
- UN55KU6300G
- UN55MU6100G
- UN55MU6100F
- UE55MU6192U
- UE55JU6410
- UA55MU6310
- UA55KU6388 හඳුන්වා දීම
- UA55KU6500 හඳුන්වා දීම
- UE55JU6050
- UE55JU6672
Note: This list is not exhaustive. Always compare the physical dimensions and connector types with your original strips before installation.
පැකේජයේ අන්තර්ගතය
පැකේජය විවෘත කිරීමෙන් පසු, සියලුම සංරචක පවතින බවත් හානි වී නොමැති බවත් තහවුරු කර ගන්න:
- 1 set of LED Backlight Strips (12 pieces total: 6 'R' strips and 6 'L' strips)
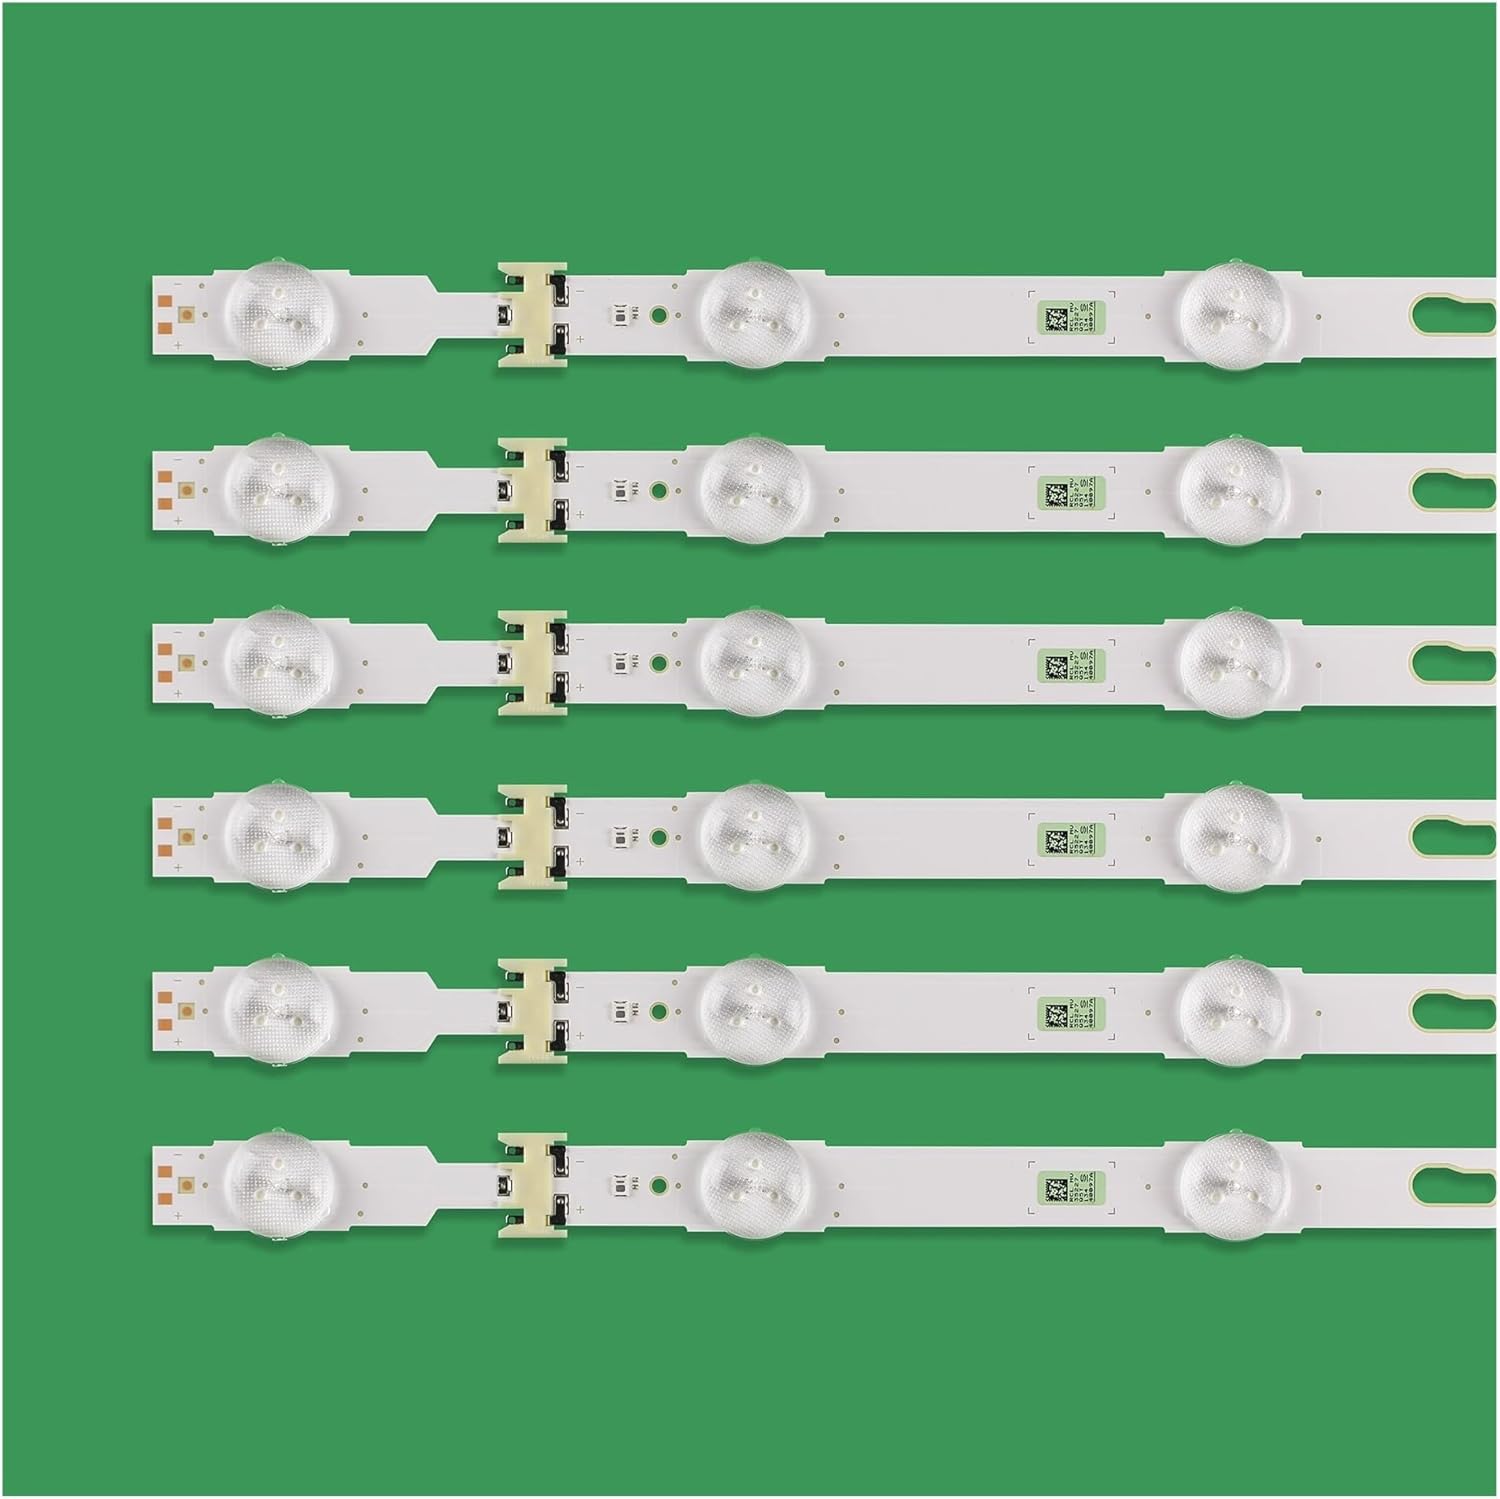
Image: Six 'R' type LED backlight strips, each with multiple LED lenses visible on the front surface.

Image: Six 'L' type LED backlight strips, showing the reverse side of the circuit board with connection points and markings.
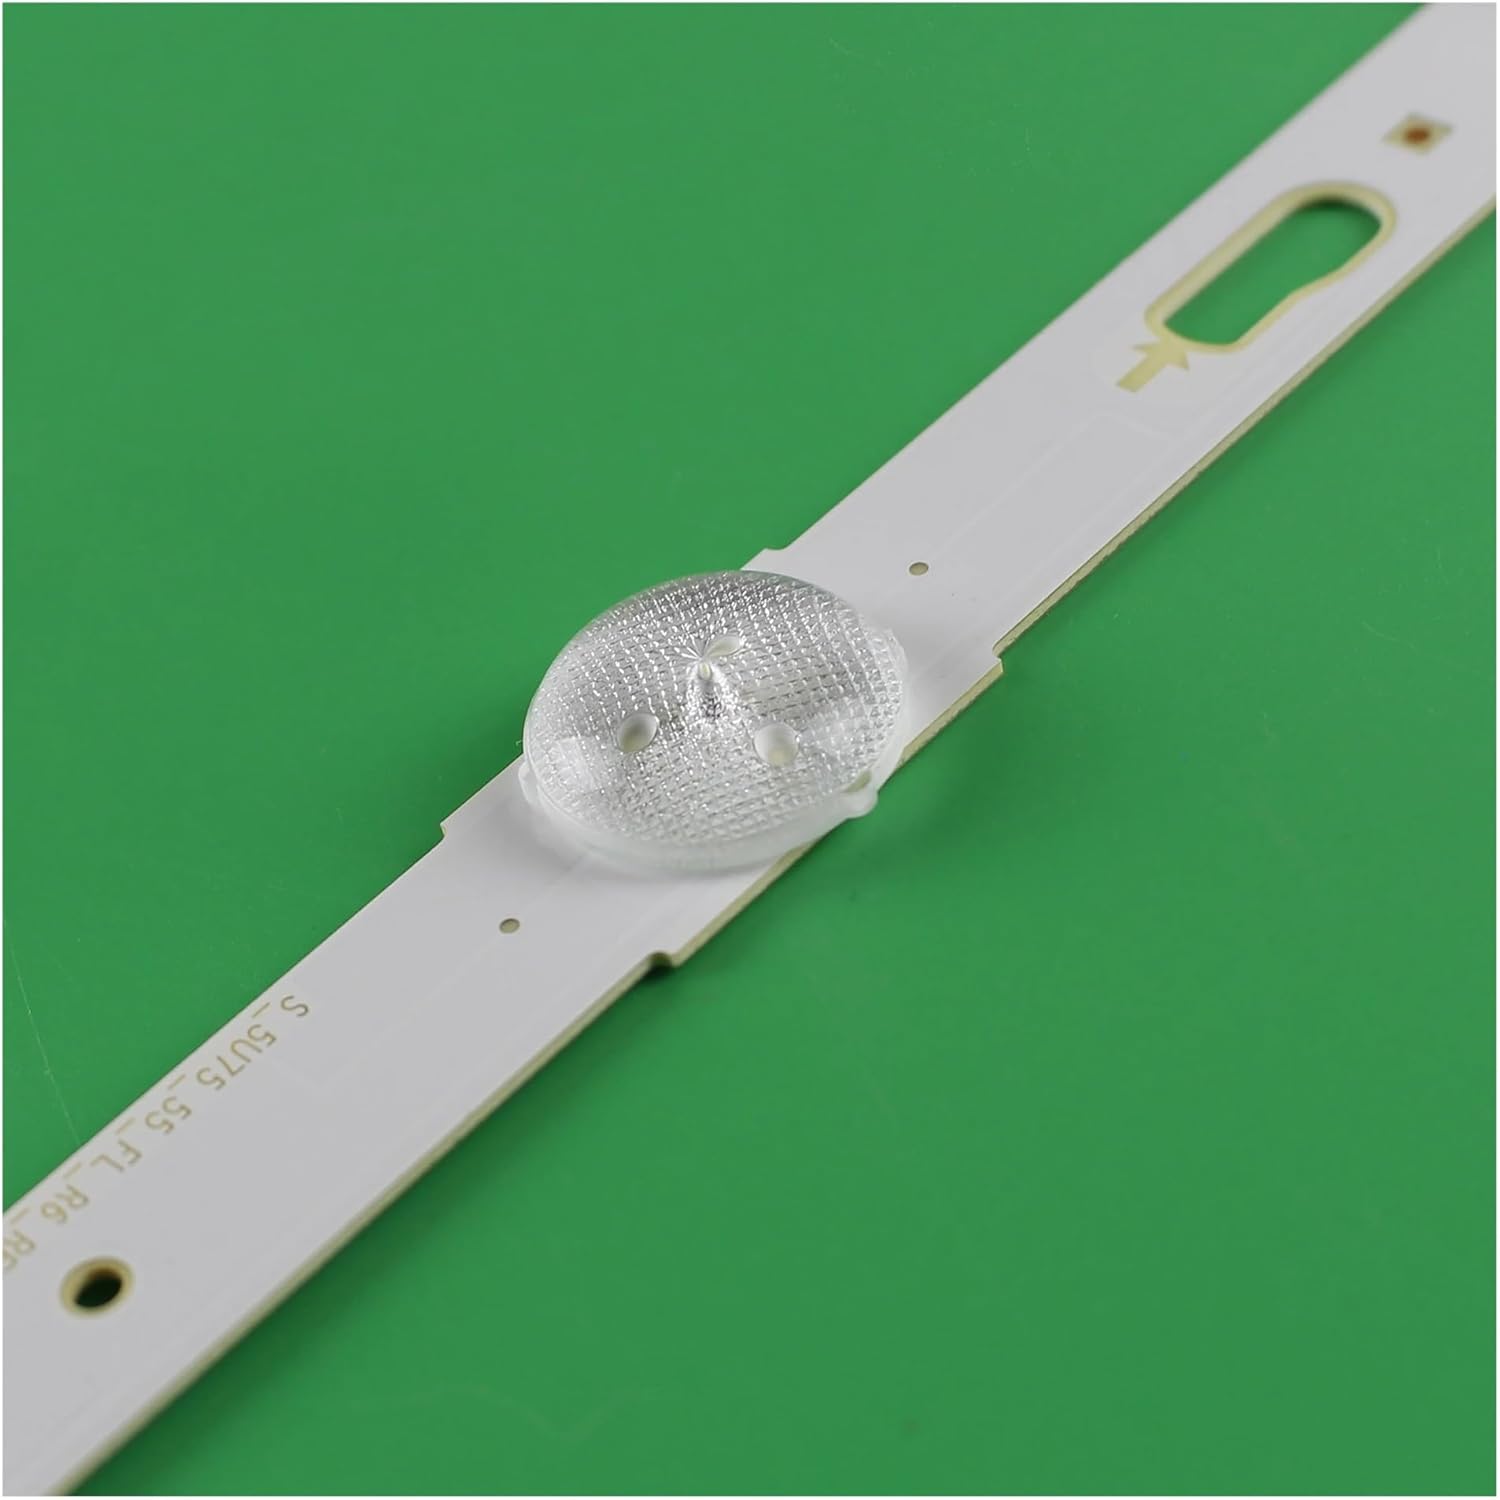
රූපය: සමීප රූපය view of a single LED backlight strip, focusing on one of the LED lenses and the surrounding circuit board.

Image: Detailed close-up of the electrical connector on an LED backlight strip, showing the pins and housing.
පිරිවිතර
| ආදර්ශ අංකය | OUNUOMMCM-1SET |
| Total Strips | 12 pieces (6 'R' + 6 'L') |
| තීරු දිග | 1123mm (R+L combined length for a pair) |
| LED Beads per Strip | 14 |
| තනි LED වෙළුමtage | 3V |
| දීප්තිය | නිට් 700 දක්වා |
| මෙහෙයුම් ජීවිතය | Typically over 100,000 hours |
| බලශක්ති ප්රභවය | AC (via TV's internal power supply) |
| අයිතමයේ බර | ග්රෑම් 800 (රාත්තල් 1.76ක් පමණ) |
| පැකේජ මානයන් | අඟල් 23.62 x 3.94 x 3.94 |
ස්ථාපන උපදෙස්
Replacing LED backlight strips requires careful disassembly and reassembly of the television. Proceed with caution and refer to your specific TV model's service manual for detailed disassembly steps if available. The following are general steps:
- සකස් කිරීම:
- සියලුම බල ප්රභවයන්ගෙන් සහ බාහිර උපාංගවලින් රූපවාහිනිය විසන්ධි කරන්න.
- තිරයට හානි වීම වැළැක්වීම සඳහා රූපවාහිනියේ මුහුණ මෘදු පිරිසිදු මතුපිටක් මත තබන්න.
- Gather necessary tools: screwdrivers, plastic prying tools, anti-static mat/gloves.
- විසුරුවා හැරීම:
- Remove the back cover of the TV.
- Carefully disconnect all cables and ribbons connected to the main board, power supply, and T-con board.
- Remove the stand and any other external components.
- Proceed to remove the internal metal shielding and frame components that secure the display panel.
- අතිශයින්ම පරෙස්සම්: Carefully lift and remove the LCD panel and diffuser sheets. These components are fragile and easily damaged. Store them safely in a dust-free environment.
- Backlight Replacement:
- Once the old backlight strips are exposed, carefully disconnect their power connectors.
- Gently peel off the old strips. Note their exact placement and orientation.
- Clean the metal chassis thoroughly to ensure good adhesion for the new strips.
- Peel the adhesive backing from the new LED strips and carefully align them in the exact positions of the old strips. Ensure the connectors align with the power board.
- Press firmly along the entire length of each strip to secure it.
- Connect the power cables to the new LED strips.
- Testing (Before Full Reassembly):
- Temporarily reconnect the power supply board and main board.
- Plug in the TV and power it on briefly to confirm the new backlights illuminate correctly.
- Immediately disconnect power after testing.
- නැවත එකලස් කිරීම:
- Carefully place the diffuser sheets back into their original positions. Ensure they are clean and free of dust.
- Gently lower the LCD panel back into place. Ensure it is perfectly aligned.
- Reinstall all internal frames, shielding, and external covers, reconnecting all cables and screws in reverse order of disassembly.
- Ensure no cables are pinched and all connections are secure.
- අවසාන පරීක්ෂණය:
- Connect the TV to power and test its full functionality.
මෙහෙයුම් තොරතුරු
The LED backlight strips operate as an integral part of your television's display system. Once correctly installed, they will function automatically when the television is powered on, providing illumination for the LCD panel. No user interaction is required for their operation.
නඩත්තු කිරීම
These LED backlight strips are designed for long-term, maintenance-free operation. No routine maintenance is required after installation. To maximize their lifespan:
- Ensure adequate ventilation for your television to prevent overheating.
- Avoid operating the television in excessively high brightness modes for prolonged periods, as this can reduce the lifespan of LED components.
- Keep the television free from dust and moisture.
දෝෂගවේෂණය
If you encounter issues after installing the new LED backlight strips, consider the following troubleshooting steps:
| ගැටලුව | විය හැකි හේතුව | විසඳුම |
|---|---|---|
| No backlight / Dark screen |
|
|
| Uneven brightness / Dark spots |
|
|
| TV not powering on |
|
|
If these steps do not resolve the issue, it is recommended to consult a professional television repair technician.
වගකීම් සහ සහාය
For information regarding product warranty, please refer to the terms and conditions provided by your retailer at the time of purchase. As this is a generic replacement part, specific manufacturer warranty details may vary. For technical support or further inquiries, please contact the seller or your original point of purchase.
