
1. හැඳින්වීම
Thank you for choosing the Kapro Nucleo Mini 3D Green Laser. This precision tool is designed for various leveling and alignment tasks, offering three 360° laser lines for comprehensive coverage. This manual provides essential information for the safe and effective use of your device.
2 ආරක්ෂිත තොරතුරු
උපාංගයට සිදුවන තුවාල හා හානි වැළැක්වීම සඳහා පහත සඳහන් ආරක්ෂක පියවරයන් සැමවිටම නිරීක්ෂණය කරන්න:
- ලේසර් විකිරණ: Do not stare directly into the laser beam. Avoid direct eye exposure. This product emits Class 2 laser radiation.
- බලශක්ති ප්රභවය: Use only the specified charging cable and adapter. Do not attempt to open or modify the battery compartment.
- පරිසරය: Do not expose the device to extreme temperatures, moisture, or direct sunlight for prolonged periods.
- හැසිරවීම: Handle the laser level with care. Avoid dropping or subjecting it to strong impacts.
- දරුවන්: උපාංගය දරුවන්ට ළඟාවිය නොහැකි ලෙස තබා ගන්න.
3. පැකේජ අන්තර්ගතය
ඔබගේ පැකේජයේ සියලුම අයිතම ඇති බව තහවුරු කරගන්න:
- Kapro Nucleo Mini 3D Green Laser Level
- මෘදු බෑගය
- කන්ද
- Recharge Cable (USB-C)
- බල ඇඩැප්ටරය
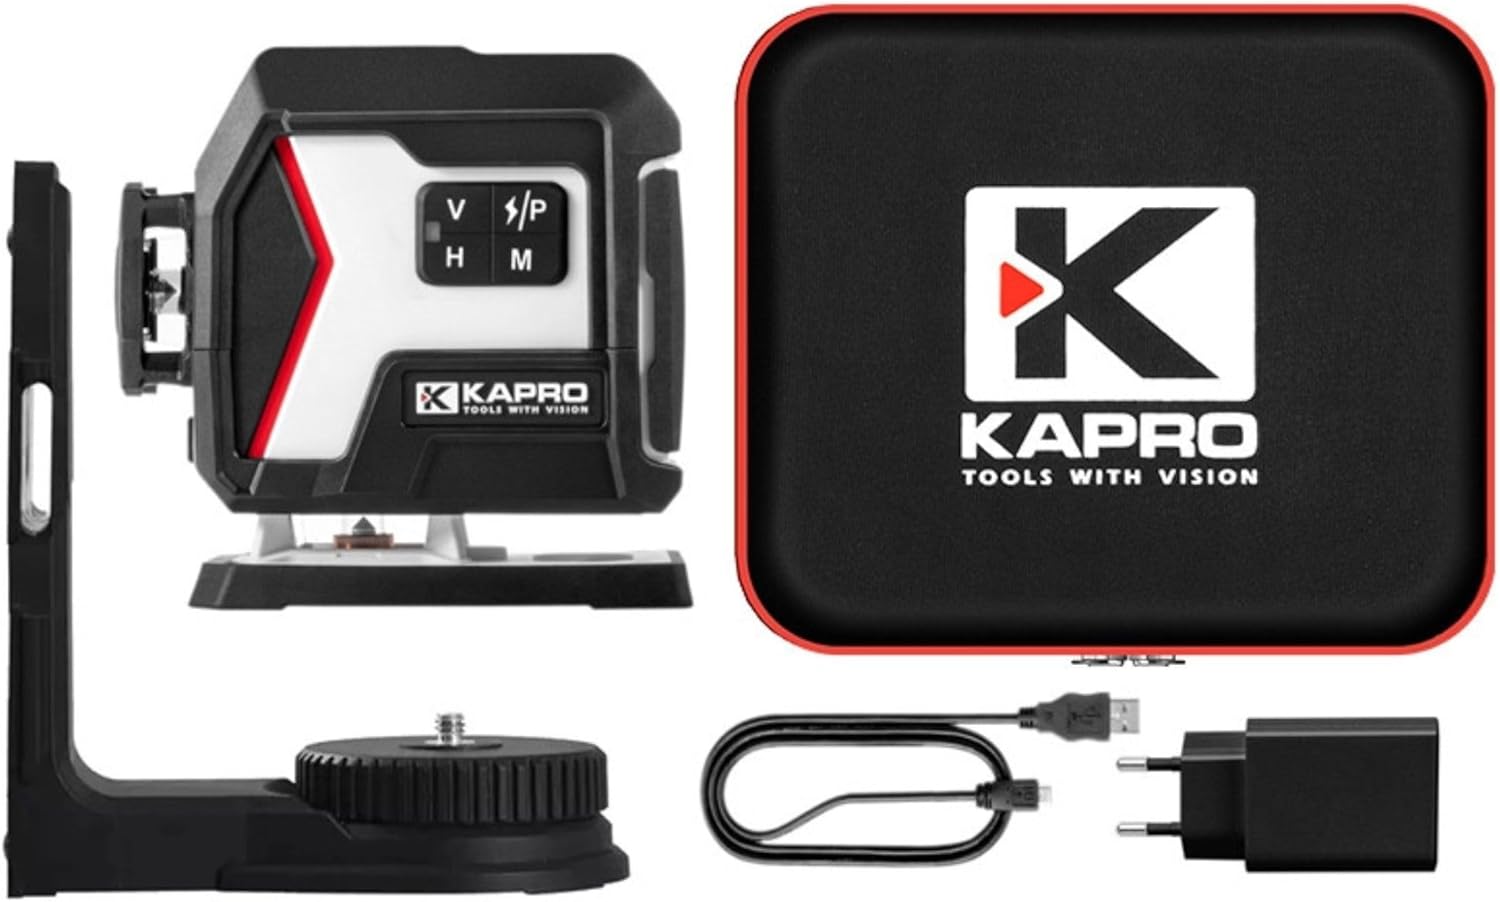
Image 3.1: The Kapro Nucleo Mini 3D Green Laser level shown with its soft carrying case, magnetic mount, USB-C charging cable, and power adapter.
4. නිෂ්පාදන අවසන්view
The Nucleo Mini 3D Green Laser features three distinct 360° laser lines: a bottom horizontal line, a side vertical line, and a forward vertical line, providing comprehensive coverage for various applications.
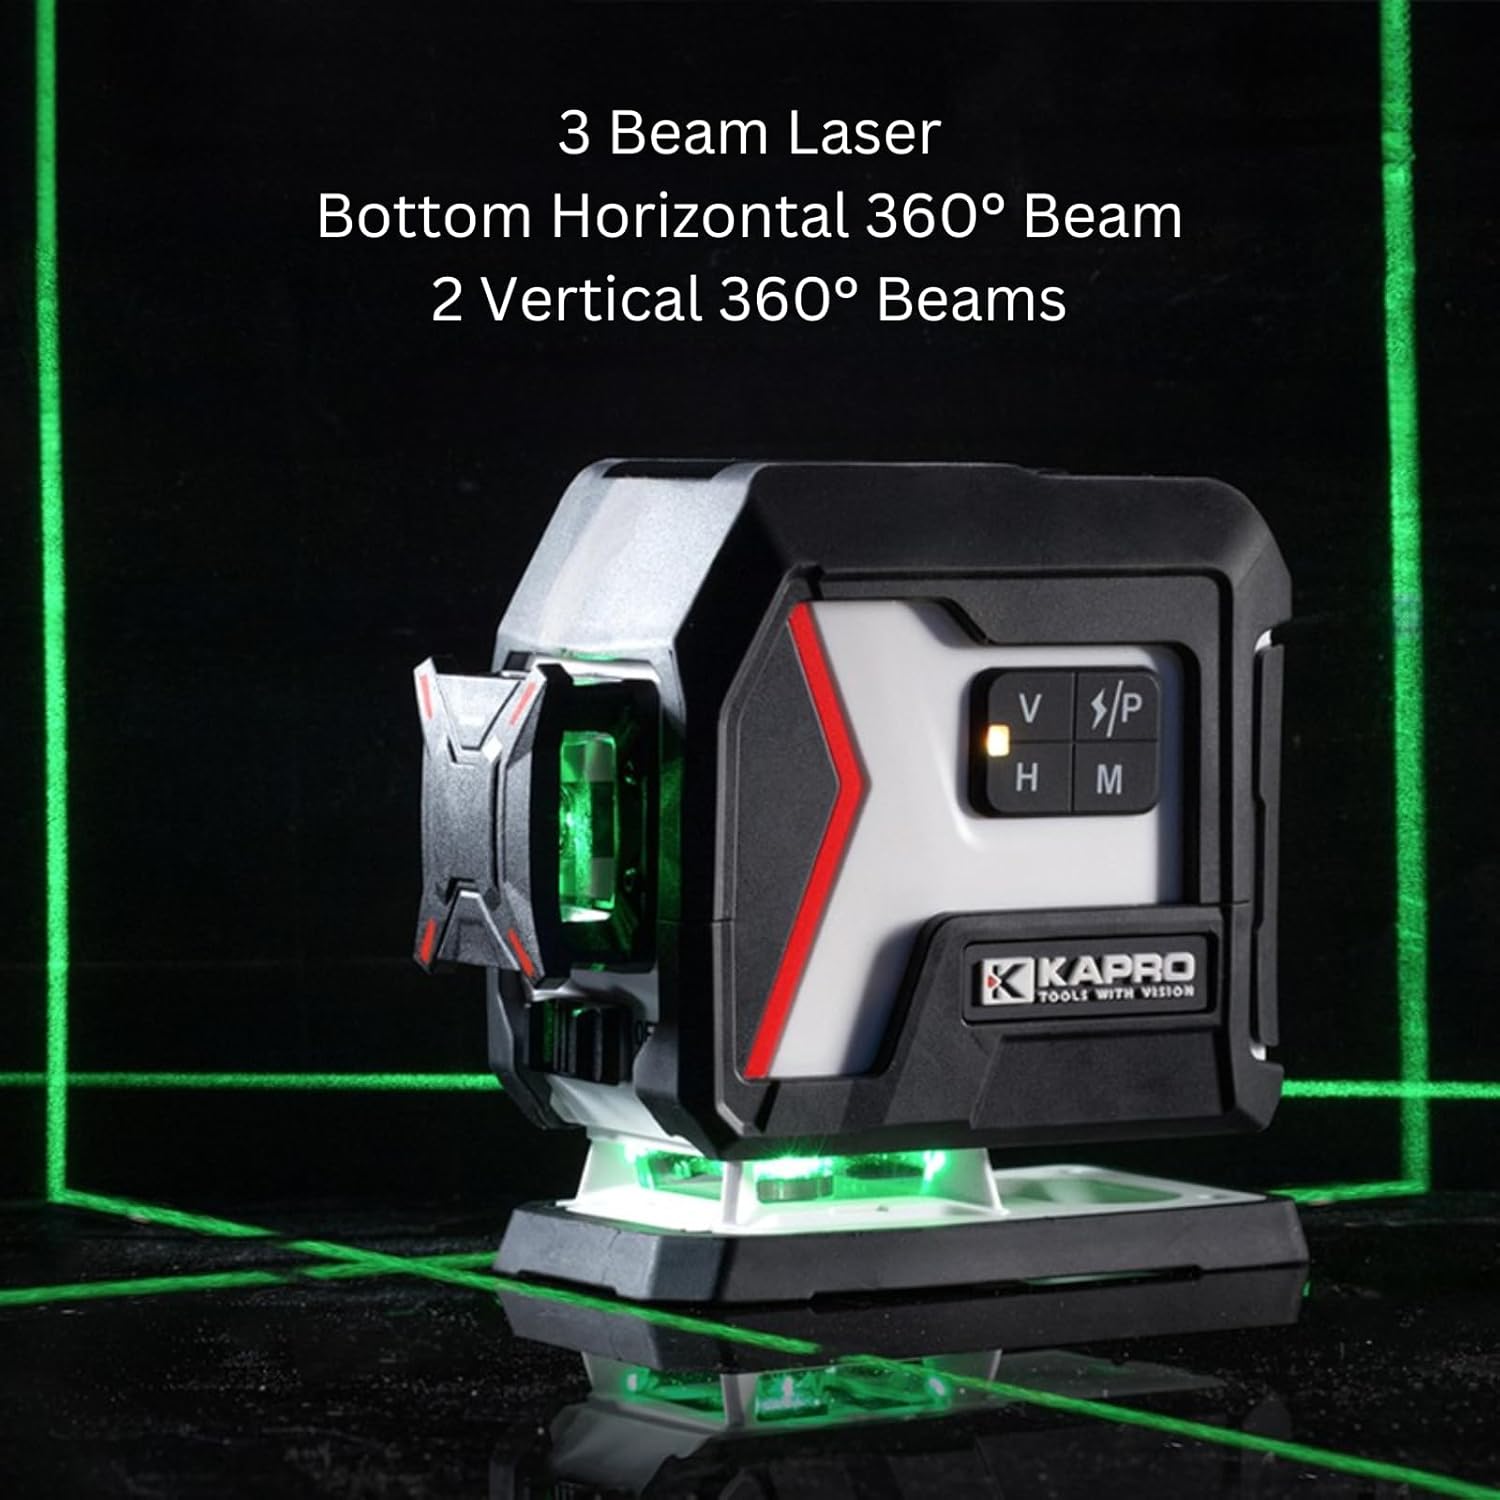
Image 4.1: The Kapro Nucleo Mini 3D Green Laser projecting its three 360-degree green laser beams, illustrating its full coverage capability.
ප්රධාන සංරචක:
- Laser Emitters: Project the green laser lines.
- පාලන පුවරුව: Buttons for mode selection (V/P, H, M).
- සක්රිය / අක්රිය ස්විචය: ඒකකයේ පැත්තේ පිහිටා ඇත.
- USB-C වරාය: අභ්යන්තර බැටරිය ආරෝපණය කිරීම සඳහා.
- සවිකරන නූල්: Top and bottom 1/4" UNC threads for tripod or mount attachment.

රූපය 4.2: සවිස්තරාත්මක view of the Kapro Nucleo Mini 3D Green Laser, highlighting the USB-C charging port and the integrated mounting threads for versatile setup.
5. පිහිටුවීම
5.1 බැටරිය ආරෝපණය කිරීම
Before first use, fully charge the laser level. Connect the provided USB-C cable to the laser's charging port and the other end to the power adapter. Plug the adapter into a suitable power outlet. The laser can operate while recharging.
5.2 Mounting the Laser
The Nucleo Mini 3D Green Laser can be used freestanding or mounted:
- නිදහසේ සිටීම: ස්ථාවර, මට්ටම් මතුපිටක් මත ලේසර් තබන්න.
- චුම්බක මවුන්ට්: Attach the included magnetic mount to the laser using the 1/4" UNC thread. The mount can then be affixed to metallic surfaces.
- ත්රිපාදය: Secure the laser directly to a tripod using the 1/4" UNC threads located on the top or bottom of the unit.
6. මෙහෙයුම් උපදෙස්
6.1 බල ගැන්වීම සක්රිය / අක්රිය කිරීම
To turn the laser on, slide the ON/OFF switch to the 'ON' position. To turn it off, slide the switch to the 'OFF' position.
6.2 මෙහෙයුම් ආකාර
The Nucleo Mini 3D Green Laser offers three primary operating modes:
- Self-Leveling Mode (Default): When powered on, the laser automatically self-levels within its specified range. If the device is outside its leveling range, the laser lines will flash to indicate an unlevel condition.
- Manual Mode (Slope Marking): Press the 'M' button to activate manual mode. In this mode, the self-leveling function is deactivated, allowing the user to project laser lines at any desired angle for slope marking. The laser lines will typically flash or indicate manual mode visually.
- ස්පන්දන මාදිලිය: Press the 'V/P' button to cycle through vertical lines and activate pulse mode. Pulse mode is designed for use with a compatible laser detector (sold separately) to extend the working range of the laser up to 200 feet (60 meters). This mode is particularly useful in bright conditions or over long distances.
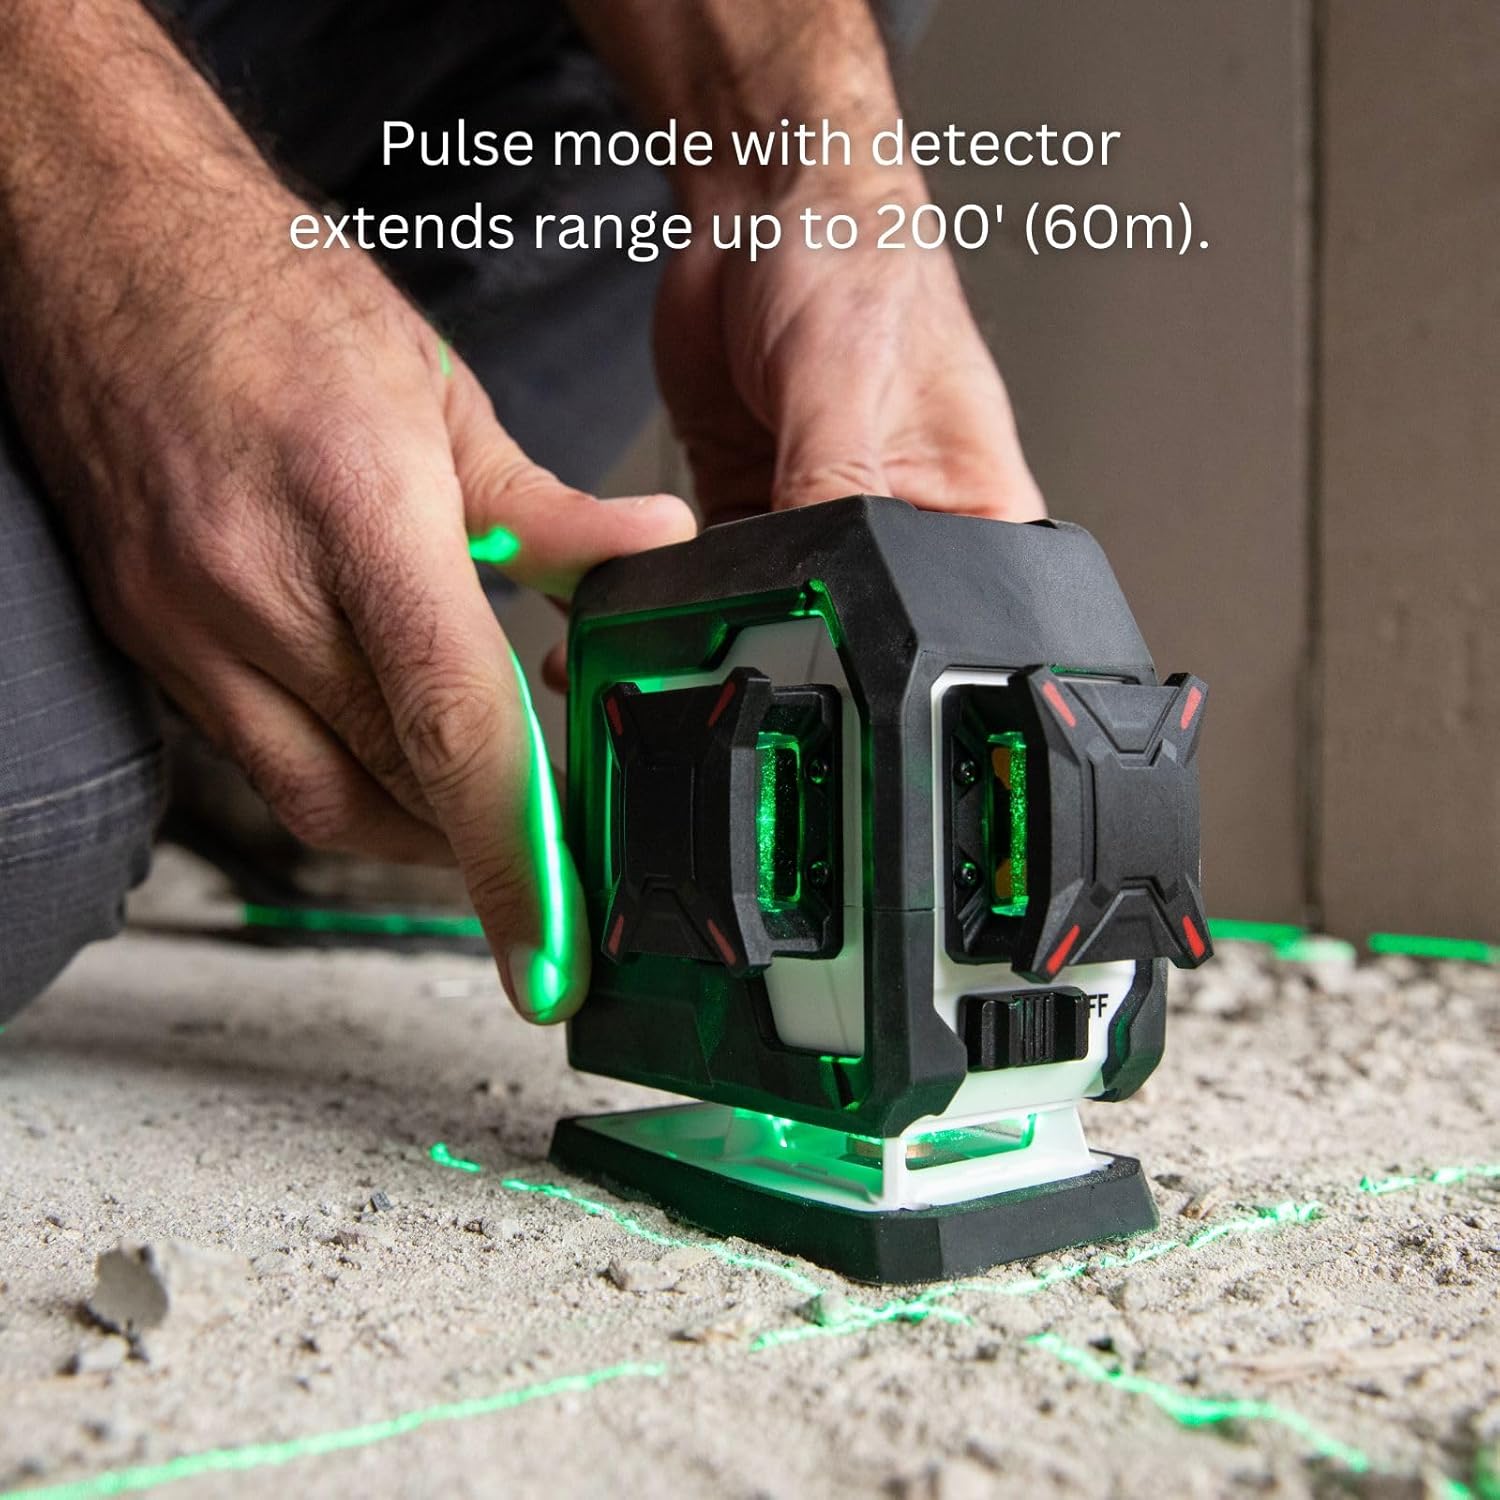
Image 6.1: A user operating the Kapro Nucleo Mini 3D Green Laser, demonstrating how pulse mode extends the laser's range up to 200 feet (60 meters) when used with a compatible detector.
- ෆ්ලෑෂ් මාදිලිය: Press the 'H' button to cycle through horizontal lines and activate flash mode. Flash mode enhances the visibility of the laser beam in bright environments, making it easier to see the lines without a detector.

Image 6.2: The Kapro Nucleo Mini 3D Green Laser in operation, illustrating how flash mode improves the visibility of the laser lines in brightly lit conditions.
6.3 ලේසර් රේඛා මාරු කිරීම
Use the 'V/P' button to toggle vertical laser lines and the 'H' button to toggle horizontal laser lines. You can activate individual lines or combinations as needed for your task.
7. නඩත්තු කිරීම
7.1 පිරිසිදු කිරීම
Wipe the laser level with a soft, damp cloth. Do not use abrasive cleaners or solvents. Ensure the laser apertures are clean for optimal beam clarity.
7.2 ගබඩා කිරීම
When not in use, store the laser level in its soft bag in a dry, cool place, away from direct sunlight and extreme temperatures. If storing for extended periods, ensure the battery is partially charged (around 50%) to prolong its lifespan.
8. දෝශ නිරාකරණය
| ගැටලුව | විය හැකි හේතුව | විසඳුම |
|---|---|---|
| Laser lines are flashing rapidly. | The laser is outside its self-leveling range. | Place the laser on a more level surface or adjust its position until the lines become steady. |
| ලේසර් ක්රියාත්මක නොවේ. | බැටරිය ක්ෂය වී ඇත. | Charge the laser using the provided USB-C cable and power adapter. |
| Laser lines are dim or hard to see. | Bright ambient light; dirty laser aperture. | Activate Flash Mode. Use a laser detector in Pulse Mode for extended range. Clean the laser apertures with a soft cloth. |
| Laser lines are not level in Manual Mode. | This is expected behavior in Manual Mode, which is for slope marking. | If self-leveling is desired, ensure the laser is not in Manual Mode and is placed on a level surface. |
9. පිරිවිතර
| විශේෂාංගය | පිරිවිතර |
|---|---|
| ආදර්ශ අංකය | නියුක්ලියෝ |
| ලේසර් වර්ගය | හරිත ලේසර් |
| ලේසර් රේඛා | Three 360° (Bottom Horizontal, Side Vertical, Forward Vertical) |
| වැඩ කරන පරාසය | අඩි 100 (මීටර් 30) |
| Extended Range (with detector) | අඩි 200 (මීටර් 60) |
| මෙහෙයුම් මාදිලි | Self-Leveling, Manual, Pulse, Flash |
| බලශක්ති ප්රභවය | බැටරි බලයෙන් ක්රියාත්මක (USB-C හරහා නැවත ආරෝපණය කළ හැක) |
| නූල් සවි කිරීම | 1/4" UNC (Top & Bottom) |
| ඇතුළත් සංරචක | Laser Level, Soft Bag, Mount, Recharge Cable |
10. වගකීම් සහ සහාය
For warranty information and technical support, please refer to the official KAPRO webවෙබ් අඩවියට හෝ ඔවුන්ගේ පාරිභෝගික සේවයට සෘජුවම සම්බන්ධ වන්න. ඕනෑම වගකීම් හිමිකම් සඳහා මිලදී ගැනීමේ සාක්ෂියක් ලෙස ඔබේ මිලදී ගැනීමේ රිසිට්පත තබා ගන්න.
නිෂ්පාදකයා: Kapro Tools
පළමු ලබා ගත හැකි දිනය: 4 මාර්තු 2025