1. හැඳින්වීම
Thank you for choosing the AUXITO T5 Portable Jump Starter. This device is designed to provide a reliable solution for jump-starting 12V vehicles, charging electronic devices, and offering emergency lighting. Please read this manual thoroughly before use to ensure safe and optimal operation.
2 ආරක්ෂිත තොරතුරු
උපාංගයට සහ වාහනයට තුවාල හෝ හානි වැළැක්වීම සඳහා පහත සඳහන් ආරක්ෂක පියවරයන් සැමවිටම නිරීක්ෂණය කරන්න:
- ශීත කළ බැටරියක් ජම්ප්-ස්ටාර්ට් කිරීමට උත්සාහ නොකරන්න.
- භාවිතයට පෙර ජම්ප් ස්ටාටරය සම්පූර්ණයෙන්ම ආරෝපණය කර ඇති බවට සහතික වන්න.
- cl සම්බන්ධ කරන්නamps correctly: red to positive (+), black to negative (-). Reverse polarity can cause damage.
- රතු සහ කළු cl ස්පර්ශ නොකරන්නampඑකට.
- උපකරණය දරුවන්ගෙන් ඈත් කරන්න.
- උපාංගය අධික උෂ්ණත්වයන්ට, සෘජු හිරු එළියට හෝ ජලයට නිරාවරණය නොකරන්න.
- ඒකකය විසුරුවා හරින්න එපා. සියලුම සේවා සුදුසුකම් ලත් පුද්ගලයින් වෙත යොමු කරන්න.
- Wear eye protection when working with vehicle batteries.
3. පැකේජ අන්තර්ගතය
සියලුම අයිතම පැකේජයේ ඇති බව තහවුරු කරගන්න:
- AUXITO T5 Jump Starter
- ස්මාර්ට් ජම්පර් Clamps
- USB-A කේබලය
- Type-C කේබල්
- ගබඩා නඩුව
- පරිශීලක අත්පොත

Image: The AUXITO T5 Jump Starter, smart jumper clamps, USB-A cable, Type-C cable, storage case, and user manual are included in the box.
4. නිෂ්පාදන ලක්ෂණ
4.1. Powerful Jump Starting Capability
The AUXITO T5 provides 9500A peak current, capable of jump-starting 12V vehicles, including all gas and 12L diesel engines, up to 80 times on a single charge.
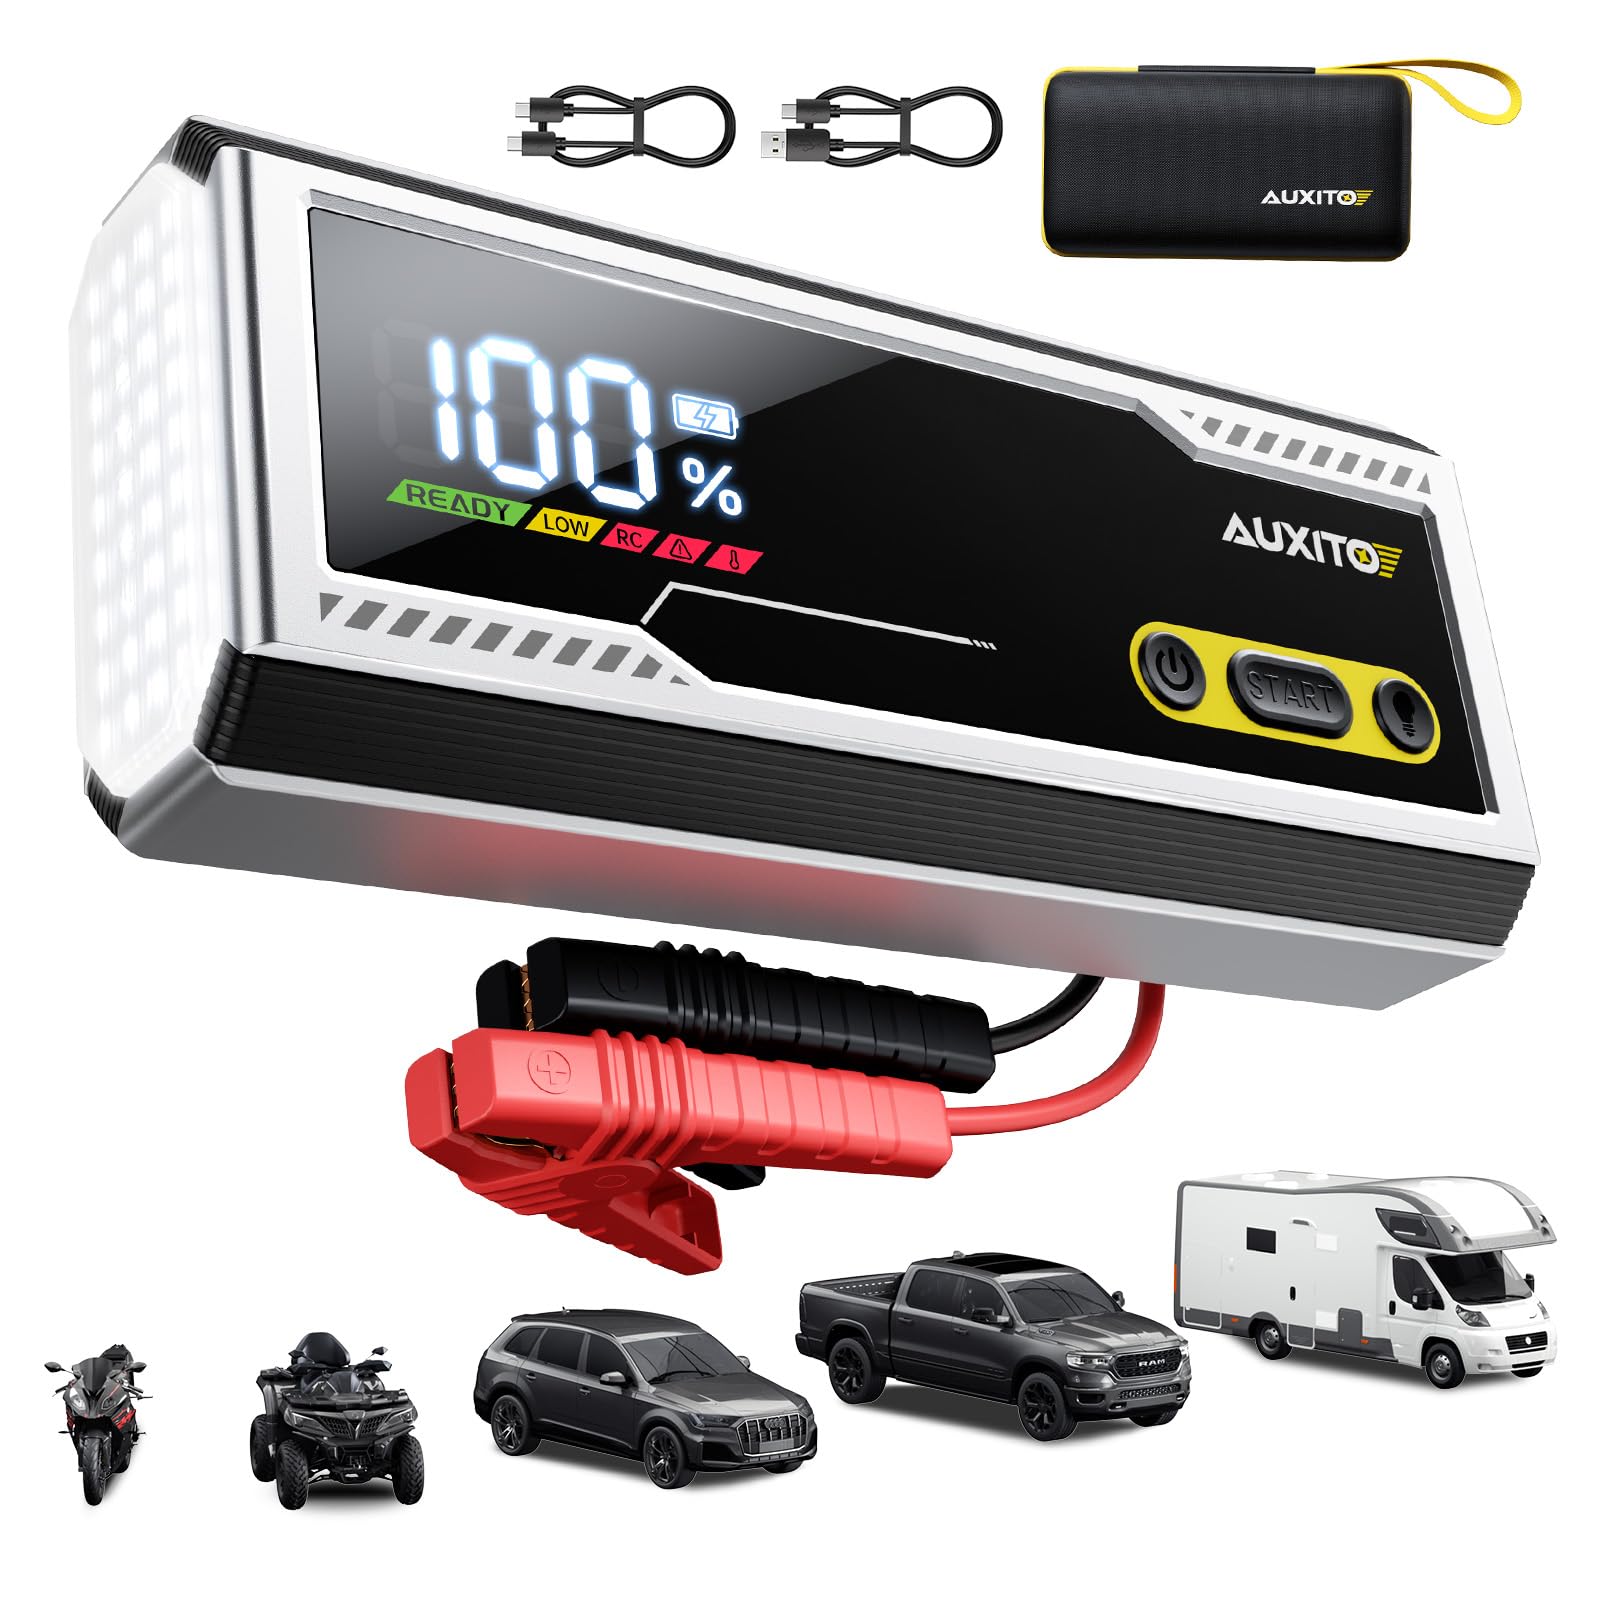
Image: The AUXITO T5 Jump Starter displaying 100% charge, highlighting its 9500A power for 12V vehicles.
4.2. PD 30W වේගවත් ආරෝපණය
Equipped with PD 30W USB-C input/output for rapid charging of the jump starter itself and other compatible devices.
- 5W Charger: Approximately 18 hours to full charge.
- 18W Charger: Approximately 7 hours to full charge.
- 30W Charger: Approximately 2.5 hours to full charge.
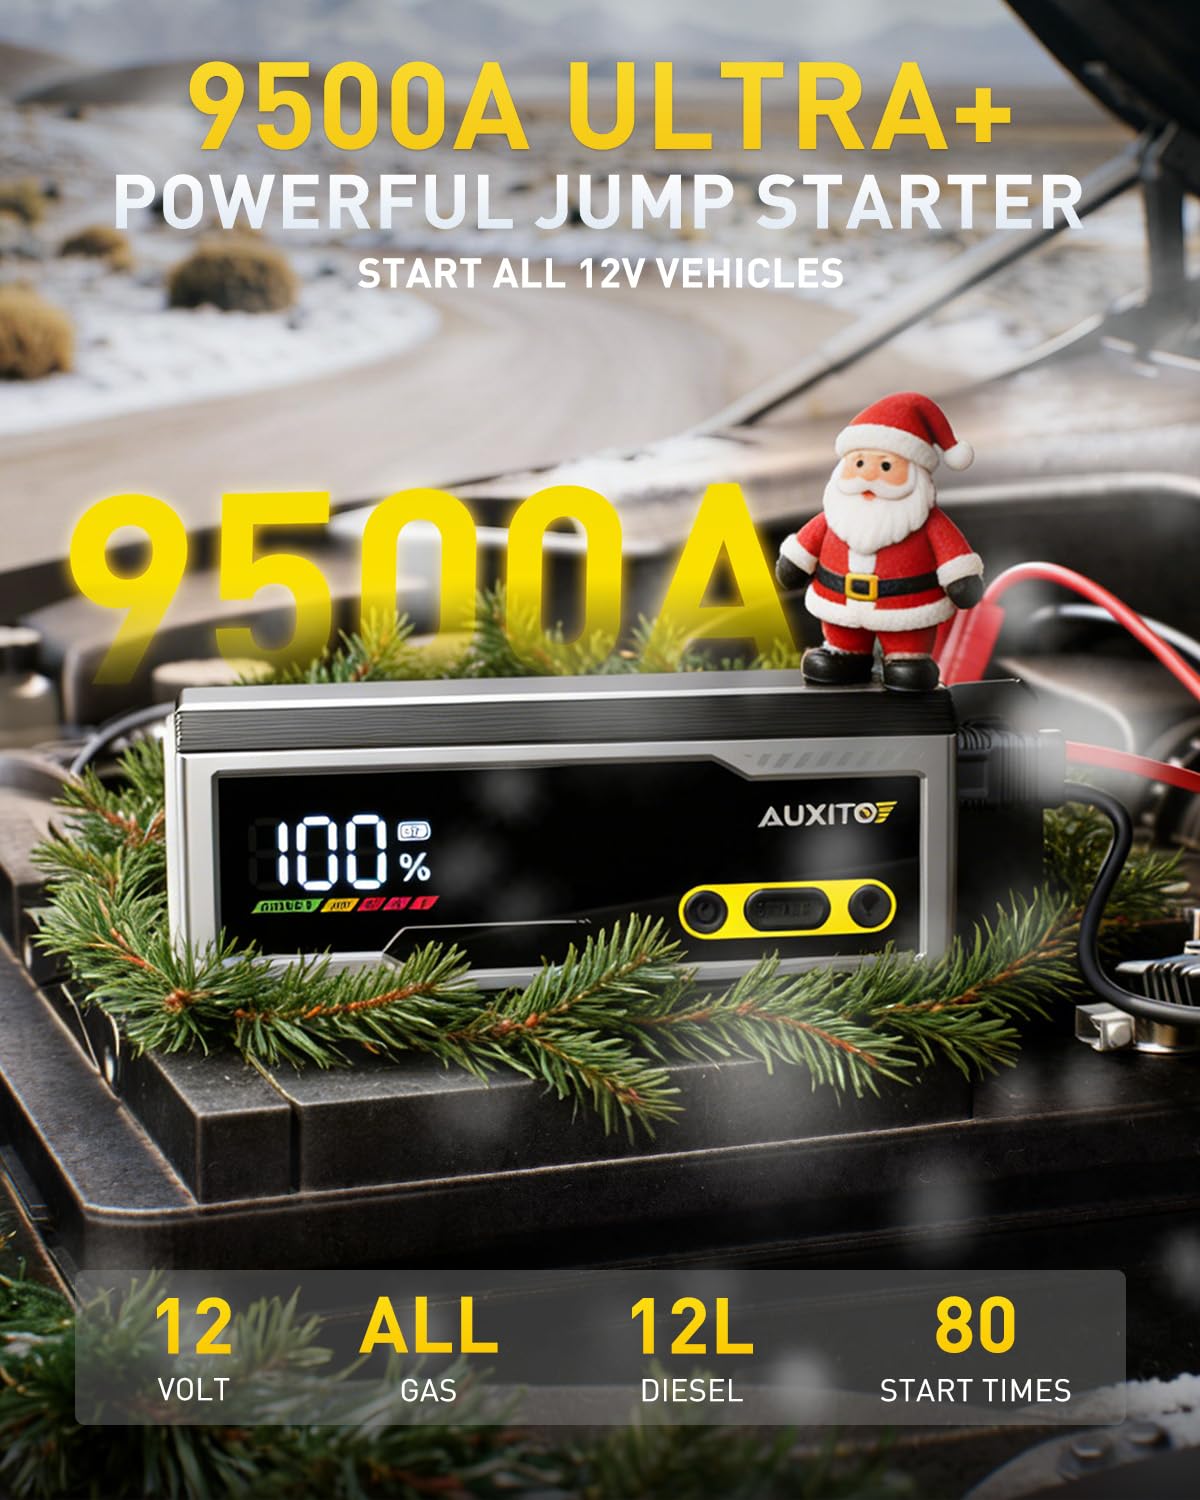
Image: The AUXITO T5 Jump Starter showing the USB-C port for PD 30W fast charging, with a table indicating charge times for different charger ratings.
4.3. Informative LCD Screen
The large LCD screen displays essential information such as battery percentage, readiness status (READY), low battery warning (LOW), reverse polarity warning (RC), and temperature alerts.

Image: A close-up of the AUXITO T5 Jump Starter's LCD screen, showing 100% battery and 'READY' status, along with indicators for low battery, reverse connection, and temperature.
4.4. 168W DC Output
Provides a 168W DC output (15V/10A) to continuously charge 12V appliances such as air pumps, vacuum cleaners, and car refrigerators.

Image: The AUXITO T5 Jump Starter connected to a car accessory via its DC output port, demonstrating its ability to power 12V appliances.
4.5. Built-in Boost Mode
Features a boost mode to start deeply discharged or dead batteries quickly and safely.
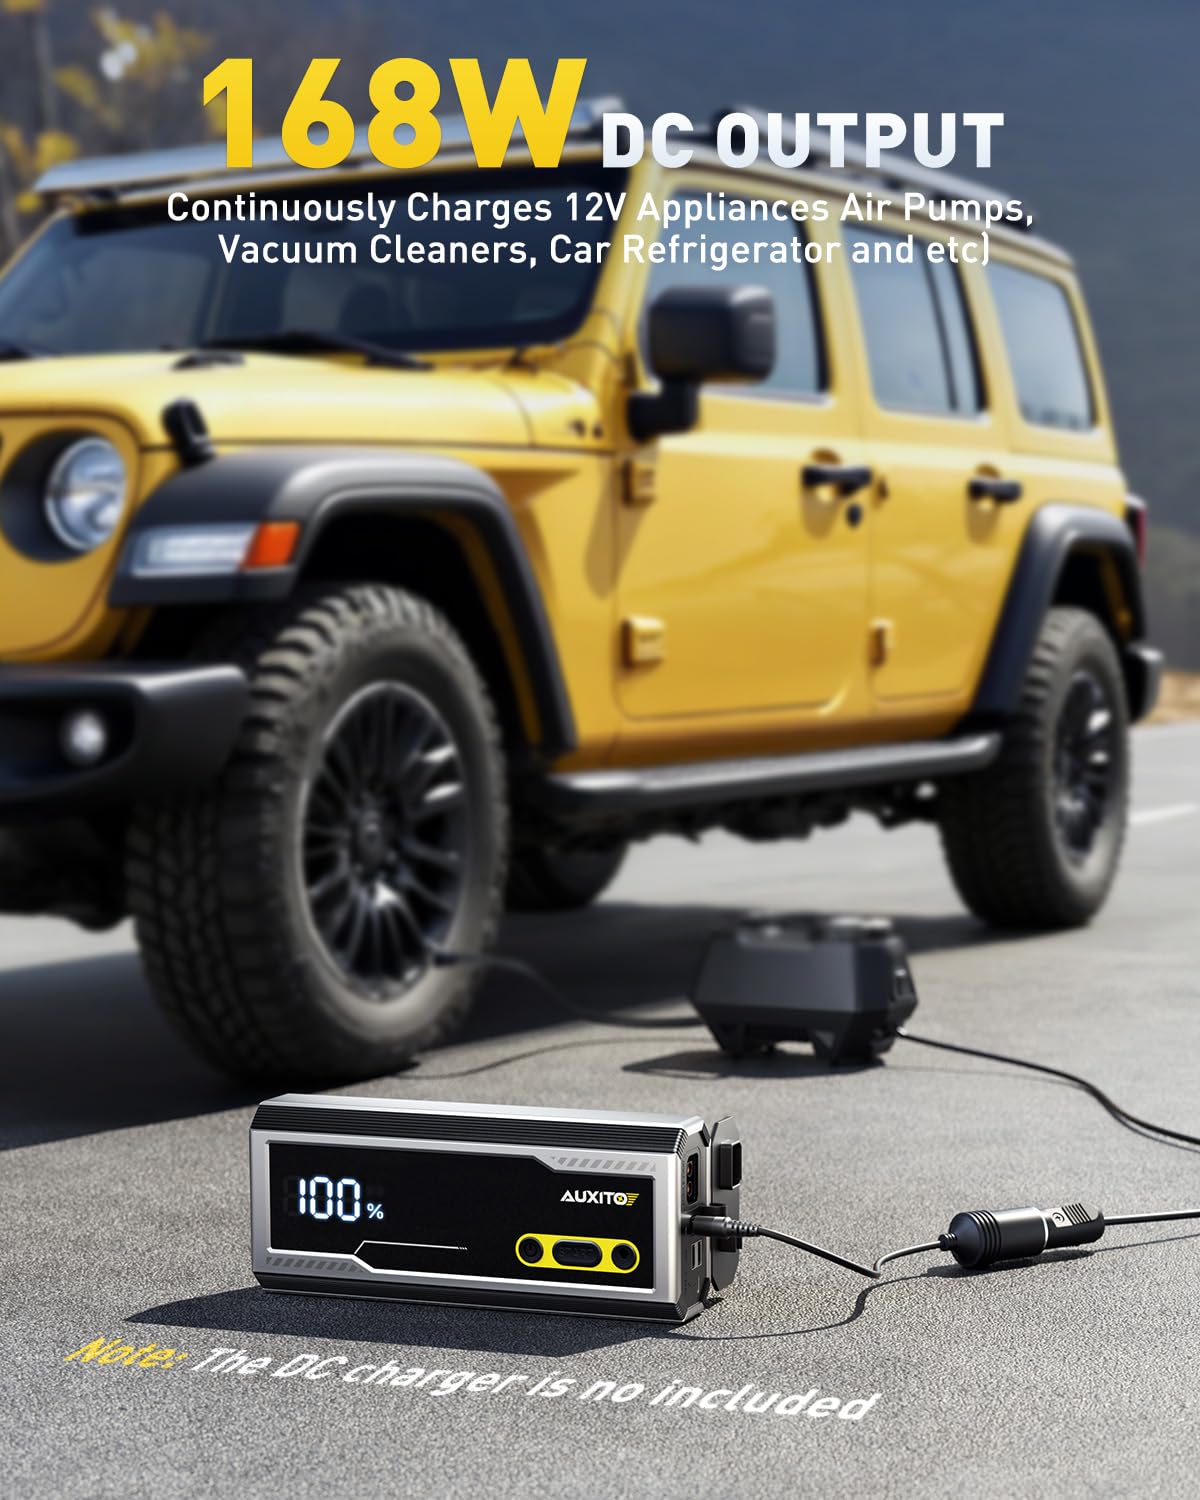
Image: A hand pressing the 'START' button on the AUXITO T5 Jump Starter, indicating the activation of boost mode for jump-starting a vehicle battery.
4.6. 20000 mAh Power Bank
With a 20000 mAh capacity, the device can charge multiple electronic devices via its USB-C (PD 30W), USB-1 (18W), and USB-2 (18W) ports, functioning as a 74W high-capacity power bank.

Image: The AUXITO T5 Jump Starter connected to and charging multiple devices, including a smartphone and earbuds, demonstrating its power bank functionality.
4.7. 1000 Lumen Emergency Light
Integrated 1000 lumen LED light with multiple modes: Lighting Mode, Flashing Mode, and SOS Mode for emergency situations.

Image: The AUXITO T5 Jump Starter's built-in 1000 lumen emergency light illuminating a dark surface, with icons for Lighting, Flashing, and SOS modes.
5. Setup: Charging the Jump Starter
Before first use, fully charge the AUXITO T5. It is recommended to recharge the device every 3-6 months to maintain battery health.
- Connect the provided Type-C cable to the USB-C IN/OUT (PD 30W) port on the jump starter.
- Connect the other end of the Type-C cable to a compatible USB wall charger (not included). For fastest charging, use a 30W PD charger.
- The LCD screen will display the charging progress. The device is fully charged when the screen shows 100%.
6. මෙහෙයුම් උපදෙස්
6.1. වාහනයක් පැනීම ආරම්භ කිරීම
Ensure the jump starter is at least 50% charged before attempting to jump-start a vehicle.
- Connect the Smart Jumper Clamps: Insert the blue plug of the smart jumper clamps into the jump starter's jump start port. Ensure a firm connection.
- වාහන බැටරියට සම්බන්ධ වන්න:
- අමුණන්න රතු (+) clamp to the vehicle battery's positive (+) terminal.
- අමුණන්න කළු (-) clamp to the vehicle battery's negative (-) terminal.
- Check LCD Screen: The LCD screen should display 'READY' if the connections are correct and the battery is ready for a jump. If 'RC' (Reverse Connection) or other error indicators appear, disconnect and re-connect the clamps නිවැරදිව.
- වාහනය ආරම්භ කරන්න: Once 'READY' is displayed, start your vehicle's engine. If the vehicle does not start immediately, wait 30 seconds before trying again. Do not crank the engine for more than 3 seconds per attempt.
- Activate Boost Mode (if needed): If the vehicle battery is deeply discharged and the 'READY' indicator does not appear, press and hold the 'START' button on the jump starter for 3 seconds to activate Boost Mode. The screen will show 'BOOST'. Attempt to start the vehicle within 30 seconds.
- Cl විසන්ධි කරන්නamps: වාහනය පණ ගැන්වූ පසු, වහාම කළු (-) cl එක විසන්ධි කරන්න.amp පළමුව, පසුව රතු (+) clamp, and finally unplug the smart jumper clampපැනීමේ ආරම්භකයේ සිට s.
6.2. බලශක්ති බැංකුවක් ලෙස භාවිතා කිරීම
The AUXITO T5 can charge various electronic devices.
- Connect your device's charging cable to one of the available output ports: USB-C IN/OUT (PD 30W), USB-1 (18W), or USB-2 (18W).
- The jump starter will automatically begin charging your device. The LCD screen will show the remaining battery percentage.
6.3. Using the Emergency Light
The built-in LED light offers three modes for different situations.
- සක්රිය / අක්රිය කරන්න: Press and hold the light button for 3 seconds to turn the LED light on or off.
- ස්විච් මාදිලි: While the light is on, short press the light button to cycle through the modes: Lighting Mode > Flashing Mode > SOS Mode.
7. නඩත්තු කිරීම හා ගබඩා කිරීම
- Store the jump starter in a cool, dry place, away from direct sunlight and moisture.
- Recharge the device every 3-6 months to maintain optimal battery performance, even if not in use.
- මෘදු වියළි රෙද්දකින් උපාංගය පිරිසිදු කරන්න. රළු රසායනික ද්රව්ය හෝ උල්ෙල්ඛ ද්රව්ය භාවිතා නොකරන්න.
- වරායන් දූවිලි හා සුන්බුන් වලින් තොරව තබා ගන්න.
8. දෝශ නිරාකරණය
- උපාංගය ක්රියාත්මක නොවේ: Ensure the device is charged. If the battery is completely depleted, it may take a few minutes of charging before the screen activates.
- වාහනය පණ ගැන්වී නොමැති වීම:
- Check that the smart jumper clamps are securely connected to both the jump starter and the vehicle battery terminals (red to positive, black to negative).
- ජම්ප් ස්ටාටරයට ප්රමාණවත් ආරෝපණයක් (අවම වශයෙන් 50%) ඇති බවට වග බලා ගන්න.
- If the battery is deeply discharged, try using the Boost Mode.
- The vehicle battery might be severely damaged and require professional service.
- 'RC' (Reverse Connection) displayed: cl එක විසන්ධි කරන්නamps immediately and re-connect them to the correct battery terminals (red to positive, black to negative).
- 'LOW' displayed: The jump starter's battery is low. Recharge the device before attempting to jump-start a vehicle or charge other devices.
- Temperature warning displayed: The device is either too hot or too cold. Move it to a suitable environment and allow it to reach an optimal operating temperature before use.
9. පිරිවිතර
| විශේෂාංගය | පිරිවිතර |
|---|---|
| වෙළඳ නාමය | AUXITO |
| ආකෘතිය | T5 |
| උච්ච ධාරාව | 9500A |
| බැටරි ධාරිතාව | 20000 mAh |
| බැටරි සෛල සංයුතිය | ලිතියම් අයන |
| USB-C ආදානය/ප්රතිදානය | පීඩී 30 ඩබ්ලිව් |
| USB-1 ප්රතිදානය | 18W |
| USB-2 ප්රතිදානය | 18W |
| DC ප්රතිදානය | 15V/10A (168W) |
| හදිසි ආලෝකය | 1000 Lumen (Lighting, Flashing, SOS Modes) |
| නිෂ්පාදන මානයන් | 13.21 x 24.61 x 12.29 සෙ.මී |
| අයිතමයේ බර | කිලෝ ග්රෑම් 1.44 කි |
| වාහන සේවා වර්ගය | All 12V vehicles (All Gas, 12L Diesel) |
10. වගකීම් සහ සහාය
For warranty information and customer support, please refer to the warranty card included with your product or visit the official AUXITO webවෙබ් අඩවිය. උපාංගය ඔබම අලුත්වැඩියා කිරීමට උත්සාහ නොකරන්න, මෙය වගකීම් අවලංගු කළ හැකිය.


