1. පිහිටුවීම
1.1 ඇසුරුම් ඉවත් කිරීම සහ මූලික ගාස්තුව
Carefully remove all contents from the packaging. Ensure you have the Nintendo 3DS XL console, a stylus, AR Cards, and the AC adapter. Connect the AC adapter to the charging port on the console and plug it into a wall outlet. Charge the console fully before first use.
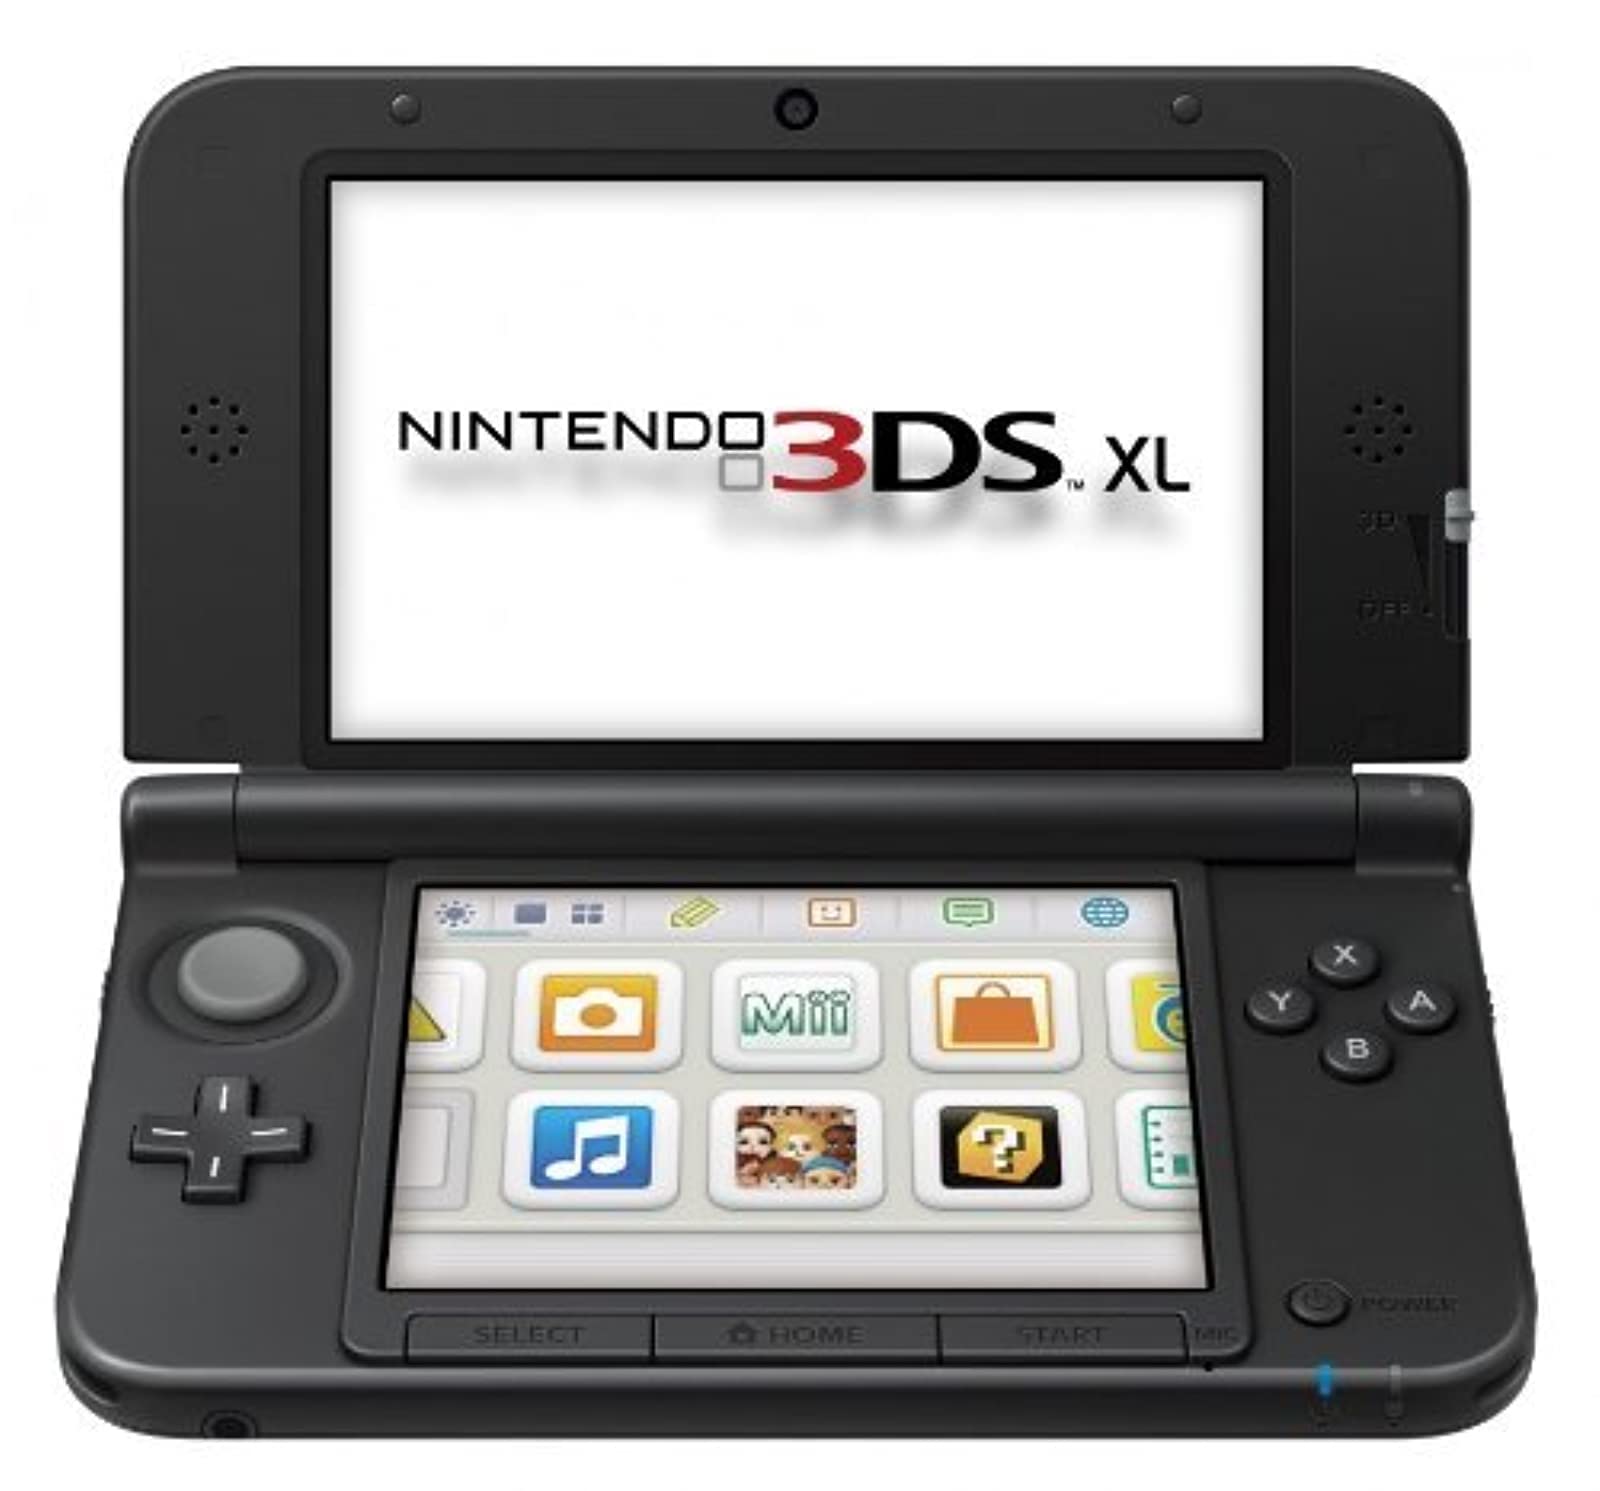
Image: Nintendo 3DS XL console (Blue/Black).
1.2 බලගැන්වීම සහ මූලික සැකසුම්
To power on the console, press the POWER button located on the bottom right side of the lower screen. Follow the on-screen instructions to set the language, date, time, and create a user profile. This process will guide you through essential system configurations.
1.3 Wi-Fi වෙත සම්බන්ධ කිරීම
From the HOME Menu, select System Settings, then Internet Settings. Follow the prompts to find and connect to a wireless network. A stable internet connection is required for online features, eShop access, and system updates.
2. කොන්සෝලය ක්රියාත්මක කිරීම
2.1 මූලික පාලන
- රවුම් පෑඩ්: Located on the left, used for analog movement in games.
- දිශානුගත පෑඩ් (ඩී-පෑඩ්): Located below the Circle Pad, used for directional input.
- A/B/X/Y බොත්තම්: Action buttons on the right side.
- L/R බොත්තම්: කොන්සෝලයේ ඉහළ කෙළවරේ උරහිස් බොත්තම්.
- බොත්තම් ආරම්භ කරන්න/තෝරන්න: Located below the A/B/X/Y buttons.
- ස්පර්ශ තිරය: The lower screen is touch-sensitive and operated with the included stylus.
- ස්ටයිලස්: Used for precise input on the touch screen.
2.2 ත්රිමාණ ක්රියාකාරීත්වය
The top screen displays stereoscopic 3D images without the need for special glasses. Use the 3D Depth Slider on the right side of the top screen to adjust the 3D effect or turn it off completely. For optimal 3D viewing, hold the console steady and directly in front of your face.

Image: Nintendo 3DS XL demonstrating stable 3D viewing.
2.3 Game Card Insertion
Insert Nintendo 3DS or Nintendo DS game cards into the game card slot located on the top edge of the console until it clicks into place. To remove, press the game card gently until it pops out.
2.4 AR Cards
The Nintendo 3DS XL comes with AR Cards that allow you to play augmented reality games. Place an AR Card on a flat surface and use the console's outer cameras to view it. Characters and objects will appear on your screen as if they are in your real-world environment.

Image: Nintendo 3DS XL utilizing AR Cards for augmented reality gameplay.
3. නඩත්තු කිරීම
3.1 කොන්සෝලය පිරිසිදු කිරීම
Use a soft, dry cloth to clean the exterior of the console. For screens, use a soft, lint-free cloth specifically designed for electronics. Do not use harsh chemicals or abrasive materials. Avoid spraying cleaning solutions directly onto the screens; instead, apply a small amount to the cloth first.
3.2 බැටරි සත්කාර
To prolong battery life, avoid exposing the console to extreme temperatures. Charge the battery regularly, but it is not necessary to fully discharge it before recharging. If storing the console for an extended period, charge it to about 50% and store it in a cool, dry place.
3.3 සාමාන්ය රැකවරණය
Keep the console away from dust, dirt, and moisture. Avoid dropping the console or subjecting it to strong impacts. Close the console when not in use to protect the screens.
4. දෝශ නිරාකරණය
4.1 කොන්සෝලය ක්රියාත්මක නොවේ
Ensure the console is fully charged. If the battery is completely depleted, it may take a few minutes of charging before the console can power on. Try connecting the AC adapter to a different outlet.
4.2 තිර ගැටළු
If the screen is unresponsive, ensure it is clean and free of debris. If the 3D effect appears blurry or causes discomfort, adjust the 3D Depth Slider or turn off the 3D function. For persistent screen issues, perform a system restart.
4.3 Wi-Fi සම්බන්ධතා ගැටළු
Verify that your wireless router is functioning correctly and within range. Check the Wi-Fi settings on your console to ensure the correct network is selected and the password is entered accurately. Restarting your router and console can often resolve connectivity issues.
4.4 පද්ධතිය නැවත ආරම්භ කිරීම
If the console becomes unresponsive, hold down the POWER button for several seconds until the system shuts down. Wait a few moments, then press the POWER button again to restart.
5. පිරිවිතර
| විශේෂාංගය | විස්තර |
|---|---|
| ආදර්ශ අංකය | SPRSBKA1 |
| මානයන් (වසා ඇත) | අඟල් 6.14 x 0.87 x 3.66 |
| බර | අවුන්ස 12 කි |
| Supported Flash Memory Cards | ආරක්ෂිත ඩිජිටල් (SD) |
| Graphic Quality | 240p |
| Wifi | බිල්ට්-ඉන් |
| බැටරි වර්ගය | 1 Lithium Metal බැටරියක් අවශ්යයි |
| නිකුත් කරන දිනය | 19 අගෝස්තු 2012 |
6. වගකීම් සහ සහාය
6.1 නිෂ්පාදන වගකීම්
This Nintendo 3DS XL console is covered by a limited warranty. Please refer to the warranty information included in your product packaging or visit the official Nintendo support website for details regarding coverage, terms, and conditions.
6.2 පාරිභෝගික සහාය
For technical assistance, troubleshooting, or service inquiries, please visit the official Nintendo support website or contact Nintendo customer service directly. Contact information can typically be found on the Nintendo website or in the documentation provided with your console.


