1. හැඳින්වීම
This manual provides essential information for the safe and efficient use of your Acer B326HK 32-inch UHD 4K monitor. Please read this manual thoroughly before operating the device and retain it for future reference.
The Acer B326HK monitor features a 32-inch Ultra HD (4K2K) display with a resolution of 3840 x 2160 pixels, offering detailed imagery. It includes an ergonomic stand and supports VESA mounting for flexible placement. Connectivity options include DVI, MHL, DisplayPort, Mini DisplayPort, and a 5-port USB 3.0 hub.
2 ආරක්ෂිත තොරතුරු
- වැටීම වැළැක්වීම සඳහා සෑම විටම මොනිටරය ස්ථාවර, සමතලා මතුපිටක් මත තබන්න.
- මොනිටරය වටා නිසි වාතාශ්රය සහතික කරන්න. වාතාශ්රය විවරයන් අවහිර නොකරන්න.
- නිෂ්පාදකයා විසින් සපයනු ලබන බල ඇඩැප්ටරය සහ කේබල් පමණක් භාවිතා කරන්න.
- මොනිටරය තෙතමනය, වර්ෂාව හෝ අධික උෂ්ණත්වයන්ට නිරාවරණය කිරීමෙන් වළකින්න.
- මොනිටරය ඔබම සේවා කිරීමට උත්සාහ නොකරන්න. සියලුම සේවා සුදුසුකම් ලත් පුද්ගලයින් වෙත යොමු කරන්න.
- පිරිසිදු කිරීමට පෙර විදුලිබලාගාරයෙන් මොනිටරය විසන්ධි කරන්න.
- මොනිටරය ශක්තිමත් චුම්භක ක්ෂේත්රවලින් ඈත් කර තබන්න.
3. පැකේජ අන්තර්ගතය
සියලුම අයිතම පැකේජයේ ඇති බව තහවුරු කරගන්න:
- Acer B326HK LED-backlit LCD monitor - 32"
- DisplayPort කේබලය
- DVI කේබලය
- SuperSpeed USB කේබලය
- විදුලි රැහැන
- පරිශීලක අත්පොත (මෙම ලේඛනය)
4. පිහිටුවීම
4.1 මොනිටර ස්ථාවරය එකලස් කිරීම
Carefully remove the monitor and stand components from the packaging. Follow the instructions below to attach the stand to the monitor panel.

රූපය 4.1: ඉදිරිපස view of the Acer B326HK monitor with its ergonomic stand.
- සීරීම් වළක්වා ගැනීම සඳහා මොනිටර පැනලය මෘදු, පිරිසිදු රෙද්දක් මත මුහුණට පහළට තබන්න.
- Align the stand arm with the mounting slot on the back of the monitor.
- Secure the stand arm to the monitor using the provided screws.
- Attach the base to the stand arm and tighten the thumb screw or screws from the bottom.
- Carefully lift the assembled monitor and place it on your desired surface.
The monitor also supports VESA compatible mounting (100x100mm) for wall mounts or alternative stands. Refer to your VESA mount's instructions for installation.
4.2 සම්බන්ධක කේබල්
අවශ්ය කේබල් මොනිටරයේ සහ ඔබේ පරිගණකයේ පිටුපස ඇති අනුරූප වරායන්ට සම්බන්ධ කරන්න.
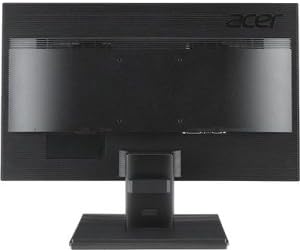
රූපය 4.2: පසුපස view of the Acer B326HK monitor, highlighting the various input ports.
- වීඩියෝ ආදානය: Connect one of the following video cables from your computer's graphics card to the monitor:
- DisplayPort cable (recommended for 4K resolution at 60Hz)
- Mini DisplayPort cable
- DVI cable (supports HDCP)
- MHL cable (for compatible mobile devices)
- USB Upstream: Connect the SuperSpeed USB cable from your computer to the monitor's USB upstream port to enable the monitor's USB 3.0 hub.
- USB පහළට: Use the 5 high-speed USB 3.0 ports on the monitor to connect peripherals like a mouse, keyboard, or for charging mobile devices.
- බලය: විදුලි රැහැන මොනිටරයේ බල ආදානයට සම්බන්ධ කරන්න, ඉන්පසු අනෙක් කෙළවර භූගත විදුලි අලෙවිසැලකට සම්බන්ධ කරන්න.
5. මොනිටරය ක්රියාත්මක කිරීම
5.1 බලය සක්රිය / අක්රිය
Press the power button, usually located on the bottom right bezel, to turn the monitor on or off. The power indicator light will illuminate when the monitor is on.
5.2 Adjusting the Display (OSD Menu)
The On-Screen Display (OSD) menu allows you to adjust various monitor settings such as brightness, contrast, color, input source, and more. Use the control buttons located on the monitor's bezel to navigate the OSD menu.
- OSD මෙනුව සක්රිය කිරීමට ඕනෑම OSD බොත්තමක් ඔබන්න.
- Use the navigation buttons (usually arrows) to move through the menu options.
- උප මෙනුවක් ඇතුළු කිරීමට හෝ සැකසුමක් තහවුරු කිරීමට තෝරන්න බොත්තම ඔබන්න.
- Use the navigation buttons to adjust values or select options.
- Press the exit button to leave the OSD menu.
5.3 ආදාන මූලාශ්ර තේරීම
The monitor can automatically detect an active input source. If multiple sources are connected, you may need to manually select the desired input via the OSD menu. Navigate to the "Input" or "Source" section in the OSD and select your preferred input (e.g., DisplayPort, DVI, MHL).
5.4 කාර්යක්ෂමතා ගැලපීම්
ergonomic stand එක ඔබේ ප්රශස්ත කිරීම සඳහා විවිධ ගැලපීම් සඳහා ඉඩ සලසයි viewසුවපහසුව:
- උස ගැලපීම: Gently push or pull the monitor panel up or down.
- ඇල ගැලපීම: Tilt the monitor panel forward or backward to find the optimal viewing කෝණය.
- කැරකෙන ගැලපීම: මොනිටරය එහි පාදයේ වමට හෝ දකුණට කරකවන්න.
- විවර්තන ගැලපීම: Rotate the monitor 90 degrees for portrait mode (ensure sufficient clearance).
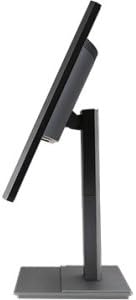
රූපය 5.1: පැත්ත view of the Acer B326HK monitor, demonstrating its tilt capability.
6. නඩත්තු කිරීම
නිසි සැලකිල්ල ඔබේ මොනිටරයේ ආයු කාලය සහතික කරයි.
- තිරය පිරිසිදු කිරීම:
- මොනිටරය නිවා දමා විදුලි රැහැන විසන්ධි කරන්න.
- Use a soft, lint-free cloth (e.g., microfiber) slightly dampජලය හෝ ඇමෝනියා නොවන, මධ්යසාර නොවන තිර පිරිසිදු කරන්නෙකු සමඟ ආලේප කර ඇත.
- Wipe the screen gently. Do not spray cleaner directly onto the screen.
- සී පිරිසිදු කිරීමasing:
- මොනිටරය පිස දැමීමට මෘදු වියළි රෙද්දක් භාවිතා කරන්න casing.
- උල්ෙල්ඛ පිරිසිදු කරන්නන් හෝ ද්රාවක භාවිතා කිරීමෙන් වළකින්න.
- වාතාශ්රය: Ensure the ventilation openings on the monitor are clear of dust and debris.
7. දෝශ නිරාකරණය
ඔබේ මොනිටරය සමඟ ගැටළු ඇති වුවහොත්, පහත පොදු විසඳුම් වෙත යොමු වන්න:
| ගැටලුව | හැකි විසඳුම |
|---|---|
| බලය නැත |
|
| රූපයක් නැත / "සංඥාවක් නැත" පණිවිඩය |
|
| රූපය නොපැහැදිලි හෝ විකෘති වී ඇත. |
|
| Color issues or incorrect display |
|
| කථිකයින්ගෙන් ශබ්දයක් නැත |
|
8. පිරිවිතර
Key technical specifications for the Acer B326HK monitor:
| විශේෂාංගය | විස්තර |
|---|---|
| ආදර්ශ අංකය | B326HK ymjdpphz |
| තිර ප්රමාණය | අඟල් 32 |
| උපරිම තිර විභේදනය | 3840 x 2160 Pixels (4K UHD 2160p) |
| දර්ශන අනුපාතය | 16:9 |
| ප්රතිචාර කාලය | 6ms |
| පරස්පර අනුපාතය | 100,000,000:1 (ගතික) |
| සංඥා ආදාන | 1 x DVI (w/HDCP), 1 x MHL, 1 x Display Port, 1 x Mini Display Port |
| USB Ports | 5 x USB 3.0 (1 upstream, 4 downstream) |
| VESA මවුන්ට් අනුකූල වේ | ඔව් |
| අයිතමයේ බර | රාත්තල් 26.4 කි |
| නිෂ්පාදන මානයන් (LxWxH) | අඟල් 10.49 x 29.05 x 18.63 |
| නිෂ්පාදකයා | Acer Computer |
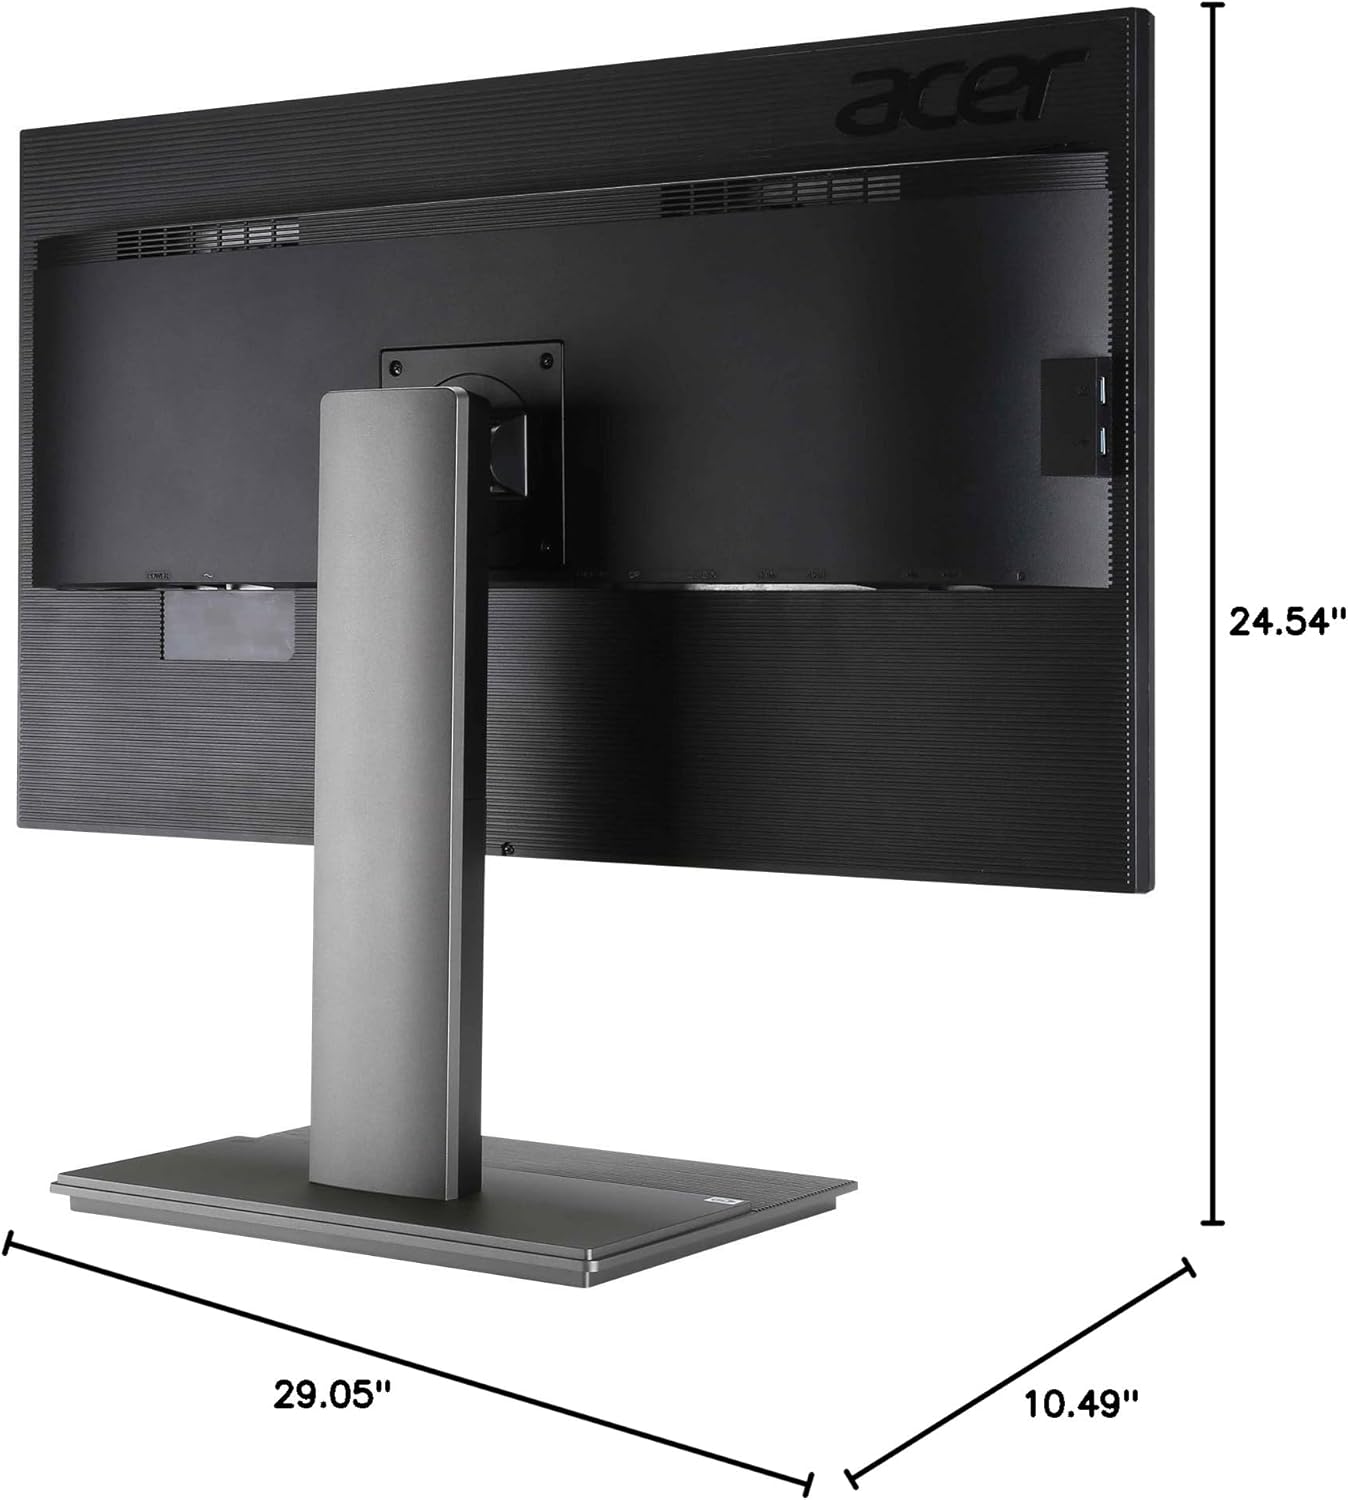
රූපය 8.1: මාන view of the Acer B326HK monitor.
9. වගකීම් සහ සහාය
වගකීම් තොරතුරු සහ තාක්ෂණික සහාය සඳහා, කරුණාකර ඔබේ නිෂ්පාදනය සමඟ ඇතුළත් කර ඇති වගකීම් කාඩ්පත බලන්න හෝ නිල Acer සහාය වෙත පිවිසෙන්න. website. You may need your monitor's serial number, which is typically located on a label on the back of the monitor.
Acer Official Webඅඩවිය: https://www.acer.com/support


