1. හැඳින්වීම
Thank you for choosing the Duravit Luv Washbowl, Model 038060. This ceramic washbowl is designed for modern bathrooms, offering both aesthetic appeal and functionality. This manual provides important information regarding the safe installation, proper use, and effective maintenance of your new washbowl. Please read these instructions carefully before beginning installation or use, and retain them for future reference.

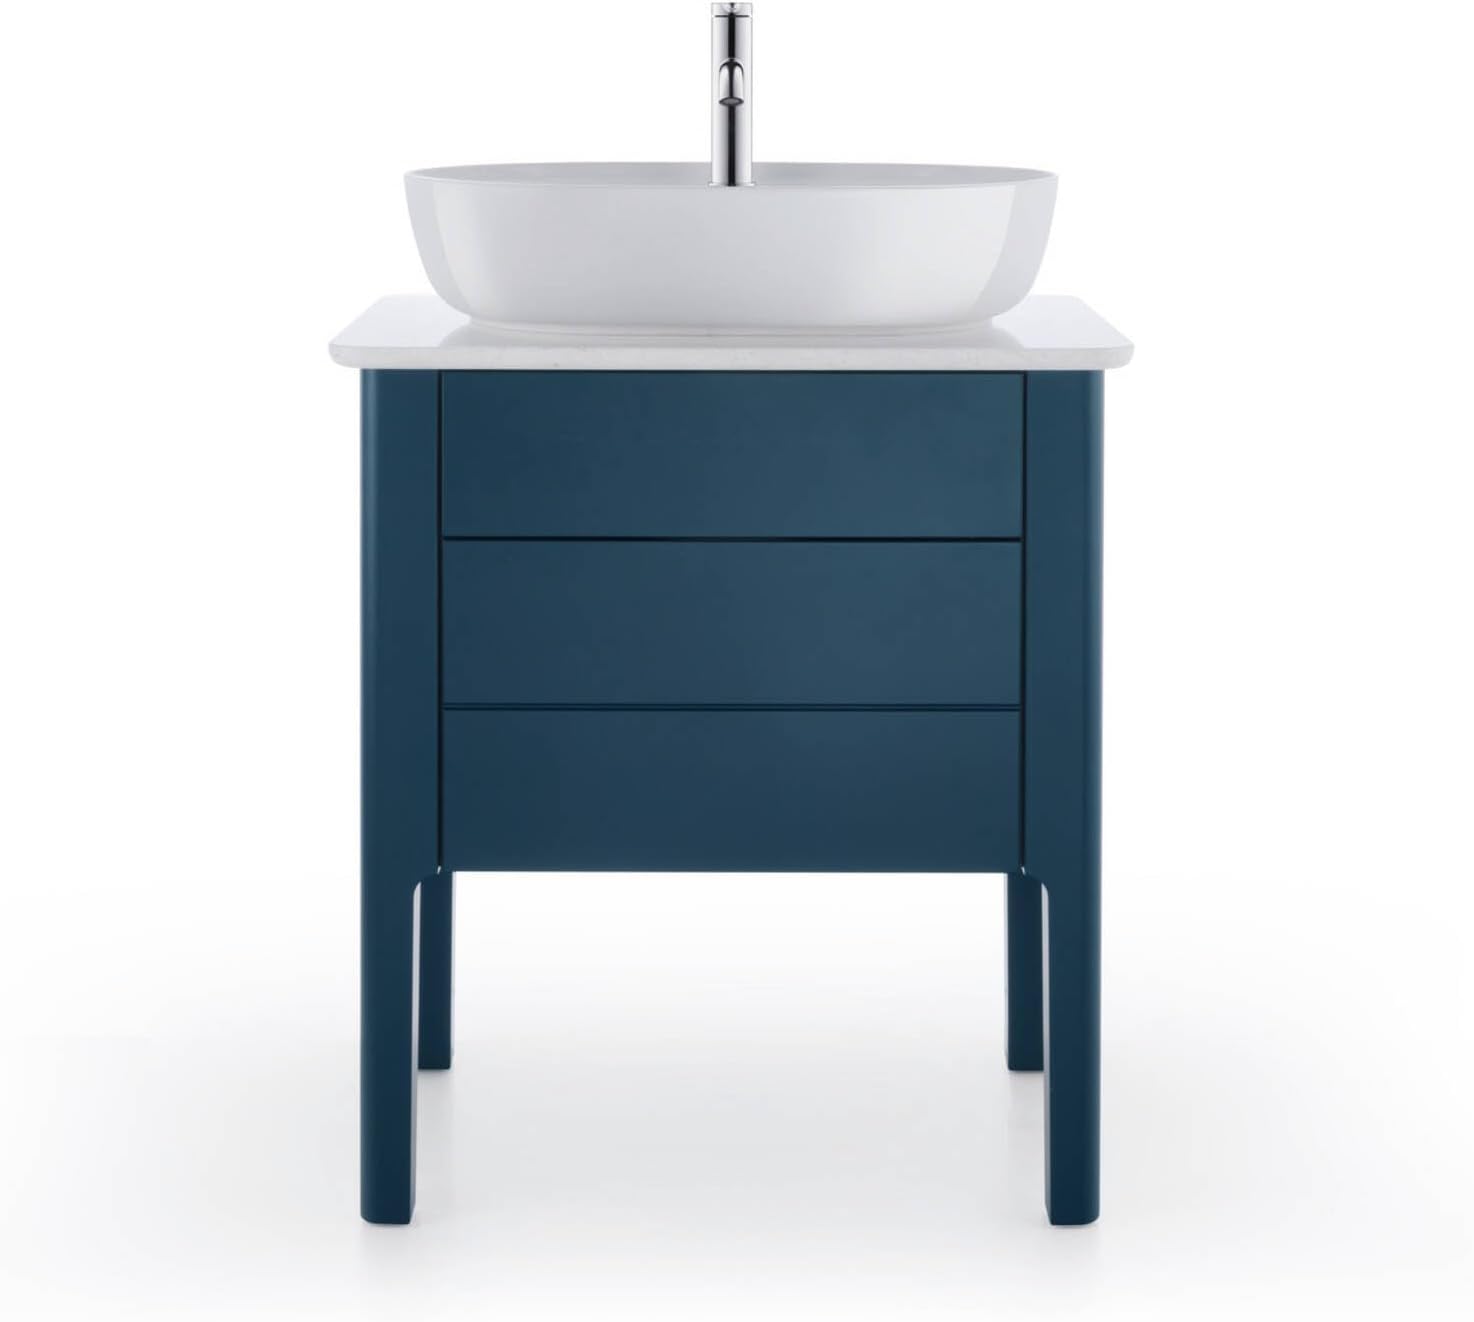
Image 1.1: The Duravit Luv Washbowl (Model 038060) in a typical bathroom setting, showcasing its elegant design and integration with a vanity.
2 ආරක්ෂිත තොරතුරු
Always observe basic safety precautions when installing or maintaining plumbing fixtures. Failure to follow these instructions could result in property damage, personal injury, or void the product warranty.
- වෘත්තීය ස්ථාපනය නිර්දේශ කෙරේ: Installation of this washbowl should ideally be performed by a qualified plumber or a certified professional to ensure correct setup and compliance with local plumbing codes.
- පරිස්සමින් හැසිරවීම: Ceramic is a fragile material. Handle the washbowl carefully to prevent chipping, cracking, or breakage. Do not drop or subject it to heavy impact.
- ජල සැපයුම: Ensure the main water supply is turned off before commencing any installation work to prevent leaks or flooding.
- නිසි මෙවලම්: Use appropriate tools for installation. Avoid overtightening connections, which can damage the washbowl or plumbing.
- වාතාශ්රය: Ensure adequate ventilation when using sealants or adhesives during installation.
- බර: The washbowl has a significant weight (approximately 22.7 pounds). Use proper lifting techniques or seek assistance to avoid injury.
3. පැකේජ අන්තර්ගතය
Upon unpacking, please verify that all components are present and undamaged. If any parts are missing or damaged, contact your retailer or Duravit customer service immediately.
- Duravit Luv Washbowl (Model 038060)
- Mounting Hardware (as supplied by manufacturer)
Note: Faucet, drain assembly, and vanity are sold separately unless specified otherwise by your retailer.
4. පිහිටුවීම සහ ස්ථාපනය
This section provides general guidelines for installing the Duravit Luv Washbowl. Specific installation methods may vary depending on your vanity type (e.g., countertop, wall-mounted) and local plumbing configurations. Always refer to the detailed technical drawings and consult a professional if unsure.
4.1 පූර්ව ස්ථාපන පියවර
- Inspect the Washbowl: Before installation, carefully inspect the washbowl for any visible defects or damage. Do not install a damaged product.
- ස්ථාපන ප්රදේශය සකස් කරන්න: Ensure the countertop or vanity surface is clean, level, and structurally sound to support the washbowl's weight.
- මෙවලම් එකතු කරන්න: Have all necessary tools ready, including wrenches, sealant, measuring tape, level, and safety gear.
- Review මානයන්: Consult the dimension diagram to ensure proper placement and clearance for plumbing connections.

Image 4.1: Technical drawing illustrating the dimensions and installation clearances for the Duravit Luv Washbowl.
4.2 General Installation Procedure (Surface Mounted)
- ස්ථානගත කිරීම: Carefully place the washbowl on the desired location on the countertop. Mark the outline and the drain hole position.
- Drill Holes (if necessary): If your countertop does not have pre-drilled holes for the drain or faucet, carefully drill them according to the manufacturer's template and the dimension diagram.
- කාණු එකලස් කිරීම ස්ථාපනය කරන්න: Install the drain assembly into the washbowl's drain hole, following the drain manufacturer's instructions. Ensure a watertight seal using plumber's putty or silicone sealant.
- සීලන්ට් යොදන්න: Apply a bead of silicone sealant around the bottom edge of the washbowl where it will contact the countertop.
- Set the Washbowl: Carefully lower the washbowl onto the sealant, aligning it with the marked position. Press down firmly to ensure good adhesion.
- ජලනල සම්බන්ධ කරන්න: Connect the drain assembly to the P-trap and the water supply lines to the faucet (if applicable). Ensure all connections are hand-tightened, then gently snugged with a wrench. Do not overtighten.
- කාන්දුවීම් සඳහා පරීක්ෂණය: Turn on the main water supply slowly and check all connections for leaks. Run water into the washbowl and observe the drain for any drips.
- සුව කිරීමේ සීලන්ට්: Allow the sealant to cure completely as per the sealant manufacturer's instructions before using the washbowl.
රූපය 4.2: උදාample of the Duravit Luv Washbowl installed on a vanity, demonstrating a finished setup.
5. මෙහෙයුම් උපදෙස්
The Duravit Luv Washbowl is designed for standard bathroom use. Its operation is straightforward:
- ජල ප්රවාහය: Use the faucet handles to control the water temperature and flow rate.
- ජලාපවහන: The washbowl is equipped with a standard drain opening. Ensure the pop-up or grid drain is functioning correctly to allow water to drain or retain water as needed.
- සැර රසායනික ද්රව්යවලින් වළකින්න: Do not pour harsh chemicals, paints, or abrasive materials down the drain, as this can damage the ceramic finish or the plumbing system.
6. නඩත්තුව සහ රැකවරණය
Proper care will ensure the longevity and pristine appearance of your Duravit Luv Washbowl. Ceramic is durable but requires gentle cleaning.
- නිතිපතා පිරිසිදු කිරීම: Wipe the washbowl with a dry, soft cloth after each use to prevent water spots and soap scum buildup.
- මෘදු පිරිසිදු කිරීම: For deeper cleaning, use a mild, non-abrasive liquid cleaner and a soft sponge or cloth. Rinse thoroughly with clean water and dry immediately.
- උල්ෙල්ඛ වලින් වළකින්න: Do not use abrasive cleaners, scouring pads, steel wool, or harsh chemical cleaners (e.g., strong acids, alkalis, or bleach-based products) as these can damage the ceramic glaze.
- පැල්ලම් ඉවත් කිරීම: For stubborn stains, a diluted solution of vinegar or lemon juice can be used, followed by thorough rinsing. Test on an inconspicuous area first.
- තද ජල පැල්ලම් වැළැක්වීම: In areas with hard water, regular cleaning is crucial to prevent mineral deposits. A diluted vinegar solution can help dissolve existing deposits.
- Drain Care: Periodically clean the drain stopper and surrounding area to prevent buildup and ensure proper drainage.
7. දෝශ නිරාකරණය
This section addresses common issues you might encounter with your washbowl. For problems not listed here, or if solutions do not resolve the issue, contact a qualified plumber or Duravit customer support.
| ගැටලුව | විය හැකි හේතුව | විසඳුම |
|---|---|---|
| මන්දගාමී ජලාපවහනය | කාණුව තුළ හිසකෙස් හෝ සුන්බුන් එකතු වීම. | Remove and clean the drain stopper. Use a drain snake or a mild drain cleaner (avoid harsh chemicals). |
| Leaks around the drain or faucet base | ලිහිල් සම්බන්ධතා හෝ ගෙවී ගිය මුද්රා. | Check and tighten all plumbing connections. Replace worn washers or O-rings. Reapply plumber's putty or silicone sealant if necessary. |
| ජල පැල්ලම් හෝ ඛනිජ සමුච්චය වීම | ඝන ජල තැන්පතු. | Clean regularly with a soft cloth and a mild cleaner. For stubborn spots, use a diluted vinegar solution, then rinse thoroughly. |
| Chipped or cracked ceramic | බලපෑම් හානි. | Ceramic damage is typically not repairable. Replacement may be necessary. Contact your retailer or Duravit for options. |
8. පිරිවිතර
The following specifications apply to the Duravit Luv Washbowl, Model 038060:
- වෙළඳ නාමය: ඩුරාවිට්
- ආදර්ශ අංකය: 038060
- වර්ණය: සුදු
- ද්රව්ය: සෙරමික්
- නිෂ්පාදන මානයන් (D x W x H): 5.5" x 23.63" x 5.5" (approximately 140mm x 600mm x 140mm)
- විලාසය: ඇමරිකානු
- ස්ථාපන වර්ගය: Undermount (though often used as a vessel/washbowl)
- අවසන් වර්ගය: සුදු
- හැඩය: ඕවලාකාර
- කාණු වර්ගය: Pop-Up (compatible)
- අයිතමයේ බර: රාත්තල් 22.7 (දළ වශයෙන් කිලෝග්රෑම් 10.3)
- සිදුරු ගණන: 1 (කාණු සඳහා)
- ඇතුළත් සංරචක: Washbowl, Hardware
9. වගකීම් සහ සහාය
For warranty information, please refer to the documentation provided at the time of purchase or visit the official Duravit website. Warranty terms typically cover manufacturing defects and vary by region and retailer.
If you require technical assistance, have questions about installation, or need to report a product issue, please contact your authorized Duravit retailer or Duravit customer service directly. When contacting support, please have your product model number (038060) and proof of purchase readily available.
Duravit Official Webඅඩවිය: www.duravit.com


