1. ඉවරයිview
The Aerocool Cylon RGB Midi-Tower PC Case, model ACCM-PV10012.11, is designed to house computer components, offering both functionality and aesthetic appeal. It features a side window panel for showcasing internal hardware and an RGB LED illumination strip on the front panel for customizable lighting effects. This case supports ATX motherboards and provides ample space for various components, including multiple storage drives and cooling solutions.

රූපය 1: ඉදිරිපස view of the Aerocool Cylon RGB Midi-Tower PC Case, highlighting its distinctive RGB LED strip.
2. පැකේජ අන්තර්ගතය
කරුණාකර සියලුම අයිතම පැකේජයේ ඇති බව තහවුරු කරගන්න:
- Aerocool Cylon RGB Midi-Tower PC Case (ACCM-PV10012.11)
- Accessory box (containing screws, standoffs, cable ties, etc.)
- පරිශීලක අත්පොත (මෙම ලේඛනය)
3 ආරක්ෂිත තොරතුරු
Read and understand all safety instructions before installing or operating the PC case. Failure to do so may result in injury or damage to the product.
- Always disconnect the power supply from the wall outlet before performing any installation or maintenance.
- හානි වළක්වා ගැනීම සඳහා සියලුම සංරචක ප්රවේශමෙන් හසුරුවන්න.
- Avoid touching electronic components directly; use anti-static precautions if possible.
- කුඩා කොටස් සහ උපාංග දරුවන්ට ළඟාවිය නොහැකි ලෙස තබා ගන්න.
- අධික උනුසුම් වීම වැළැක්වීම සඳහා නඩුව වටා නිසි වාතාශ්රය සහතික කරන්න.
4. පිහිටුවීම සහ ස්ථාපනය
4.1 නඩුව සකස් කිරීම
Before installing components, remove the side panels to access the interior of the case.
- නඩුව පැතලි, ස්ථාවර මතුපිටක් මත තබන්න.
- Locate the thumbscrews on the rear of the case securing the side panel.
- Unscrew the thumbscrews and carefully slide the side panel backward, then lift it off. Repeat for the other side panel if necessary.
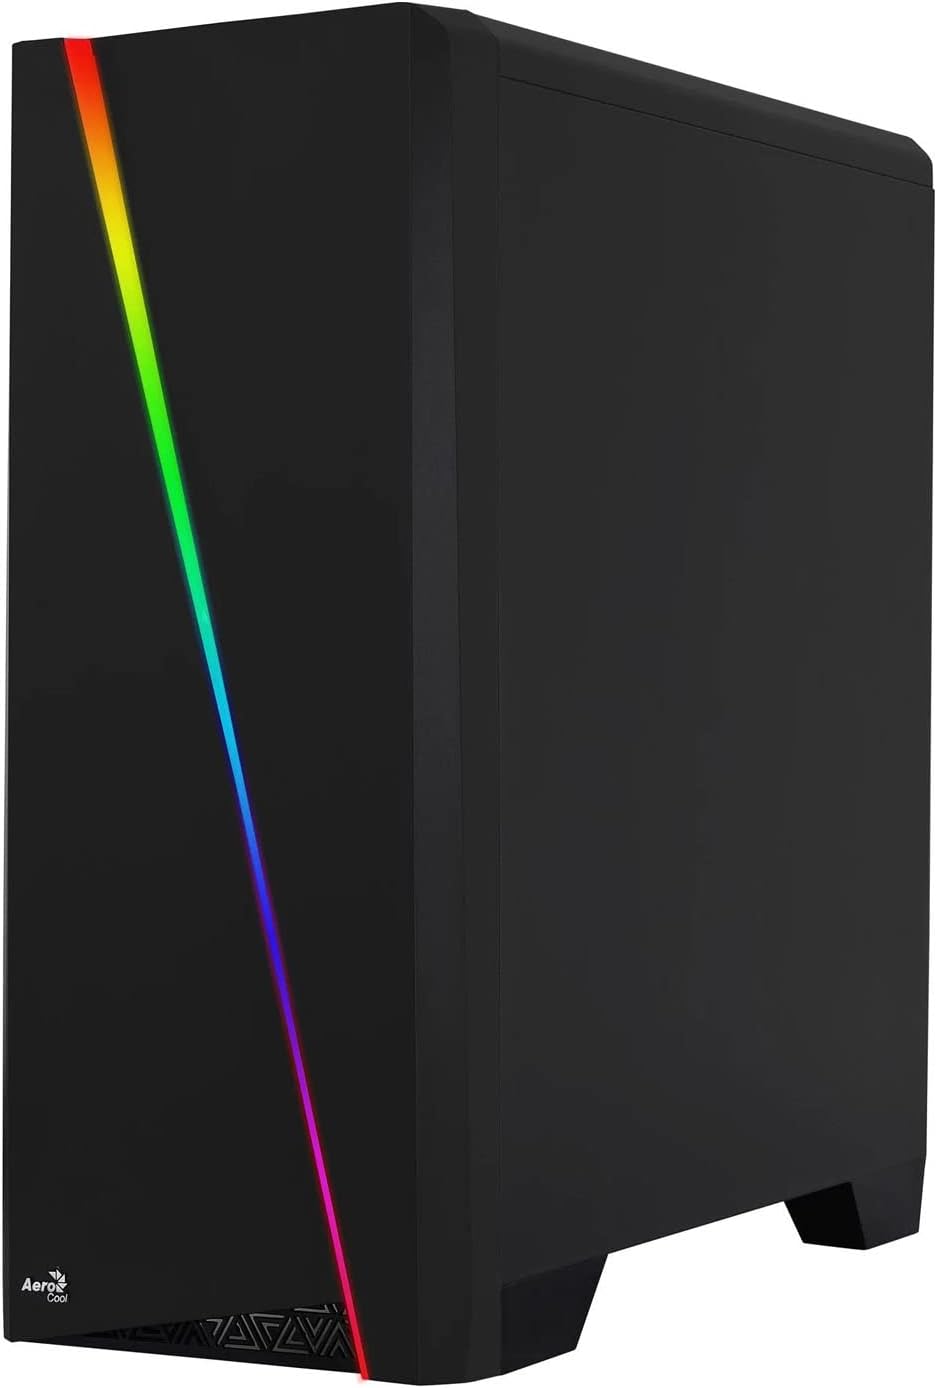

Figure 2: Left image shows the side panel attached, right image shows the side panel removed for access.
4.2 මවු පුවරුව සවි කිරීම
The Aerocool Cylon case supports ATX motherboards.
- Install the I/O shield that came with your motherboard into the opening at the rear of the case.
- Ensure motherboard standoffs are correctly aligned with your motherboard's screw holes. Install any missing standoffs from the accessory box.
- ඔබේ මවු පුවරුව ස්ටෑන්ඩ්ඕෆ් මත ප්රවේශමෙන් තබන්න, ඉස්කුරුප්පු සිදුරු පෙළගස්වන්න.
- උපාංග පෙට්ටියෙන් සුදුසු ඉස්කුරුප්පු වලින් මවු පුවරුව සුරක්ෂිත කරන්න.
4.3 Drive Installation (2.5" / 3.5")
The case provides bays for 2.5-inch and 3.5-inch drives.
- Locate the drive bays within the case. Refer to the case diagram for specific locations.
- For 3.5-inch HDDs, slide the drive into the designated tray or bay and secure it with screws.
- For 2.5-inch SSDs, mount the drive onto the designated bracket or tray and secure it with screws.
4.4 බල සැපයුම් ඒකකය (PSU) ස්ථාපනය
The PSU is typically mounted at the bottom rear of the case.
- Slide the PSU into its designated compartment from the rear of the case.
- Align the PSU's screw holes with those on the case.
- Secure the PSU with the provided screws.
4.5 Expansion Card (GPU) Installation
Install your graphics card or other expansion cards into the PCIe slots.
- Remove the necessary PCI-E slot covers from the rear of the case corresponding to your expansion card's size.
- Carefully insert the expansion card into the appropriate PCI-E slot on the motherboard until it clicks into place.
- Secure the expansion card with screws.

රූපය 3: පසුපස view of the PC case, showing the expansion slots and I/O area.
4.6 Fan / Liquid Cooling Radiator Installation
The Aerocool Cylon case supports various cooling configurations.
- පසුපස: 1 x 120mm fan (pre-installed or optional).
- ඉහළ: Supports 2 x 120mm fans or 1 x 240mm radiator.
- පහළ: 2 x 120mm විදුලි පංකා සඳහා සහය දක්වයි.
- Mount fans or radiators to their respective positions using the appropriate screws.
- Connect fan power cables to the motherboard or a fan controller.

Figure 4: An interior shot of the case, illustrating potential fan and liquid cooling radiator placements.
4.7 කේබල් කළමනාකරණය
Effective cable management improves airflow and aesthetics.
- Route cables through the cutouts and behind the motherboard tray.
- Use cable ties (included in the accessory box) to bundle and secure cables.
4.8 ඉදිරිපස පුවරුව I/O සම්බන්ධ කිරීම
Connect the front panel cables to the corresponding headers on your motherboard.
- USB 3.0: Connect the USB 3.0 cable to the motherboard's USB 3.0 header.
- USB 2.0: Connect the USB 2.0 cables (x2) to the motherboard's USB 2.0 headers.
- HD ශ්රව්ය: Connect the HD Audio cable to the motherboard's audio header.
- Power/Reset/LEDs: Connect the small individual cables (Power SW, Reset SW, HDD LED, Power LED) to the motherboard's front panel headers according to your motherboard manual.
5. PC කේස් එක ක්රියාත්මක කිරීම
Once all components are installed and connected, reattach the side panels and power on your system.
- බල ගැන්වීම: නඩුවේ ඉහළ I/O පුවරුවේ ඇති බල බොත්තම ඔබන්න.
- RGB ආලෝකකරණ පාලනය: The front panel RGB LED illumination can be controlled via a dedicated button on the top I/O panel or through compatible motherboard software, depending on your setup. Refer to your motherboard manual for software control options.
6. නඩත්තු කිරීම
නිතිපතා නඩත්තු කිරීම ඔබේ පරිගණක නඩුවේ සහ සංරචකවල ප්රශස්ත ක්රියාකාරිත්වය සහ කල්පැවැත්ම සහතික කිරීමට උපකාරී වේ.
- දූවිලි පෙරහන් පිරිසිදු කිරීම: The case features dust filters (e.g., on the top and bottom). Regularly remove and clean these filters to prevent dust buildup and maintain good airflow. Use compressed air or a soft brush.
- සාමාන්ය පිරිසිදු කිරීම: මෘදු, ඩී භාවිතා කරන්නamp cloth to wipe down the exterior of the case. Avoid abrasive cleaners or solvents. For the transparent side panel, use a microfiber cloth to prevent scratches.
7. දෝශ නිරාකරණය
ඔබට ගැටළු ඇති වුවහොත්, පහත පොදු දෝශ නිරාකරණ පියවර සලකා බලන්න:
- බලය නැත: Ensure the PSU is properly connected to the wall outlet and the power switch on the PSU is in the 'ON' position. Verify all power cables to the motherboard and components are securely seated.
- කැරකෙන්නේ නැති විදුලි පංකා: Check that all fan cables are correctly connected to the motherboard or fan controller. Ensure the system is receiving power.
- RGB Not Working: Confirm RGB cables are properly connected. If using motherboard software, ensure it is installed and configured correctly.
- ලිහිල් සම්බන්ධතා: Recheck all internal connections (power, data, front panel I/O) to ensure they are firmly seated.
8. පිරිවිතර
| විශේෂාංගය | පිරිවිතර |
|---|---|
| මාදිලියේ නම | ACCM-PV10012.11 |
| නඩු වර්ගය | මැද කුළුණ |
| මවු පුවරු අනුකූලතාව | ATX |
| මානයන් (LxWxH) | අඟල් 16.26 x 7.8 x 18.07 |
| අයිතමයේ බර | රාත්තල් 8.36 කි |
| ද්රව්ය | ඇක්රිලික් |
| USB 3.0 Ports | 1 |
| USB 2.0 Ports | 2 |
| සිසිලන ක්රමය | වාතය |
| Fan Size (Rear) | මිලිමීටර් 120 යි |
| RGB ආලෝකකරණය | Front Panel LED Strip |
9. වගකීම් තොරතුරු
The Aerocool Cylon RGB Midi-Tower PC Case is covered by a manufacturer's warranty. Please refer to the warranty card included with your product or visit the official AeroCool webආවරණ කාලය සහ හිමිකම් ක්රියා පටිපාටි ඇතුළුව සවිස්තරාත්මක වගකීම් නියමයන් සහ කොන්දේසි සඳහා අඩවිය.
10. සහාය
For further assistance, technical support, or to download the latest drivers and software, please visit the official AeroCool webඅඩවිය:
Webඅඩවිය: www.aerocool.io
You may also contact AeroCool customer service through the contact information provided on their webඅඩවිය.


