1. හැඳින්වීම
This manual provides detailed instructions for the safe and efficient operation of your Pyramid Universal Compact Bench Power Supply, model PS12KX.5. This linear regulated power supply is designed to convert 115V AC input to a constant 13.8V DC output, providing up to 10 amps continuous and 12 amps surge current. It is suitable for various applications including powering cellular phones, CB radios, scanners, and HAM radios.
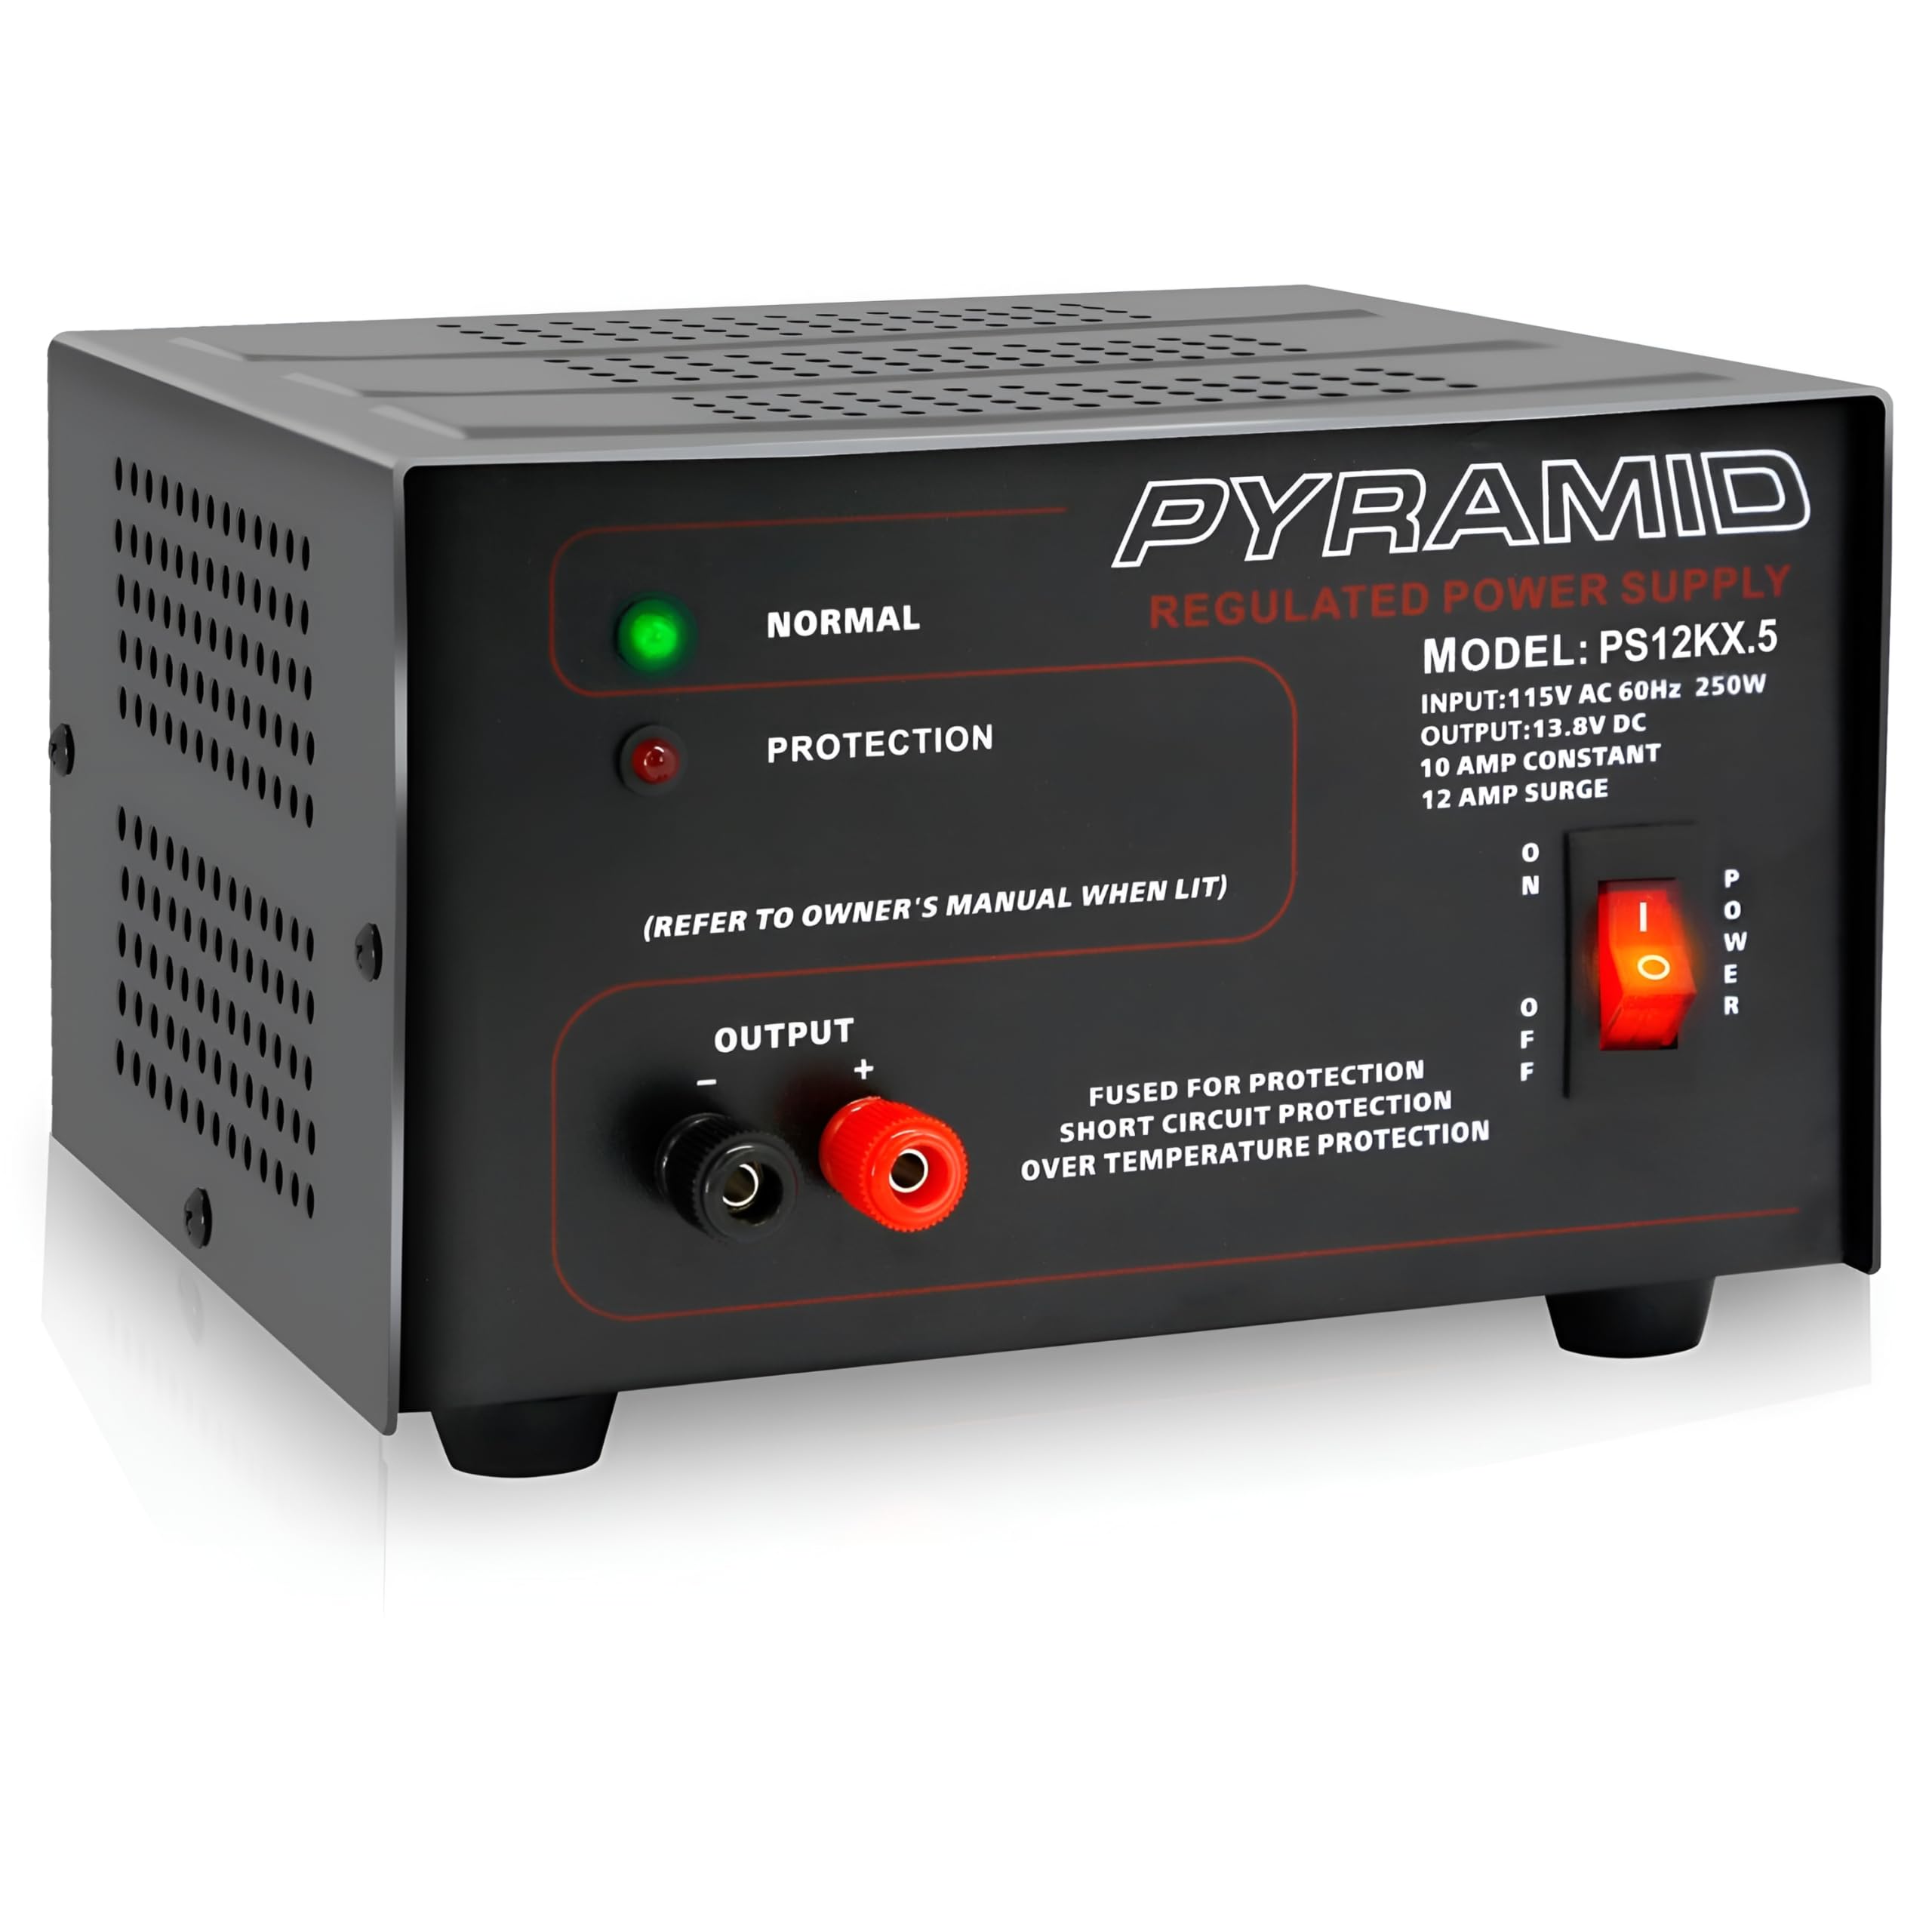
රූපය 1.1: ඉදිරිපස view of the Pyramid PS12KX.5 Bench Power Supply.
දෘශ්ය විවරණයක් සඳහාview of the product, please watch the following video:
වීඩියෝ 1.1: නිල නිෂ්පාදනය අවසන්view of the Pyramid Universal Compact Bench Power Supply.
2. වැදගත් ආරක්ෂක උපදෙස්
- සියලුම උපදෙස් කියවන්න: Before operating the power supply, read and understand all safety and operating instructions.
- ගෘහස්ථ භාවිතය සඳහා පමණි: This unit is designed for indoor use in dry locations. Do not expose it to rain or moisture.
- නිසි වාතාශ්රය: Ensure adequate ventilation around the unit. Do not block ventilation openings. The built-in cooling fan requires clear airflow.
- බලශක්ති මූලාශ්රය: Connect the power supply only to a 115V AC, 60Hz outlet.
- භූගත කිරීම: විදුලි රැහැන නිසි ලෙස බිම තබා ඇති බවට වග බලා ගන්න.
- අධික ලෙස පැටවීමෙන් වළකින්න: Do not exceed the rated output current of 10 ampඅඛණ්ඩ හෝ 12 amps surge. Overloading can cause damage to the unit and connected devices.
- කෙටි පරිපථ ආරක්ෂාව: The unit features electronic overload and short circuit protection. In case of a short circuit, the unit will automatically protect itself. Remove the short and cycle the power to reset.
- උෂ්ණත්වය: Do not operate the unit in excessively hot environments. The internal cooling fan helps manage temperature.
- සේවා: මෙම ඒකකයට ඔබම සේවා සැපයීමට උත්සාහ නොකරන්න. සියලුම සේවා සුදුසුකම් ලත් සේවා නිලධාරීන් වෙත යොමු කරන්න.
3. නිෂ්පාදන අවසන්view
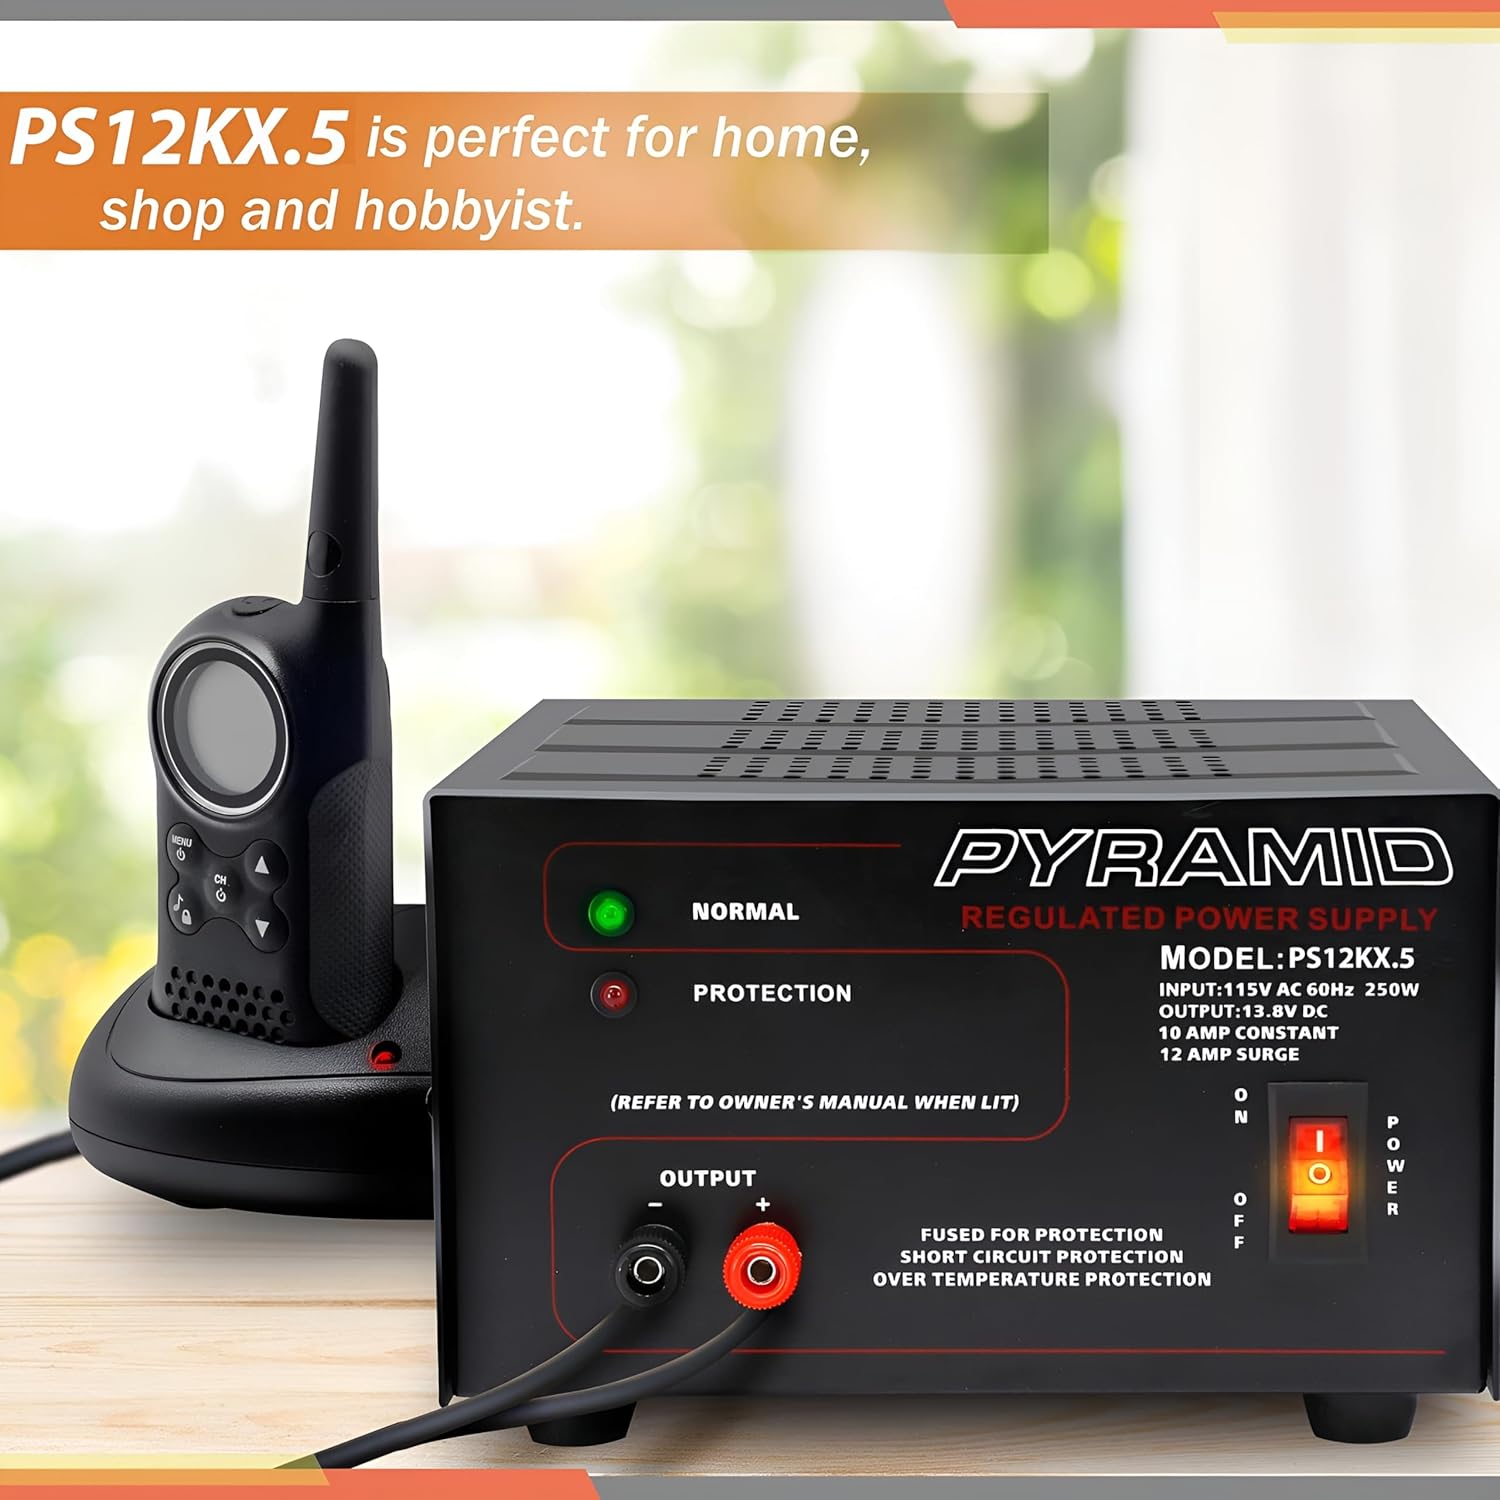
3.1 ඉදිරිපස පුවරුව
රූපය 3.1: විස්තරාත්මක view ඉදිරිපස පුවරුවේ.
- NORMAL LED (Green): Illuminates when the power supply is operating normally.
- PROTECTION LED (Red): Illuminates when the unit enters protection mode due to overload, short circuit, or over-temperature.
- OUTPUT Terminals: Red (+) for positive, Black (-) for negative DC output. These are screw-type terminals for secure connections.
- බල සැපයුම් සුවිචය: ඒකකය සක්රිය/අක්රිය ටොගල් කරයි.
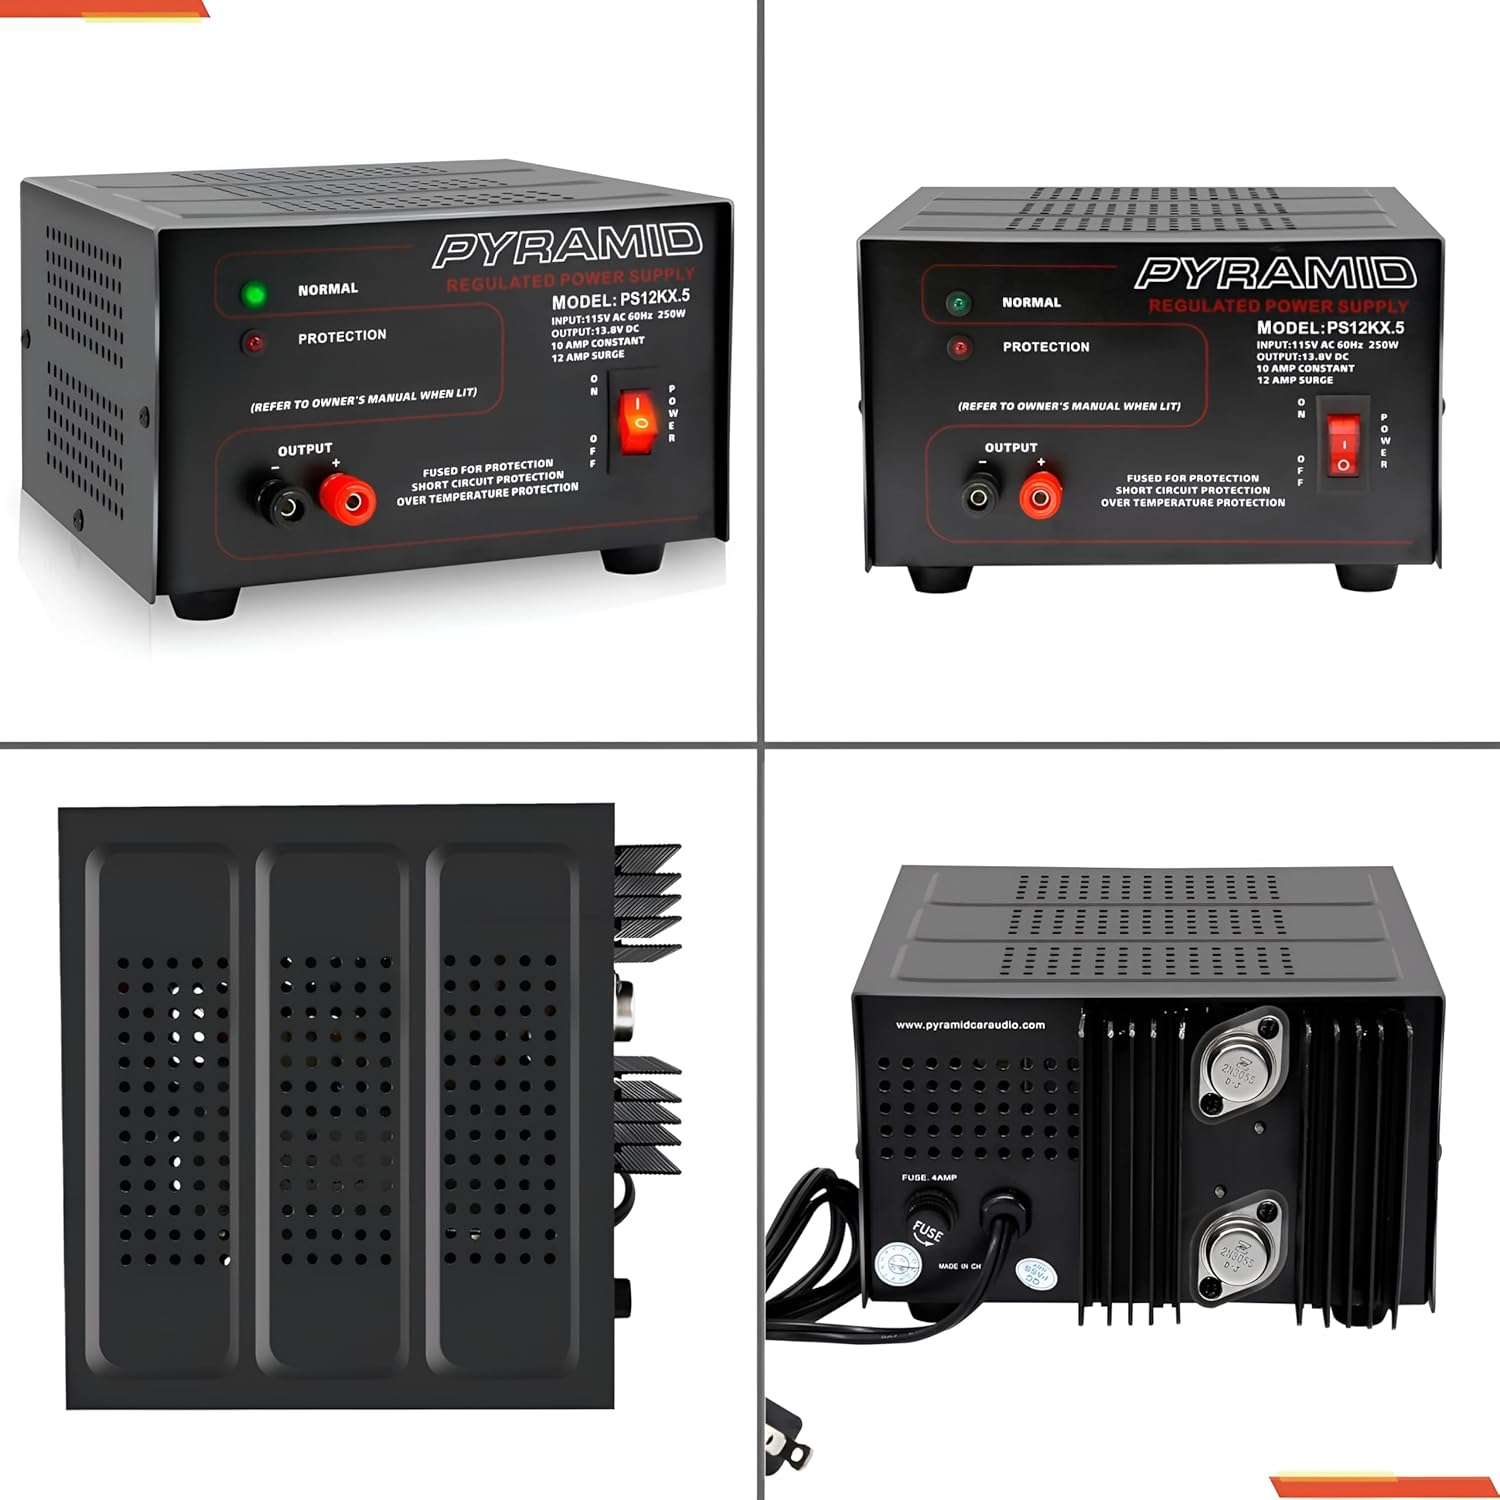
3.2 පසුපස පුවරුව
රූපය 3.2: විස්තරාත්මක view of the rear panel.
- AC ආදානය: Standard 3-prong AC power cord connection.
- සිසිලන විදුලි පංකාව: ක්රියාත්මක වන අතරතුර තාපය විසුරුවා හැරීම සඳහා ස්වයංක්රීයව ක්රියාත්මක වේ.
- ෆියුස්: Provides additional protection. Refer to specifications for fuse rating.
4. පිහිටුවීම
- ස්ථානගත කිරීම: Place the power supply on a stable, flat surface. Ensure there is sufficient space around the unit for proper ventilation, especially around the side and rear cooling vents.
- AC බල සම්බන්ධතාවය: Ensure the power supply's ON/OFF switch is in the OFF position. Connect the supplied AC power cord to the AC input on the rear panel of the power supply, then plug the other end into a standard 115V AC, 60Hz wall outlet.
- DC Load Connection: Identify the positive (+) and negative (-) terminals on your DC device. Using appropriate gauge wire, connect the positive wire from your device to the RED (+) output terminal on the power supply. Connect the negative wire from your device to the BLACK (-) output terminal. Ensure all connections are tight and secure to prevent arcing or poor contact.

රූපය 4.1: පැත්ත view illustrating cooling vents.
5. මෙහෙයුම් උපදෙස්
- බල ගැන්වීම: After ensuring all connections are secure, flip the POWER switch on the front panel to the ON position. The green NORMAL LED should illuminate, indicating normal operation.
- අධීක්ෂණය: Observe the NORMAL LED. If the red PROTECTION LED illuminates, the unit has entered protection mode. Refer to the Troubleshooting section for guidance.
- විදුලිය විසන්ධි කිරීම: To turn off the power supply, flip the POWER switch to the OFF position. Disconnect the DC load if the device will not be used for an extended period.
6. නඩත්තු කිරීම
- පිරිසිදු කිරීම: Keep the power supply clean and free of dust. Use a soft, dry cloth for cleaning. Do not use liquid cleaners or aerosols.
- වාතාශ්රය: Regularly check that the cooling fan and ventilation openings are not obstructed by dust or debris. Blocked vents can lead to overheating.
- ෆියුස් ආදේශනය: If the unit fails to power on and the fuse is suspected, disconnect the AC power cord and replace the fuse on the rear panel with one of the identical type and rating (refer to Specifications).
This section outlines common issues and their potential solutions. If you encounter a problem not listed here, or if the suggested solutions do not resolve the issue, contact customer support.
| ගැටලුව | විය හැකි හේතුව | විසඳුම |
|---|---|---|
| No power, no LEDs illuminated. | Unit not plugged in; AC outlet faulty; Power switch OFF; Blown fuse. | Check AC power cord connection; Test AC outlet; Ensure Power switch is ON; Check and replace fuse if necessary (refer to Maintenance). |
| Red PROTECTION LED is illuminated. | Overload; Short circuit at output; Over-temperature. | Reduce load current; Check for short circuits at output terminals; Ensure adequate ventilation and allow unit to cool. Cycle power to reset. |
| No DC output, but NORMAL LED is on. | Loose DC output connections; Faulty DC device. | Check and tighten DC output terminal connections; Test DC device with another power source if possible. |
| Unit feels excessively hot. | Blocked ventilation; Excessive load. | Ensure cooling fan and vents are clear; Reduce load current. |
8. පිරිවිතර
| විශේෂාංගය | පිරිවිතර |
|---|---|
| ආකෘතිය | PS12KX.5 |
| ආදාන වෙළුමtage | 115V ඒසී, 60Hz |
| ප්රතිදාන වෙළුමtage | 13.8V DC (ස්ථාවර) |
| ප්රතිදාන ධාරාව (අඛණ්ඩ) | 10 Amps |
| Output Current (Surge) | 12 Amps |
| ප්රතිදානය Wattage | වොට් 250 |
| බල සැපයුම් නිර්මාණය | Linear / Regulated |
| පර්යන්ත | ඉස්කුරුප්පු වර්ගය |
| සිසිලන ක්රමය | Air (Built-in Fan) |
| ආරක්ෂාව | Electronic Overload, Short Circuit, Over-Temperature, Fuse Protected |
| මානයන් (L x W x H) | අඟල් 7.9 x 7.2 x 4.7 |
| බර | රාත්තල් 8.73 කි |
| වර්ණය | කළු |
9. වගකීම් සහ සහාය
Pyramid products are designed for reliability and performance. This product is covered by a limited manufacturer's warranty against defects in materials and workmanship under normal use. Please retain your proof of purchase for warranty claims.
For technical support, warranty inquiries, or service, please contact Pyramid customer service. Contact information can typically be found on the manufacturer's webඅඩවියේ හෝ නිෂ්පාදන ඇසුරුම්වල ඇතුළත් කර ඇත.
නිෂ්පාදකයා: පිරමීඩය
Webඅඩවිය: Visit the Pyramid Store on Amazon


