රැහැන් රහිත මවුස් පරිශීලක අත්පොත විශ්වාස කරන්න
මාදිලිය: 24115
වෙළඳ නාමය: විශ්වාසය
1. හැඳින්වීම
ස්තූතියි, උදව් කළාටasing the Trust Wireless Mouse. This manual provides detailed instructions for setting up, operating, maintaining, and troubleshooting your new wireless mouse. Please read this manual thoroughly before using the product to ensure optimal performance and longevity.

රූපය 1.1: ඉහළට view of the Trust Wireless Mouse, showcasing එහි ergonomic නිර්මාණය සහ බොත්තම් පිරිසැලසුම.
2 ආරක්ෂිත තොරතුරු
උපාංගයට හානි වීම හෝ ඔබටම තුවාල වීම වැළැක්වීම සඳහා කරුණාකර පහත ආරක්ෂක මාර්ගෝපදේශ නිරීක්ෂණය කරන්න:
- මූසිකය ජලයට හෝ අධික තෙතමනයට නිරාවරණය නොකරන්න.
- මූසිකය ප්රබල බලපෑම්වලට වැටීමෙන් හෝ යටත් කිරීමෙන් වළකින්න.
- Do not attempt to disassemble or repair the mouse yourself. Refer to qualified service personnel.
- දේශීය රෙගුලාසිවලට අනුව බැටරි බැහැර කරන්න.
3. පැකේජ අන්තර්ගතය
සියලුම අයිතම පැකේජයේ ඇති බව තහවුරු කරගන්න:
- 1x Trust Wireless Comfort Mouse
- 1x USB මයික්රෝ ග්රාහකය
- 1x AA බැටරි
- 1x පරිශීලක අත්පොත (මෙම ලේඛනය)

Image 3.1: The retail packaging of the Trust Wireless Mouse, showing the mouse and included accessories.
4. පිහිටුවීම
4.1. බැටරිය ස්ථාපනය කිරීම
- මූසිකයේ යටි පැත්තේ බැටරි මැදිරිය සොයා ගන්න.
- බැටරි මැදිරි කවරය විවෘත කරන්න.
- සපයා ඇති AA බැටරිය ඇතුළු කරන්න, ධනාත්මක (+) සහ සෘණ (-) පර්යන්ත මැදිරිය තුළ ඇති සලකුණු සමඟ නිවැරදිව පෙළගස්වා ඇති බව සහතික කර ගන්න.
- බැටරි මැදිරි කවරය ආරක්ෂිතව වසා දමන්න.

Image 4.1: Underside of the mouse with the battery compartment open, showing the insertion of an AA battery.

රූපය 4.2: පහළ view of the Trust Wireless Mouse, illustrating the battery compartment and the storage slot for the USB micro receiver.
4.2. Connecting the USB Micro Receiver
- Locate the USB micro receiver, which is typically stored inside the mouse's battery compartment for transport.
- Remove the USB micro receiver from its storage slot.
- Plug the USB micro receiver into an available USB port on your computer (laptop or PC).
- The mouse should automatically connect to your computer. No additional drivers are typically required for Windows 10, 8, 7, or Mac OS X 10.15 (Catalina) or higher.
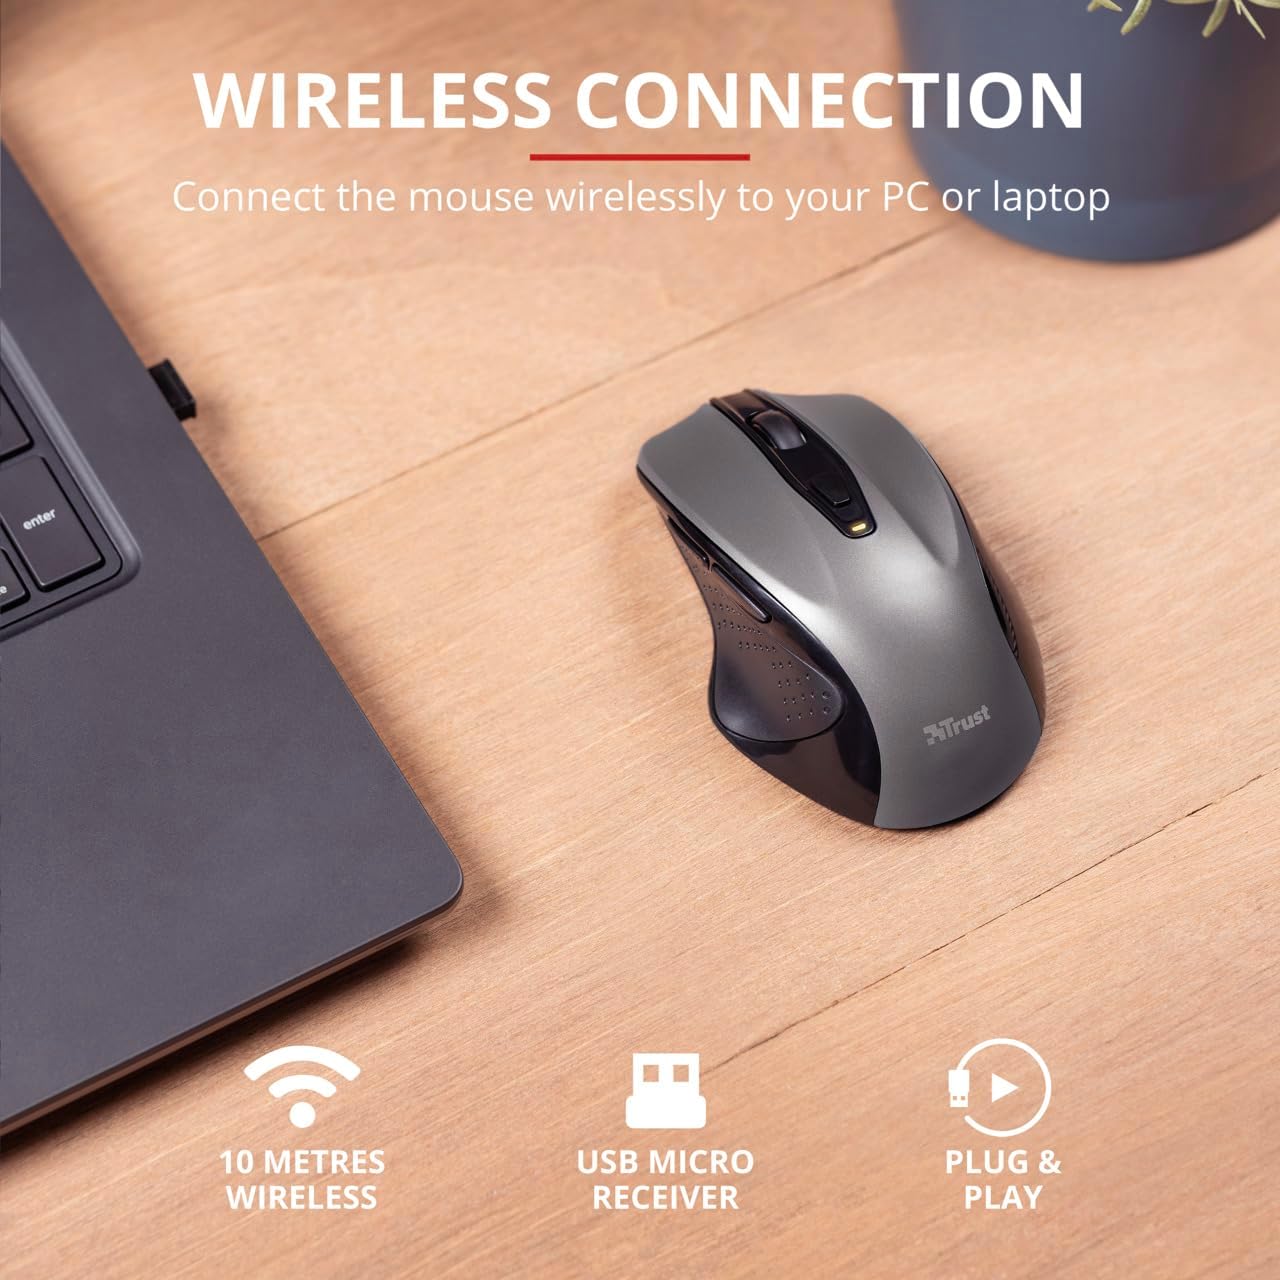
Image 4.3: The Trust Wireless Mouse positioned next to a laptop, demonstrating the wireless connection via the USB micro receiver plugged into the laptop's USB port.
5. මූසිකය ක්රියාත්මක කිරීම
5.1. මූලික කාර්යයන්
- වම් ක්ලික් කරන්න: අයිතම තේරීම සහ මෘදුකාංග සමඟ අන්තර් ක්රියා කිරීම සඳහා ප්රාථමික බොත්තම.
- දකුණු ක්ලික් කරන්න: සන්දර්භ මෙනු සහ අමතර විකල්ප සඳහා ද්විතියික බොත්තම.
- අනුචලන රෝදය: ලේඛන හරහා අනුචලනය කිරීමට ඉහළට හෝ පහළට රෝල් කරන්න සහ web pages. Press the scroll wheel for middle-click functionality.
5.2. DPI ගැලපීම
The Trust Wireless Mouse features an adjustable DPI (Dots Per Inch) setting, allowing you to control the cursor speed. There are 5 different speeds available: 800, 1200, 1600, 1800, and 2200 DPI.
- Locate the DPI button, usually positioned behind the scroll wheel.
- පවතින DPI සැකසුම් හරහා චක්රීය කිරීමට DPI බොත්තම ඔබන්න.
- An LED indicator on the mouse will briefly show the current DPI setting.

රූපය 5.1: පැත්ත view of the Trust Wireless Mouse highlighting its comfortable shape, thumb rest with extra grip, and the adjustable speed (DPI) feature.
5.3. Thumb Buttons
The mouse is equipped with two conveniently placed thumb buttons (forward and backward) on the left side. These buttons facilitate easy navigation, such as browsing through files හෝ web පිටු.
- ඔබන්න ඉදිරියට button to move to the next page or item.
- ඔබන්න පසුපසට button to return to the previous page or item.
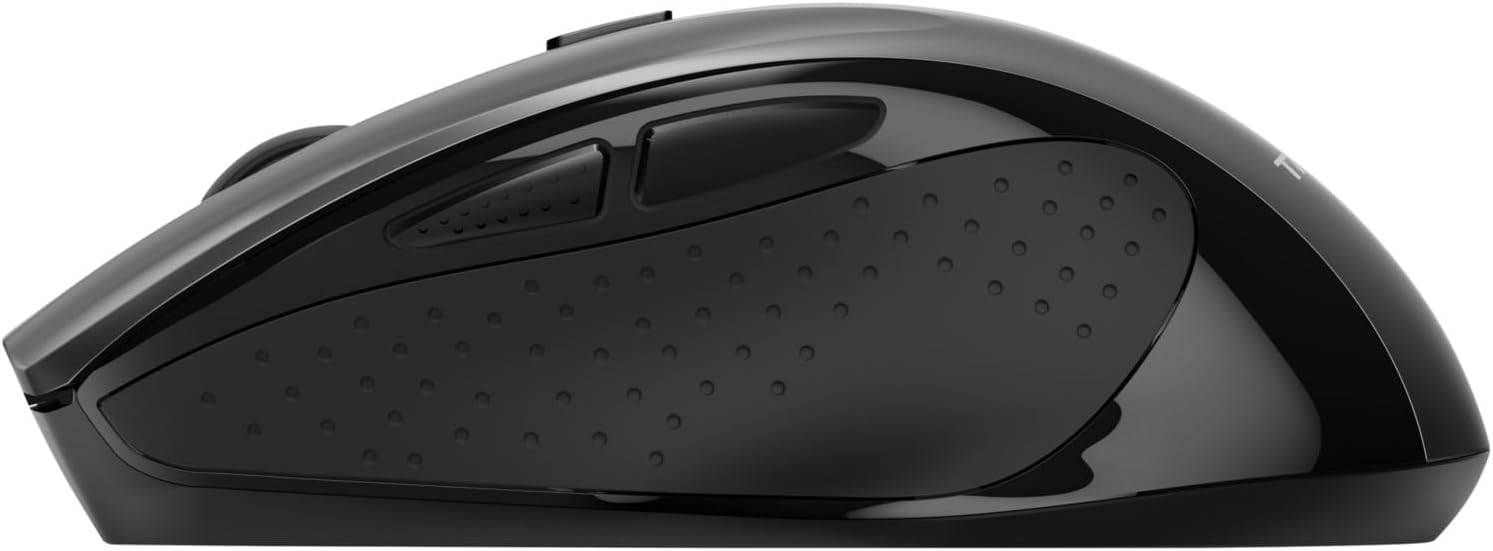
රූපය 5.2: පැත්ත view of the Trust Wireless Mouse, clearly showing the placement of the two thumb buttons for forward and backward navigation.
Note: Functionality of side buttons may vary between operating systems.
5.4. Power Saving Features
To conserve battery life, the mouse includes a power-saving mode and an on/off switch.
- සක්රිය / අක්රිය ස්විචය: Located on the underside of the mouse. Turn the mouse off when not in use for extended periods to maximize battery life.
- බැටරි LED දර්ශකය: An LED indicator will light up when the battery level is low, signaling that it's time to replace the AA battery.
6. නඩත්තු කිරීම
6.1 පිරිසිදු කිරීම
To maintain optimal performance, clean your mouse regularly:
- මූසිකයේ මතුපිට පිස දැමීමට මෘදු වියළි රෙද්දක් භාවිතා කරන්න.
- මුරණ්ඩු අපිරිසිදුකම සඳහා, තරමක් dampරෙදි කැබැල්ල වතුරෙන් හෝ මෘදු පිරිසිදු කිරීමේ ද්රාවණයකින් පිස දමන්න. සැර රසායනික ද්රව්ය වලින් වළකින්න.
- මූසිකයේ අභ්යන්තර සංරචක වලට ද්රව ඇතුළු වීමට ඉඩ නොදෙන්න.
6.2. බැටරි ප්රතිස්ථාපනය
When the battery indicator lights up, replace the AA battery promptly to ensure uninterrupted use. Refer to section 4.1 for battery installation instructions.
7. දෝශ නිරාකරණය
| ගැටලුව |
විය හැකි හේතුව |
විසඳුම |
| මූසිකය ප්රතිචාර නොදක්වයි. |
අඩු හෝ මිය ගිය බැටරිය. |
AA බැටරිය ප්රතිස්ථාපනය කරන්න. |
| මූසිකය ප්රතිචාර නොදක්වයි. |
USB ග්රාහකය නිසි ලෙස සම්බන්ධ වී නොමැත. |
USB ග්රාහකය ක්රියාකාරී USB පෝට් එකකට තදින් සම්බන්ධ කර ඇති බවට වග බලා ගන්න. වෙනත් USB පෝට් එකක් උත්සාහ කරන්න. |
| මූසිකය ප්රතිචාර නොදක්වයි. |
මූසිකය අක්රිය කර ඇත. |
Turn on the mouse using the on/off switch on the underside. |
| කර්සරයේ චලනය අක්රමවත් හෝ මන්දගාමී වේ. |
අඩු DPI සැකසුම. |
Press the DPI button to increase cursor speed. |
| කර්සරයේ චලනය අක්රමවත් හෝ මන්දගාමී වේ. |
Dirty sensor or unsuitable surface. |
Clean the optical sensor on the underside of the mouse. Use the mouse on a clean, non-reflective surface. |
| රැහැන් රහිත සම්බන්ධතා ගැටළු. |
Interference or distance from receiver. |
Ensure the mouse is within 10 meters of the receiver. Remove any large metal objects between the mouse and receiver. |
8. පිරිවිතර
| විශේෂාංගය |
විස්තර |
| ආදර්ශ අංකය |
24115 |
| සම්බන්ධතාවය |
රැහැන් රහිත (RF 2.4GHz) |
| රැහැන් රහිත පරාසය |
මීටර් 10 කි |
| DPI සැකසුම් |
800, 1200, 1600, 1800, 2200 DPI (adjustable) |
| බොත්තම් ගණන |
6 (Left, Right, Mid, Forward, Backward, DPI loop) |
| සංවේදක වර්ගය |
ඔප්ටිකල් |
| Ergonomics |
Ergonomic design with thumb rest and rubber inlay |
| බලශක්ති ප්රභවය |
1x AA බැටරි (ඇතුළත්) |
| මානයන් (L x W x H) |
113 mm x 74 mm x 41 mm (අඟල් 4.45 x 2.91 x 0.04) |
| බර |
ග්රෑම් 100 (අවුන්ස 2.65) |
| අනුකූල මෙහෙයුම් පද්ධති |
Windows 10, 8, 7; Mac OS X 10.15 (Catalina) or higher |
9. වගකීම් සහ සහාය
The Trust Wireless Mouse comes with a වසර 1ක වගකීමක් මිලදී ගත් දින සිට. මෙම වගකීම් සහතිකය සාමාන්ය භාවිතය යටතේ ද්රව්ය හා වැඩ කිරීමේ දෝෂ ආවරණය කරයි.
වගකීම් සහතිකය ආවරණය නොවේ:
- හදිසි අනතුරු, අපයෝජනය, අනිසි භාවිතය, ගංවතුර, ගින්න, භූමිකම්පාව හෝ වෙනත් බාහිර හේතූන් නිසා සිදුවන හානිය.
- Damage caused by operating the product outside the permitted or intended uses described by Trust.
- Damage caused by service (including upgrades and expansions) performed by anyone who is not a representative of Trust or a Trust Authorized Service Provider.
For technical support or warranty claims, please visit the official Trust website or contact their customer service department. Refer to the product packaging or Trust's official webවඩාත්ම යාවත්කාලීන සම්බන්ධතා තොරතුරු සඳහා අඩවිය.
සබැඳි සම්පත්: www.trust.com


