හැඳින්වීම
This manual provides essential instructions for the safe and efficient operation, installation, and maintenance of your Midea JL1643S-UF Freestanding One Touch Filter Water Purifier. Please read this manual thoroughly before using the appliance and retain it for future reference.
ආරක්ෂිත තොරතුරු
ගින්න, විදුලි කම්පනය සහ පුද්ගලයින්ට සිදුවන තුවාල අවම කිරීම සඳහා විදුලි උපකරණ භාවිතා කරන විට සෑම විටම මූලික ආරක්ෂක පියවරයන් අනුගමනය කරන්න.
- බල සැපයුම් පරිමාව සහතික කරන්නtage matches the appliance's rating (220 Volts).
- උපකරණය, ලණුව, හෝ ප්ලග් එක ජලයේ හෝ වෙනත් දියර වල ගිල්වන්න එපා.
- Unplug the appliance from the outlet when not in use, before cleaning, or before performing any maintenance.
- උපකරණය සෘජු හිරු එළියෙන් සහ තාප ප්රභවයන්ගෙන් ඈත් කරන්න.
- මෙම උපකරණය ගෘහස්ථ භාවිතය සඳහා පමණි.
- හානියට පත් ලණුවකින් හෝ ප්ලග් එකකින් උපකරණය ක්රියාත්මක නොකරන්න.
- ක්රියාන්විතයේදී ළමයින් උපකරණයෙන් ඈත් කරන්න.
නිෂ්පාදනය අවසන්view
The Midea JL1643S-UF is a freestanding water purifier designed to provide clean, filtered water. It features a 3rd generation one-touch filter system and UV-LED sterilization.
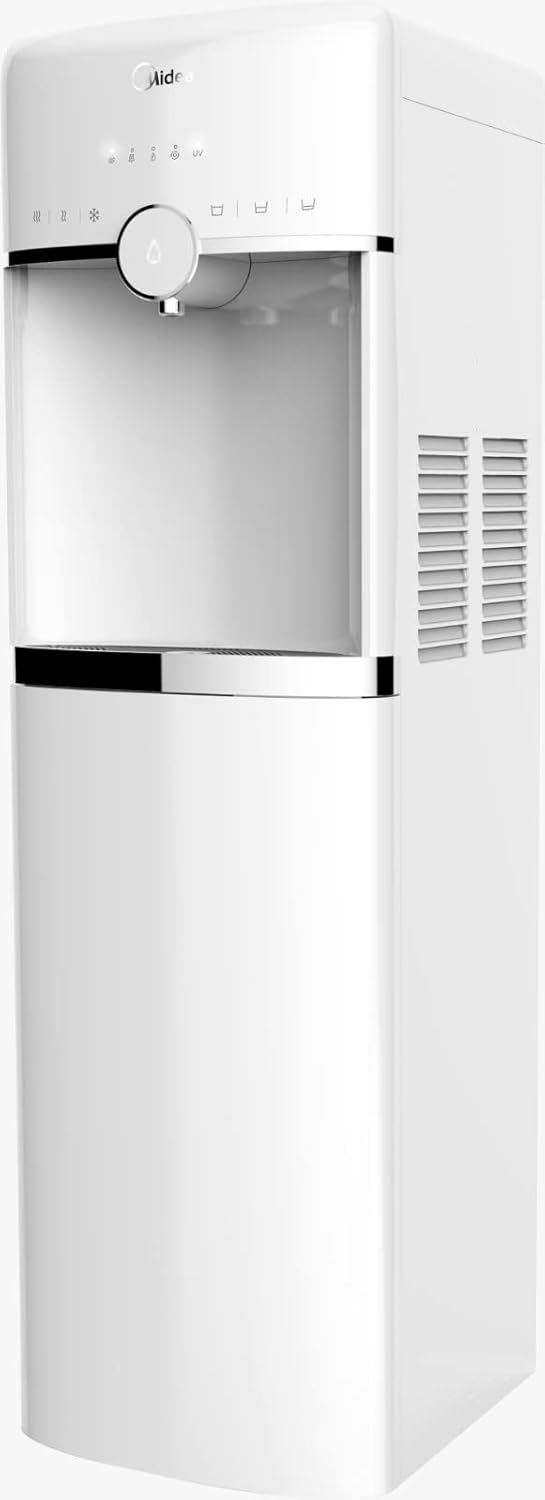
රූපය 1: ඉදිරිපස view of the Midea JL1643S-UF Freestanding Water Purifier. This image displays the sleek white design, the water dispenser nozzle, and the touch control panel at the top.
ප්රධාන සංරචක:
- Water Dispenser Nozzle: For dispensing purified water.
- ස්පර්ශ පාලක පැනලය: For operating various functions.
- පෙරහන් මැදිරිය: බහු-නිවාසtage filter system.
- ජල ටැංකිය: ලීටර් 4.6 ක ධාරිතාව.
- UV-LED Sterilizer: Integrated for enhanced water purification.
- බිංදු තැටි: Collects any spills.
සැලසුම
- ඇසිරීම: Carefully remove the water purifier from its packaging. Retain all packaging materials for future transport if needed.
- ස්ථානගත කිරීම: Place the freestanding unit on a flat, stable, and level surface. Ensure there is adequate space around the unit for ventilation, especially at the back and sides where air vents are located. Avoid placing it near direct heat sources or in direct sunlight.
- මූලික පිරිසිදු කිරීම: Before first use, wipe the exterior of the unit with a soft, damp cloth. Clean the water tank and drip tray with mild soap and water, then rinse thoroughly.
- පෙරහන් ස්ථාපනය:
- පෙරහන් මැදිරි කවරය විවෘත කරන්න.
- Insert the 3rd generation one-touch filters (PP, Pre Active Carbon, Ultrafiltration, Post Active Carbon) into their respective slots. Ensure they are securely locked in place. Refer to the markings on the filters and the unit for correct orientation.
- පෙරහන් මැදිරි කවරය වසා දමන්න.
- ජලය පිරවීම: Fill the water tank with potable tap water. Do not exceed the maximum fill line.
- බල සම්බන්ධතාවය: Plug the power cord into a grounded 220 Volt electrical outlet. The unit will power on, and indicator lights may illuminate.
- මූලික ෆ්ලෂ්: Dispense and discard at least 2-3 liters of water to flush the new filters and internal system before consuming.
මෙහෙයුම් උපදෙස්
- බලය සක්රිය / අක්රිය: The unit typically powers on automatically when plugged in. Use the designated power button on the touch control panel to turn the unit on or off.
- ජලය බෙදා හැරීම:
- Place a cup or container under the water dispenser nozzle.
- Press the water dispense button on the touch control panel. Water will flow until the button is released or a preset volume is reached (if applicable).
- UV-LED Sterilization: The UV-LED sterilization function operates automatically or can be activated via the touch control panel, depending on the model's specific programming. Refer to the control panel icons for UV activation status.
- ජල කාන්දුවීම් ආරක්ෂාව: The unit is equipped with water leakage protection. In the event of a leak, the system is designed to automatically shut off water flow to prevent damage. If this occurs, unplug the unit and contact customer support.
නඩත්තු කිරීම
නිතිපතා නඩත්තු කිරීම ඔබේ ජල පිරිපහදු යන්ත්රයේ ප්රශස්ත ක්රියාකාරිත්වය සහ කල්පැවැත්ම සහතික කරයි.
- පෙරහන් ප්රතිස්ථාපන මතක් කිරීම: The unit features a filter replacement reminder system. An indicator light on the control panel will illuminate when it's time to replace the filters.
- පෙරහන් ආදේශනය:
- Unplug the water purifier from the power outlet.
- පෙරහන් මැදිරිය විවෘත කරන්න.
- Twist and pull out the old filters.
- Insert new Midea JL1643S-UF compatible filters, ensuring they click into place.
- පෙරහන් මැදිරිය වසා දමන්න.
- Plug the unit back in. Reset the filter reminder by pressing and holding the designated button (refer to control panel icons).
- Perform an initial flush as described in the Setup section.
- ඒකකය පිරිසිදු කිරීම:
- මෘදු, ඩී සමග බාහිර පිස දමන්නamp රෙදි. උල්ෙල්ඛ පිරිසිදු කරන්නන් හෝ ද්රාවණ භාවිතා නොකරන්න.
- Regularly empty and clean the drip tray.
- For internal cleaning, follow the descaling instructions provided in a separate guide or contact customer support.
දෝෂගවේෂණය
| ගැටලුව | විය හැකි හේතුව | විසඳුම |
|---|---|---|
| ජලය නිකුත් කර නැත | Unit not plugged in; Water tank empty; Filters clogged; Water leakage protection activated. | Check power connection; Refill water tank; Replace filters; Unplug and re-plug, if issue persists contact support. |
| මන්දගාමී ජල ප්රවාහය | Clogged filters; Air in the system. | Replace filters; Dispense water for a few minutes to release trapped air. |
| Unusual taste/odor | New filters not flushed; Filters need replacement. | Perform initial flush; Replace filters. |
| Filter reminder light stays on after replacement | Reminder not reset. | Press and hold the filter reset button until the light turns off. |
පිරිවිතර

රූපය 2: Midea JL1643S-UF Water Purifier with key dimensions. The image shows the height as 106cm, depth as 31cm, and width as 37.5cm.
| වෙළඳ නාමය | මිඩියා |
| ආකෘතිය | JL1643S-UF |
| ධාරිතාව | ලීටර් 4.6 |
| මානයන් (ඩී x ඩබ්ලිව් x එච්) | 31 cm x 37.5 cm x 106 cm |
| බර | කිලෝ ග්රෑම් 1.1 කි |
| වෙළුමtage | වෝල්ට් 220 |
| වට්tage | වොට් 520 |
| ද්රව්ය | Aluminium, Polypropylene (PP) |
| ශබ්ද මට්ටම | 1 ඩෙසිබල් |
| ස්ථාපන වර්ගය | නිදහසේ හැසිරවීම |
| පෙරහන් පද්ධතිය | 3rd Generation One-Touch (PP, Pre Active Carbon, Ultrafiltration, Post Active Carbon) |
| විශේෂ ලක්ෂණ | UV-LED Sterilizer, Filter Replacement Reminder, Touch Control, Water Leakage Protection |
වගකීම් සහ සහාය
For warranty information or technical support, please refer to the warranty card included with your product or visit the official Midea webඅඩවිය. උපකරණය ඔබම අලුත්වැඩියා කිරීමට උත්සාහ නොකරන්න.


