1. හැඳින්වීම
Thank you for choosing the Cherry KW 7100 Mini Multi-Device Compact Keyboard. This manual provides essential information for setting up, operating, and maintaining your new keyboard. Designed for versatility and portability, this keyboard offers seamless connectivity across multiple devices.
2. පෙට්ටියේ ඇති දේ
- Cherry KW 7100 Mini Multi-Device Compact Keyboard
- USB-C to USB-A Charging/Connection Cable
- 2x AAA බැටරි
- 2.4 GHz Wireless Nano Receiver (stored magnetically in the keyboard)
- රැගෙන යන නඩුව
- උපදෙස් අත්පොත

රූපය 1: ඉහළ-පහළ view of the Cherry KW 7100 Mini Keyboard.
3. පිහිටුවීම
3.1. බැටරි ස්ථාපනය
- යතුරුපුවරුවේ යටි පැත්තේ බැටරි මැදිරිය සොයා ගන්න.
- ස්ලයිඩයෙන් බැටරි මැදිරියේ කවරය විවෘත කරන්න.
- නිවැරදි ධ්රැවීයතාව (+/-) සහතික කරමින් AAA බැටරි දෙක ඇතුළු කරන්න.
- බැටරි මැදිරි කවරය ආරක්ෂිතව වසා දමන්න.
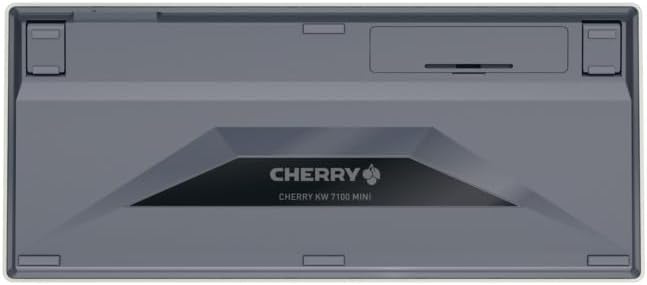
Figure 2: Underside of the keyboard with the battery compartment.
3.2. යතුරු පුවරුව සම්බන්ධ කිරීම
The Cherry KW 7100 Mini supports three connection methods: Bluetooth, 2.4 GHz Wireless, and Wired USB-C.
3.2.1. Bluetooth Connection (Up to 3 Devices)
- පැත්තේ පිහිටා ඇති බල ස්විචය භාවිතයෙන් යතුරු පුවරුව සක්රිය කරන්න.
- Press and hold one of the Bluetooth channel keys (F1, F2, or F3) for 3-5 seconds until the corresponding LED indicator blinks rapidly. This indicates pairing mode.
- On your device (laptop, smartphone, tablet), navigate to Bluetooth settings and search for available devices.
- Select "Cherry KW 7100" from the list to pair. The LED will stop blinking and remain solid for a few seconds upon successful connection.
- Repeat for up to two additional devices using the other Bluetooth channel keys (F1, F2, or F3).
3.2.2. 2.4 GHz රැහැන් රහිත සම්බන්ධතාවය
- Locate the 2.4 GHz wireless nano receiver, typically stored magnetically in a slot on the underside of the keyboard.
- Insert the nano receiver into an available USB-A port on your computer.
- බල ස්විචය භාවිතයෙන් යතුරු පුවරුව ක්රියාත්මක කරන්න. යතුරු පුවරුව ස්වයංක්රීයව ග්රාහකයට සම්බන්ධ විය යුතුය.
3.2.3. Wired USB-C Connection
- සපයා ඇති USB-C කේබලයේ එක් කෙළවරක් යතුරුපුවරුවේ USB-C තොටට සම්බන්ධ කරන්න.
- Connect the other end of the USB-C cable to an available USB-A port on your computer.
- The keyboard will function as a wired keyboard.
Video 1: Demonstrating the setup and typing experience of the Cherry KW 7100 Mini Keyboard.
4. යතුරු පුවරුව ක්රියාත්මක කිරීම
4.1. සම්බන්ධිත උපාංග අතර මාරු වීම
To switch between paired Bluetooth devices, simply press the corresponding Bluetooth channel key (F1, F2, or F3) that your device is paired to. The keyboard will automatically connect to the selected device.
4.2. ශ්රිත යතුරු (FN)
The keyboard features a dedicated FN key, typically located near the right Shift key. This key, in combination with other keys, activates secondary functions such as media controls, screen brightness, and other system commands. Refer to the keycap legends for specific FN key combinations.
4.3. LED දර්ශක
LED indicators on the keyboard provide information about its status:
- Bluetooth Channel LEDs (F1, F2, F3): Indicate the currently active Bluetooth connection or pairing mode.
- කැප්ස් ලොක් LED: Caps Lock සක්රිය විට ආලෝකමත් වේ.
- බැටරි තත්ත්වය LED: අඩු බැටරි මට්ටම පෙන්නුම් කරයි.
4.4. සකස් කළ හැකි පාද
The keyboard is equipped with stable, fold-out feet on the underside. These allow you to adjust the typing angle for improved ergonomics and comfort.
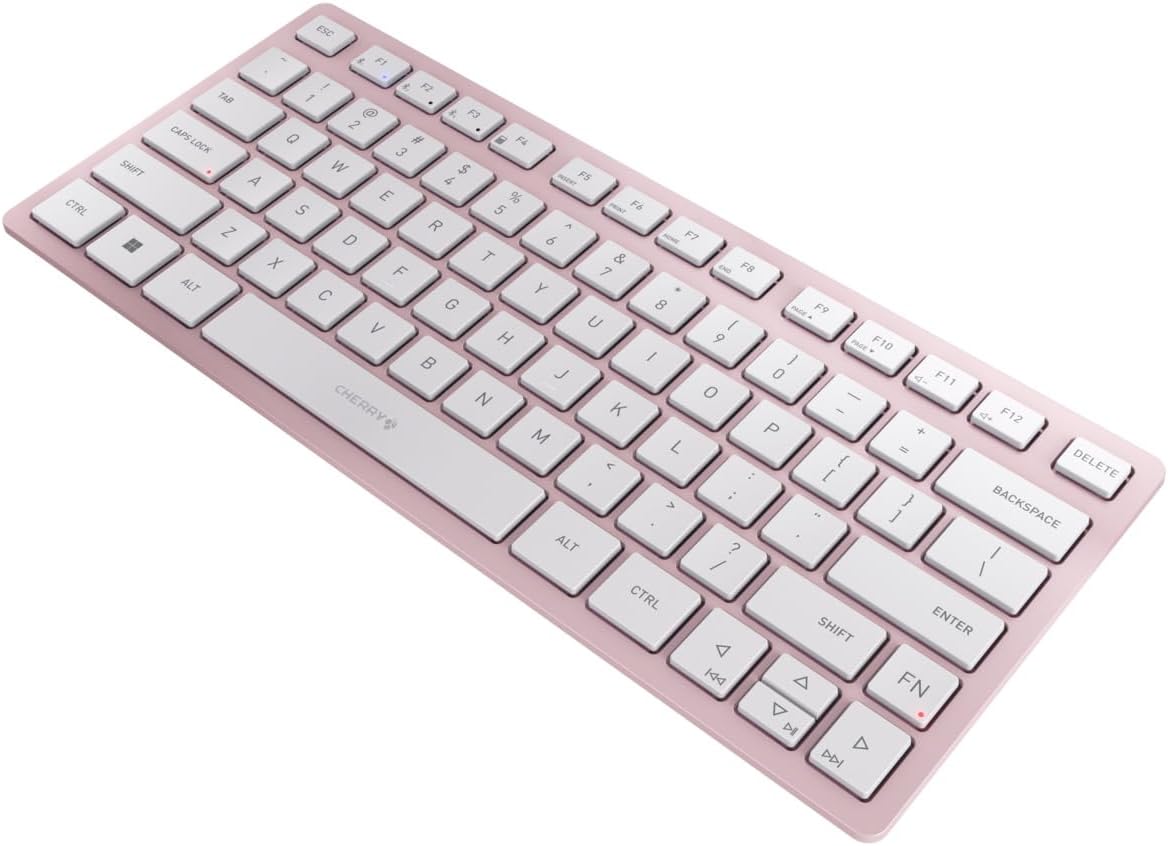
රූපය 3: කෝණික view of the keyboard, highlighting its slim profile.

රූපය 4: පැත්ත view showing the adjustable feet extended for an ergonomic typing angle.
5. නඩත්තු කිරීම
5.1 පිරිසිදු කිරීම
To clean your keyboard, gently wipe the keycaps and surface with a soft, lint-free cloth. For stubborn dirt, slightly dampරෙදි කැබැල්ල වතුරෙන් හෝ මෘදු, උල්ෙල්ඛ නොවන පිරිසිදු කිරීමේ ද්රාවණයකින් වසා දමන්න. අධික තෙතමනය වළක්වා ගන්න සහ පිරිසිදු කරන්නන් කෙලින්ම යතුරු පුවරුවට ඉසින්න එපා.
5.2. ගබඩා කිරීම
When not in use, especially during travel, store the keyboard in its included carrying case to protect it from dust, scratches, and minor impacts.

Figure 5: The keyboard stored in its protective carrying case.
6. දෝශ නිරාකරණය
6.1. යතුරු පුවරුව සම්බන්ධ නොවේ
- යතුරුපුවරුව සක්රීය කර ඇති බව සහතික කර ගන්න.
- බැටරි පරීක්ෂා කර අවශ්ය නම් ඒවා ප්රතිස්ථාපනය කරන්න.
- For Bluetooth, ensure the correct channel (F1, F2, or F3) is selected and the keyboard is in pairing mode (blinking LED).
- For 2.4 GHz wireless, ensure the nano receiver is securely plugged into a USB-A port.
- රැහැන් රහිත ගැටළු බැහැර කිරීම සඳහා USB-C කේබලය හරහා සම්බන්ධ වීමට උත්සාහ කරන්න.
- ඔබගේ උපාංගය නැවත ආරම්භ කර නැවත යුගල කිරීමට උත්සාහ කරන්න.
6.2. යතුරු ප්රතිචාර නොදක්වයි
- Check the connection as described above.
- යතුරු යට කිසිදු සුන්බුන් සිරවී නොමැති බවට වග බලා ගන්න.
- If using a wired connection, try a different USB port or cable.
6.3. කෙටි බැටරි ආයු කාලය
- ඔබ නැවුම්, උසස් තත්ත්වයේ AAA බැටරි භාවිතා කරන බවට වග බලා ගන්න.
- Turn off the keyboard when not in use to conserve battery power.
7. පිරිවිතර
| විශේෂාංගය | පිරිවිතර |
|---|---|
| මාදිලියේ නම | KW7100 |
| අයිතම ආදර්ශ අංකය | JK-7100US-19 |
| වෙළඳ නාමය | චෙරි |
| සම්බන්ධතා තාක්ෂණය | Bluetooth 5.1 (3 channels), 2.4 GHz Wireless, USB-C Wired |
| ගැළපෙන උපාංග | ලැප්ටොප්, ස්මාර්ට්ෆෝන්, ටැබ්ලටය |
| යතුරුපුවරු විස්තරය | Compact, Multi-Device |
| Key Mechanism | CHERRY SX Scissor Mechanism |
| බලශක්ති ප්රභවය | 2x AAA බැටරි |
| සංකේතනය | AES-128 |
| නිෂ්පාදන මානයන් | අඟල් 11.6 x 5.1 x 0.6 |
| අයිතමයේ බර | රාත්තල් 1.4 කි |
| ද්රව්ය | ලෝහ, ප්ලාස්ටික් |
| වර්ණය | චෙරි බ්ලොසම් |
8. වගකීම් සහ සහාය
This product is covered by Cherry's standard manufacturer warranty. For detailed warranty information, technical support, or service inquiries, please visit the official Cherry webවෙබ් අඩවියට පිවිසෙන්න හෝ ඔවුන්ගේ පාරිභෝගික සහාය කෙලින්ම අමතන්න.
නිෂ්පාදකයා: චෙරි
Webඅඩවිය: www.cherry.de