1. හැඳින්වීම
This manual provides essential information for the safe and efficient operation of your GRAEF SKS700 Electric Universal Slicer. Please read all instructions carefully before first use and retain this manual for future reference.
The GRAEF SKS700 is designed for slicing various food items such as bread, meat, cheese, and vegetables. Its robust construction and precise engineering ensure consistent slicing results.
2. ආරක්ෂිත උපදෙස්
අවවාදයයි: Improper use can lead to serious injury. Always follow these safety guidelines.
- එකලස් කිරීමට, විසුරුවා හැරීමට හෝ පිරිසිදු කිරීමට පෙර සෑම විටම බල සැපයුමෙන් උපකරණය විසන්ධි කරන්න.
- Keep hands and fingers away from the blade during operation. The blade is extremely sharp.
- Ensure the appliance is placed on a stable, level, and dry surface.
- Do not operate the slicer without all parts correctly assembled.
- Never push food with your hand directly towards the blade. Always use the remnant holder or PRO combined attachment.
- Do not slice frozen food or food containing bones.
- Children should not operate this appliance. Keep the slicer out of reach of children.
- විදුලි රැහැනට හානි සිදුවුවහොත්, අනතුරක් වළක්වා ගැනීම සඳහා නිෂ්පාදකයා, එහි සේවා නියෝජිතයා හෝ ඒ හා සමාන සුදුසුකම් ලත් පුද්ගලයින් විසින් එය ප්රතිස්ථාපනය කළ යුතුය.
- The LED safety control provides status indication for the stop position. A red pulsing light indicates the stop is open before sleep mode activates, reminding you to close it for safety.
3. පැකේජ අන්තර්ගතය
සියලුම අයිතම ඇසුරුම්වල ඇති බව තහවුරු කර ගන්න:
- GRAEF SKS700 Electric Universal Slicer
- PRO Combined Attachment (Remnant Holder & MiniSlice)
- මල නොබැඳෙන වානේ තැටි
- Knife Removal Device
- D-1000 Sharpener
- උපදෙස් අත්පොත
4. නිෂ්පාදන අවසන්view
Familiarize yourself with the components of your slicer.

රූපය 1: ඉවරයිview of the GRAEF SKS700 Electric Universal Slicer. Shows the main body, blade, carriage, and food tray area.
- තලය: 170 mm diameter smooth solid steel blade with hollow grind.
- බ්ලේඩ් ආරක්ෂකයා: Full metal protection ring around the blade.
- කරත්තය: Stainless steel food carriage for holding items to be sliced.
- Slice Thickness Adjustment Dial: පෙති ඝණකම 0 සිට 20 mm දක්වා සැකසීම සඳහා.
- PRO Combined Attachment: Includes remnant holder and MiniSlice.
- මල නොබැඳෙන වානේ තැටි: Collects sliced food.
- LED Safety Control: Illuminates the cutting area and indicates stop status.
- මෝටර්: 170 W capacitor motor.
5. පිහිටුවීම
- ඇසිරීම: ඇසුරුම්කරණයෙන් සියලුම සංරචක ප්රවේශමෙන් ඉවත් කරන්න. ගබඩා කිරීම හෝ ප්රවාහනය සඳහා ඇසුරුම් තබා ගන්න.
- ස්ථානගත කිරීම: Place the slicer on a clean, stable, and dry countertop. Ensure there is sufficient space around the appliance for safe operation.
- එකලස් කිරීම:
- Attach the food carriage to the slicer.
- Place the stainless steel tray in position to collect sliced food.
- Ensure the PRO combined attachment (remnant holder) is ready for use.
- බල සම්බන්ධතාවය: විදුලි රැහැන සුදුසු විදුලි අලෙවිසැලකට සම්බන්ධ කරන්න.
6. මෙහෙයුම
6.1 ආහාර පෙති කැපීම
- ආහාර පිළියෙළ කරන්න: Ensure food items are free of bones and are not frozen.
- පෙති ඝණකම සකසන්න: Use the slice thickness adjustment dial to select the desired thickness (0-20 mm). The illuminated scale assists with precise adjustment.

රූපය 2: Close-up of the slice thickness adjustment dial with red LED illumination, indicating the stop is open or a reminder.

රූපය 3: Close-up of the slice thickness adjustment dial with blue LED illumination, indicating normal operation.
- Position Food: Place the food item on the stainless steel carriage. Secure it with the PRO combined attachment (remnant holder) to protect your fingers.
- පෙති කැපීම ආරම්භ කරන්න: Turn on the slicer. Gently push the food carriage towards the rotating blade. The 170 mm smooth solid steel blade ensures effortless and precise cuts.
- පෙති එකතු කරන්න: Sliced food will fall onto the stainless steel tray.
- පෙති කැපීම අවසන් කරන්න: Once finished, turn off the slicer. Always return the slice thickness adjustment to the "0" position to close the stop for safety. The LED safety control will pulse red if the stop is left open before entering sleep mode.
6.2 Using the PRO Combined Attachment
The PRO combined attachment includes a remnant holder and a MiniSlice component, designed for safe and efficient slicing of smaller food items and minimizing waste.
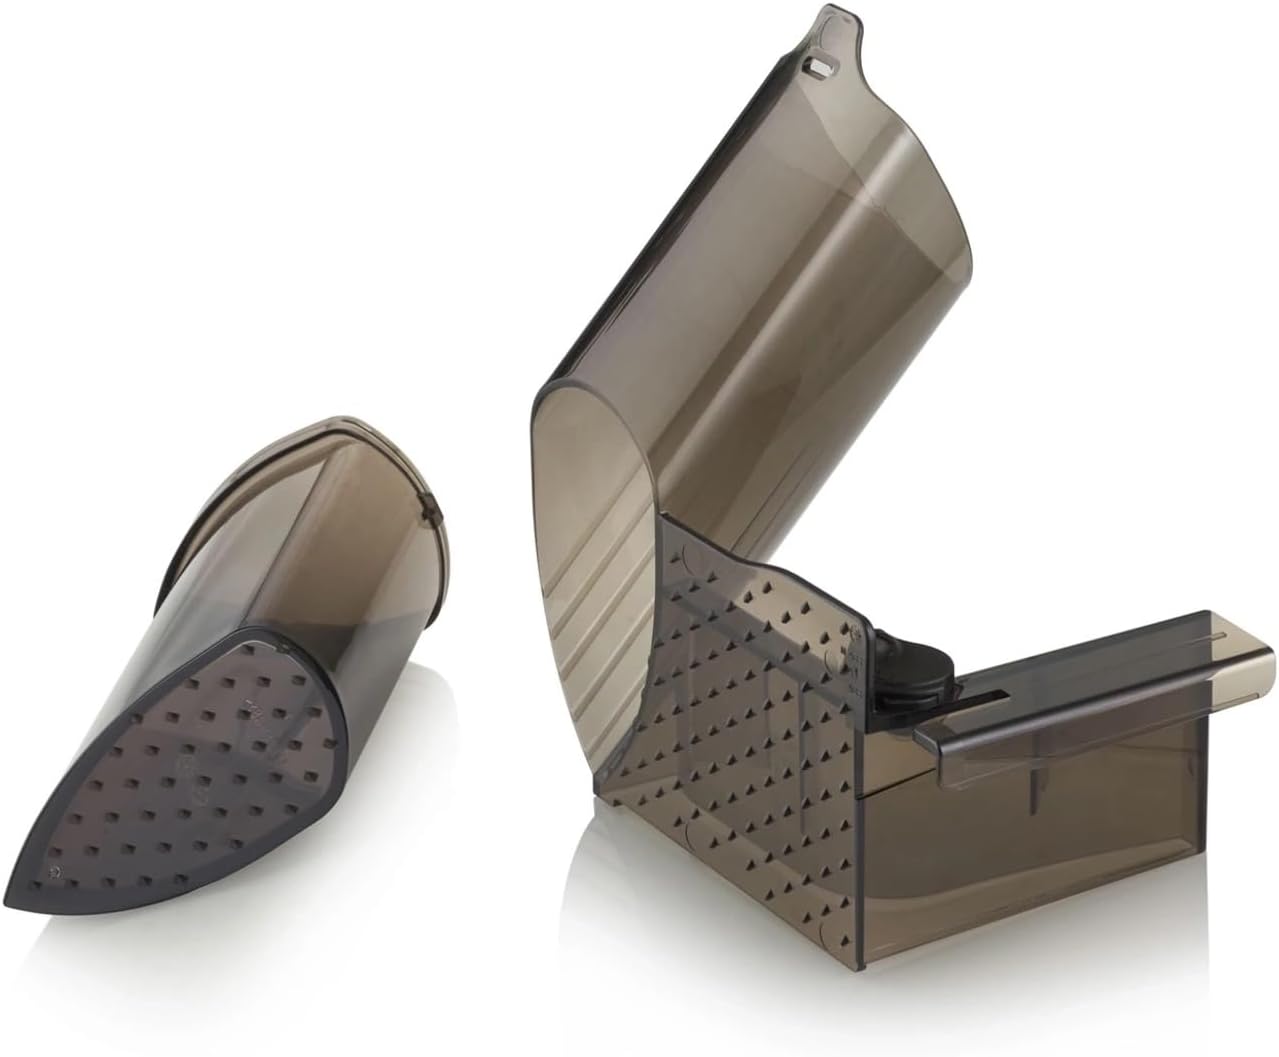
රූපය 4: The PRO combined attachment, featuring the remnant holder and MiniSlice component for handling smaller food items.
- Use the remnant holder to secure the end pieces of larger foods, ensuring full utilization and finger safety.
- The MiniSlice component is ideal for very small items, allowing for fine processing and enhanced flavor release.

රූපය 5: Example of thinly sliced cauliflower, demonstrating the slicer's capability with vegetables.

රූපය 6: Example of sliced bread, illustrating the slicer's versatility for various food types.
7. පිරිසිදු කිරීම සහ නඩත්තු කිරීම
Regular cleaning ensures optimal performance and extends the lifespan of your slicer. Always unplug the appliance before cleaning.
- විසුරුවා හැරීම: Remove the food carriage, PRO combined attachment, and stainless steel tray.
- තල ඉවත් කිරීම: Use the provided knife removal device to safely detach the blade cover and then the blade.

රූපය 7: Detail of the blade area, showing the full metal blade guard and the mechanism for safe blade removal.
- පිරිසිදු කිරීමේ සංරචක: Wash the blade, food carriage, PRO combined attachment, and stainless steel tray by hand with warm soapy water. පිඟන් සෝදන යන්ත්රයක සෝදන්න එපා. හොඳින් සේදීම සහ වහාම වියළන්න.
- පිරිසිදු කිරීමේ ප්රධාන ඒකකය: දැන්වීම සමඟ ප්රධාන ඒකකය පිස දමන්නamp රෙදි. ප්රධාන ඒකකය ජලයේ ගිල්වන්න එපා.
- නැවත එකලස් කිරීම: Once all parts are dry, reassemble the slicer. Ensure the blade is securely reattached.
- තල තියුණු කිරීම: Use the D-1000 sharpener as needed to maintain blade sharpness. Refer to the sharpener's instructions for proper use.
8. දෝශ නිරාකරණය
| ගැටලුව | විය හැකි හේතුව | විසඳුම |
|---|---|---|
| ස්ලයිසර් ක්රියාත්මක නොවේ. | පේනුගත කර නැත; විදුලිය විසන්ධි කර ඇත; දෝෂ සහිත පිටවාන. | Check power cord connection; ensure switch is on; test outlet with another appliance. |
| Slices are uneven or difficult to cut. | Blade is dull; food is too hard/frozen; incorrect slice thickness setting. | Sharpen the blade with the D-1000 sharpener; ensure food is not frozen or too hard; adjust slice thickness. |
| මෝටර් ශබ්දය ඇහෙනවා. | Overloading the motor; food is too hard. | Reduce pressure on food; ensure food is suitable for slicing. |
| Red LED light pulsing. | Slice thickness stop is open, and slicer is about to enter sleep mode. | Return the slice thickness adjustment to "0" to close the stop for safety. |
If problems persist, contact GRAEF customer support.
9. පිරිවිතර
- ආකෘතිය: SKS700 (S72010)
- වෙළඳ නාමය: ග්රේෆ්
- වර්ණය: රිදී
- ද්රව්ය: Metal, Plastic, Glass
- මෝටර්: 170 W Capacitor Motor
- බ්ලේඩ් විෂ්කම්භය: 170 මි.මී
- බ්ලේඩ් ද්රව්ය: මල නොකන වානේ
- පෙති ඝණකම: 0 - 20 මි.මී.
- නිෂ්පාදන මානයන් (L x W x H): 37 cm x 31.5 cm x 25 cm
- අයිතමයේ බර: කිලෝ ග්රෑම් 7.5 කි
- සත්කාර උපදෙස්: අතින් සේදීමට පමණයි
- නිර්දේශිත භාවිතයන්: Cheese, Vegetables, Bread, Meat