හැඳින්වීම
This manual provides detailed instructions for the operation and maintenance of your Timex Expedition CAT5 41mm Digital Watch, Model TW4B303009J. Please read this guide thoroughly to ensure proper use and to fully utilize all features of your timepiece. This watch is designed for durability and functionality, featuring a digital display, acrylic lens, and water resistance up to 100 meters.
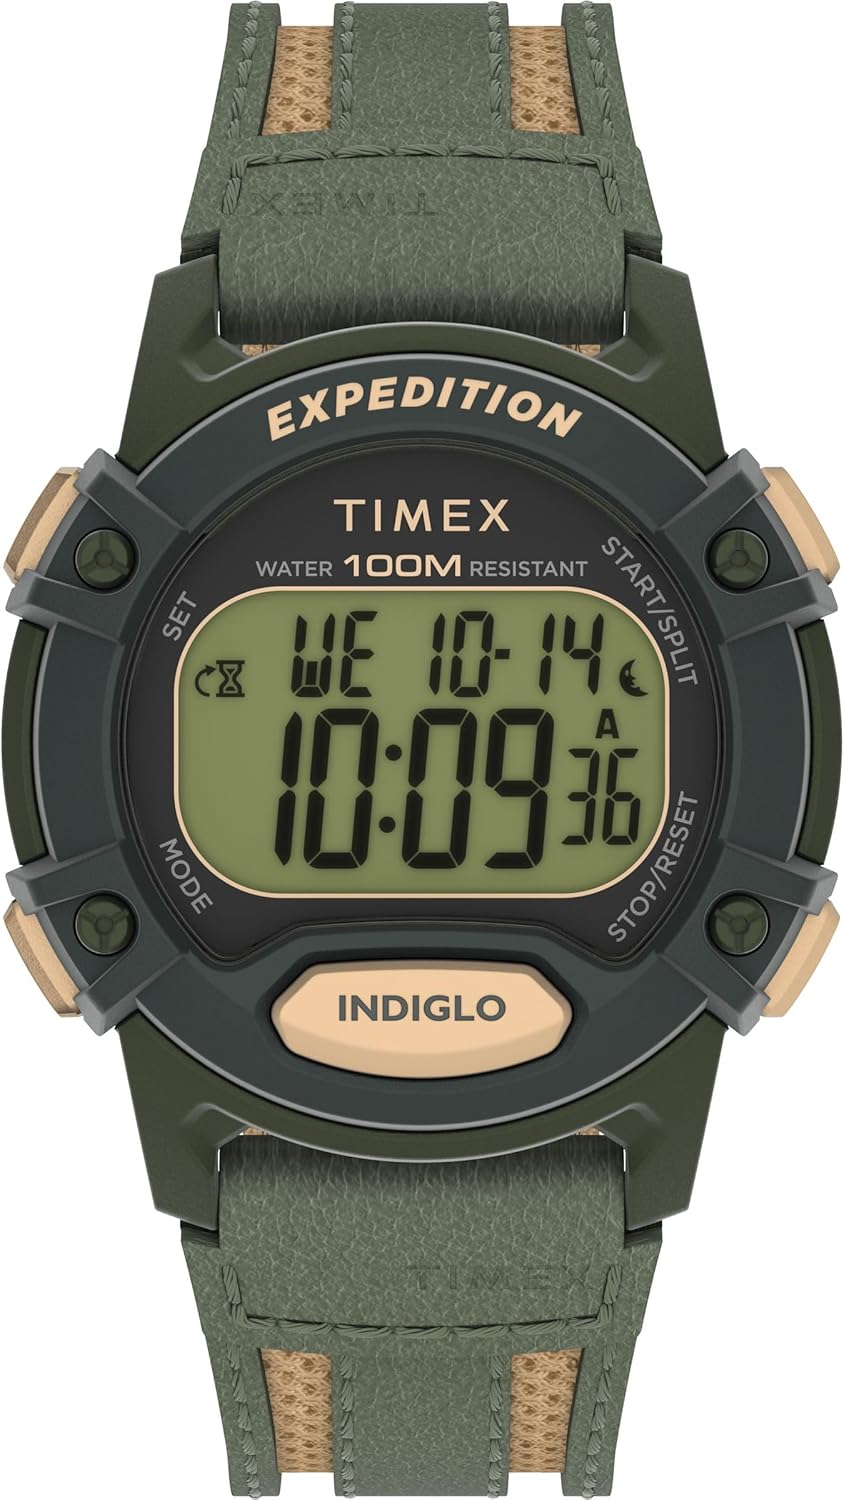
රූපය 1: ඉදිරිපස view of the Timex Expedition CAT5 41mm Digital Watch.
සැකසුම: වේලාව සහ දිනය සැකසීම
Your Timex Expedition watch features two independent time zones (T1 and T2), each with its own time and date settings. This allows for tracking different locations simultaneously.
බොත්තම් කාර්යයන් අවසන්view:
- SET (Top Left): සැකසුම් මාතයන් ඇතුළු කිරීමට සහ පිටවීමට භාවිතා කරයි.
- මාදිලිය (පහළ වමේ): Cycles through different watch modes (Chronograph, Timer, Alarms, Timekeeping). Also used to navigate between settings within a mode.
- START/SPLIT (Top Right): Used to increment values in setting modes or start/split functions in Chronograph/Timer.
- නවත්වන්න/නැවත සකසන්න (පහළ දකුණේ): Used to decrement values in setting modes or stop/reset functions in Chronograph/Timer.
- INDIGLO (Bottom Center): පසුතල ආලෝකය සක්රීය කරයි.
Setting Time (T1 or T2)
- Ensure the watch is in Timekeeping mode. If not, press the මාදිලිය වත්මන් වේලාව පෙන්වන තුරු නැවත නැවතත් බොත්තම ඔබන්න.
- ඔබා අල්ලාගෙන සිටින්න සකසන්න button (Top Left) until "HOLD TO SET" appears, followed by "SET TIME 1" or "SET TIME 2" with a blinking indicator.
- භාවිතා කරන්න START/SPLIT (Top Right) or නවත්වන්න/නැවත සකසන්න (Bottom Right) buttons to select either "TIME 1" or "TIME 2" for adjustment.
- ඔබන්න මාදිලිය button (Bottom Left) to enter the time setting for the selected time zone. The hour value will begin blinking.
- භාවිතා කරන්න START/SPLIT (Top Right) or නවත්වන්න/නැවත සකසන්න (Bottom Right) buttons to adjust the hour. Press and hold for faster adjustment.
- ඔබන්න මාදිලිය button to move to the minute setting. Adjust minutes using the START/SPLIT or නවත්වන්න/නැවත සකසන්න බොත්තම්.
- ඔබන්න මාදිලිය button to move to the seconds setting. Use the START/SPLIT or නවත්වන්න/නැවත සකසන්න buttons to reset seconds to zero.
- කාලය සැකසූ පසු, ඔබන්න සකසන්න button (Top Left) to exit the setting mode.
Setting Date (Month, Day, Year, and Format)
- Ensure the watch is in Timekeeping mode.
- ඔබා අල්ලාගෙන සිටින්න සකසන්න button (Top Left) until "HOLD TO SET" appears, followed by "SET TIME 1" or "SET TIME 2". Select the desired time zone (T1 or T2) for date adjustment.
- ඔබන්න මාදිලිය button repeatedly to cycle through time settings (hours, minutes, seconds) until the month value starts blinking.
- භාවිතා කරන්න START/SPLIT or නවත්වන්න/නැවත සකසන්න මාසය සකස් කිරීමට බොත්තම්.
- ඔබන්න මාදිලිය button to move to the day setting. Adjust the day.
- ඔබන්න මාදිලිය button to move to the year setting. Adjust the year.
- ඔබන්න මාදිලිය button to cycle through time format (12HR/24HR) and date format (MM.DD / DD.MM). Adjust as desired using START/SPLIT or නවත්වන්න/නැවත සකසන්න.
- Once date and formats are set, press the සකසන්න පිටවීමට බොත්තම.
Switching Main Time Zone Display (T1/T2)
ඉක්මනින් කිරීමට view your alternate time zone (T2 if T1 is main, or vice-versa), simply press the START/SPLIT button (Top Right) once. The display will briefly show the alternate time zone.
To permanently switch your main displayed time zone:
- From Timekeeping mode, press and hold the START/SPLIT button (Top Right) for a few seconds.
- The watch will switch its main display to the other time zone (e.g., from T1 to T2, or T2 to T1).
මෙහෙයුම් විශේෂාංග
Hourly චයිමේ
මෙම hourly chime provides an audible alert at the top of each hour. There is no on-screen indicator for this feature.
- From Timekeeping mode, press and hold the සකසන්න button (Top Left) until "HOLD TO SET" appears, then "SET TIME 1" or "SET TIME 2".
- ඔබන්න මාදිලිය button (Bottom Left) nine (9) times. The display will show "CHIME".
- භාවිතා කරන්න START/SPLIT (Top Right) or නවත්වන්න/නැවත සකසන්න (Bottom Right) buttons to toggle the chime "ON" or "OFF".
- ඔබන්න සකසන්න තහවුරු කිරීමට සහ පිටවීමට බොත්තම.
Button Tones (Beep)
This feature controls the audible beep sound when buttons are pressed.
- From Timekeeping mode, press and hold the සකසන්න button (Top Left) until "HOLD TO SET" appears, then "SET TIME 1" or "SET TIME 2".
- ඔබන්න මාදිලිය button (Bottom Left) ten (10) times. The display will show "BEEP".
- භාවිතා කරන්න START/SPLIT (Top Right) or නවත්වන්න/නැවත සකසන්න (Bottom Right) buttons to toggle the beep "ON" or "OFF".
- ඔබන්න සකසන්න තහවුරු කිරීමට සහ පිටවීමට බොත්තම.
Alarms (ALM 1, ALM 2, ALM 3)
The watch has three independent alarms with various repeat options.
- කාල සටහන් මාදිලියෙන්, ඔබන්න මාදිලිය button (Bottom Left) repeatedly until "ALM 1", "ALM 2", or "ALM 3" is displayed.
- To turn an alarm ON/OFF without adjusting its time, use the START/SPLIT (Top Right) or නවත්වන්න/නැවත සකසන්න (Bottom Right) buttons. The display will show "DAILY", "WEEKDAYS", "WEEKENDS", or "OFF".
- To adjust an alarm's time: While on the desired alarm screen, press the සකසන්න button (Top Left). The hour will blink.
- භාවිතා කරන්න START/SPLIT or නවත්වන්න/නැවත සකසන්න පැය සකස් කිරීමට බොත්තම්.
- ඔබන්න මාදිලිය button to move to minutes. Adjust minutes.
- ඔබන්න මාදිලිය button to move to AM/PM indicator. Adjust AM/PM.
- ඔබන්න මාදිලිය button to select the repeat option: "DAILY", "WEEKDAYS", or "WEEKENDS".
- ඔබන්න සකසන්න button to confirm and exit. Adjusting an alarm automatically turns it ON.
An alarm icon will appear on the Timekeeping screen when any alarm is active.
ගණන් කිරීමේ ටයිමරය
The countdown timer can be set from 1 second up to 24 hours, with options to stop or repeat.
- කාල සටහන් මාදිලියෙන්, ඔබන්න මාදිලිය button (Bottom Left) two (2) times to enter Timer mode.
- To start the timer with its current setting, press the START/SPLIT button (Top Right).
- To stop the timer, press the නවත්වන්න/නැවත සකසන්න button (Bottom Right).
- To reset the timer to its default value while stopped, press and hold the නවත්වන්න/නැවත සකසන්න බොත්තම.
- To adjust the timer: While in Timer mode, press the සකසන්න button (Top Left). The hour value will blink.
- භාවිතා කරන්න START/SPLIT or නවත්වන්න/නැවත සකසන්න පැය සකස් කිරීමට බොත්තම්.
- ඔබන්න මාදිලිය button to move to minutes. Adjust minutes.
- ඔබන්න මාදිලිය button to move to seconds. Adjust seconds.
- ඔබන්න මාදිලිය button to select the repeat option: "REPEAT" (timer restarts automatically) or "STOP" (timer stops after one cycle).
- ඔබන්න සකසන්න තහවුරු කිරීමට සහ පිටවීමට බොත්තම.
කාල සටහන (නැවතුම් ඔරලෝසුව)
The chronograph measures elapsed time, including split/lap times.
- කාල සටහන් මාදිලියෙන්, ඔබන්න මාදිලිය button (Bottom Left) once to enter Chronograph mode. The display will show "CHRONO" and "00.00.00".
- ඔබන්න START/SPLIT button (Top Right) to start the chronograph.
- To record a split/lap time while running, press the START/SPLIT button. The display will show the split time for 10 seconds, then resume showing the running total.
- To pause the chronograph, press the නවත්වන්න/නැවත සකසන්න button (Bottom Right). Press START/SPLIT නැවත ආරම්භ කිරීමට.
- To stop the chronograph, press the නවත්වන්න/නැවත සකසන්න බොත්තම.
- To reset the chronograph to zero while stopped, press and hold the නවත්වන්න/නැවත සකසන්න බොත්තම.
- To change the display format (Lap/Split vs. Split/Lap): While in Chronograph mode and reset to zero, press the සකසන්න button (Top Left). Use START/SPLIT or නවත්වන්න/නැවත සකසන්න to toggle between "LAP SPL" (Lap time on top, Split time on bottom) and "SPL LAP" (Split time on top, Lap time on bottom). Press සකසන්න තහවුරු කිරීමට.
Indiglo Backlight
The Indiglo backlight illuminates the watch face for easy viewඅඩු ආලෝක තත්ත්වයන් තුළ.
- ඔබන්න ඉන්ඩිග්ලෝ button (Bottom Center) to activate the backlight. It will stay on for approximately 4 seconds.
- If you continue to press other buttons while the backlight is active, it will remain on for 4 seconds after the last button press.
- There are no adjustable settings for backlight brightness or duration.
නඩත්තු කිරීම
- ජල ප්රතිරෝධය: This watch is water resistant up to 100 meters. It is suitable for showering, swimming, and snorkeling, but not for scuba diving. Do not press buttons underwater.
- බැටරි: The watch uses 1 Lithium Metal battery (included). Battery replacement should be performed by a qualified technician to ensure water resistance is maintained.
- පිරිසිදු කිරීම: Clean the watch with a soft, damp රෙදි. සැර රසායනික ද්රව්ය හෝ උල්ෙල්ඛ ද්රව්ය වලින් වළකින්න.
- ගබඩා: සෘජු හිරු එළියෙන් සහ අධික උෂ්ණත්වයන්ගෙන් ඈත්ව සිසිල් වියළි ස්ථානයක ඔරලෝසුව ගබඩා කරන්න.

Figure 2: Close-up of the watch back, indicating water resistance and battery information.
දෝෂගවේෂණය
- අඳුරු සංදර්ශකය: If the digital display appears dim, the battery may be low and require replacement.
- වැරදි වේලාව/දිනය: නැවත සකස් කිරීම සඳහා "වේලාව සහ දිනය සැකසීම" කොටස බලන්න.
- Watch Not Functioning: Ensure the battery is properly installed and charged. If issues persist, contact Timex customer support.
- ජල ආක්රමණය: If water appears inside the watch, immediately take it to a qualified watch repair center.
පිරිවිතර
| විශේෂාංගය | විස්තර |
|---|---|
| ආදර්ශ අංකය | TW4B303009J හඳුන්වා දීම |
| නඩු ප්රමාණය | 40 මි.මී |
| පටි දිග | අඟල් 8 |
| ඩයල් වර්ගය | ඩිජිටල් |
| කාච ද්රව්ය | ඇක්රිලික් |
| ජල ප්රතිරෝධය | මීටර් 100 කි |
| බැටරි වර්ගය | 1 ලිතියම් ලෝහය (ඇතුළත්) |
| පැකේජ මානයන් | අඟල් 4.41 x 3.03 x 2.56 |
| අයිතමයේ බර | අවුන්ස 2.29 කි |
වගකීම් සහ සහාය
For warranty information, product support, or service inquiries, please refer to the official Timex webවෙබ් අඩවියට හෝ ඔවුන්ගේ පාරිභෝගික සේවයට සෘජුවම සම්බන්ධ වන්න. ඕනෑම වගකීම් හිමිකම් සඳහා ඔබේ මිලදී ගැනීමේ සාක්ෂි තබා ගන්න.