1. හැඳින්වීම
This manual provides detailed instructions for the safe and effective use of your OLIGHT Ostrip Smart LED Strip Lights and Perun 3 Rechargeable Headlamp Flashlight. Please read this manual thoroughly before operation and retain it for future reference.
2 ආරක්ෂිත තොරතුරු
සාමාන්ය ආරක්ෂණ පූර්වාරක්ෂාවන්
- LED ආලෝක ප්රභවය දෙස කෙලින්ම බලන්න එපා.
- Keep both products away from water, moisture, and extreme temperatures.
- Do not attempt to disassemble or modify the products, as this will void the warranty and may cause damage or injury.
- දරුවන්ට ළඟා විය නොහැකි ලෙස තබා ගන්න.
Battery Safety (Perun 3)
- නිශ්චිත ආරෝපණ කේබලය සහ බල ඇඩැප්ටරය පමණක් භාවිතා කරන්න.
- බැටරිය ගින්නට හෝ අධික උෂ්ණත්වයට නිරාවරණය නොකරන්න.
- If the battery shows signs of damage or leakage, discontinue use immediately.
3. පැකේජ අන්තර්ගතය
කරුණාකර පහත අයිතම සඳහා පැකේජය පරීක්ෂා කරන්න:
- OLIGHT Ostrip Smart LED Strip Lights
- OLIGHT Perun 3 නැවත ආරෝපණය කළ හැකි හිසamp ෆ්ලෑෂ් ලයිට්
- Charging Cable (for Perun 3)
- Headband (for Perun 3)
- Power Adapter (for Ostrip)
- Mounting Clips and Screws (for Ostrip)
- පරිශීලක අත්පොත
4. පිහිටුවීම
4.1 OLIGHT Ostrip Smart LED Strip Lights Setup
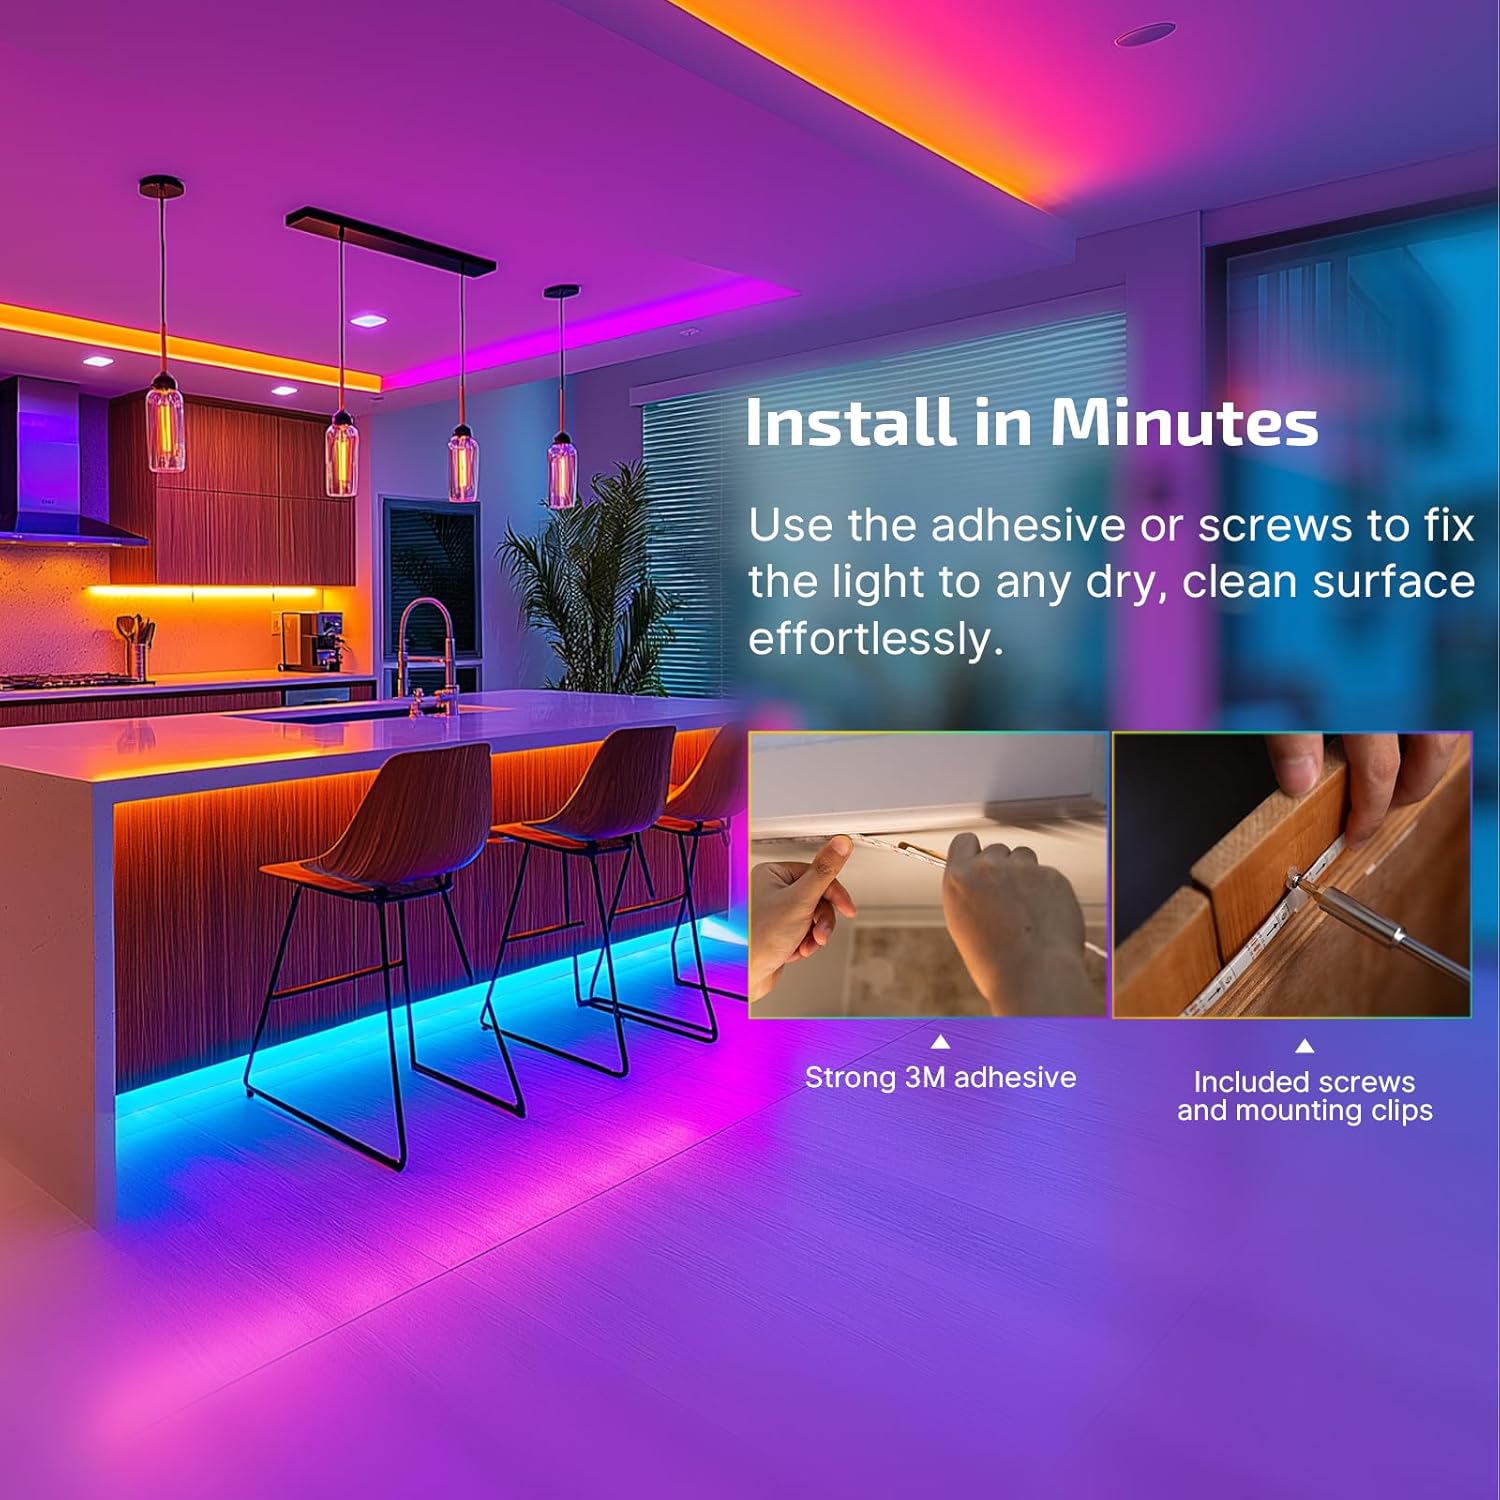
- මතුපිට සකස් කරන්න: Ensure the installation surface is dry, clean, and smooth.
- Install the Strip Lights: Use the strong 3M adhesive backing to attach the strip lights. For added security, utilize the included mounting clips and screws.
- සම්බන්ධක බලය: Plug the Ostrip LED Strip Lights into the power adapter and then into a wall outlet.
- යෙදුම බාගන්න: ඒ සඳහා සොයන්න the 'OLIGHT' app on the Google Play Store or Apple App Store and install it on your smartphone.
- යෙදුම සමඟ යුගල කරන්න: Open the app, create an account if necessary, and follow the in-app instructions to connect your Ostrip LED Strip Lights. Ensure your phone's Bluetooth is enabled.
4.2 OLIGHT Perun 3 Headlamp සැලසුම
- හෙඩ්බෑන්ඩ් අමුණන්න: Securely attach the Perun 3 to the included headband.
- මූලික ගාස්තුව: Before first use, fully charge the Perun 3 using the magnetic charging cable. Connect the magnetic end to the charging port on the headlamp and the USB end to a power source. The indicator light will show charging status.

5. මෙහෙයුම් උපදෙස්
5.1 OLIGHT Ostrip Smart LED Strip Lights Operation
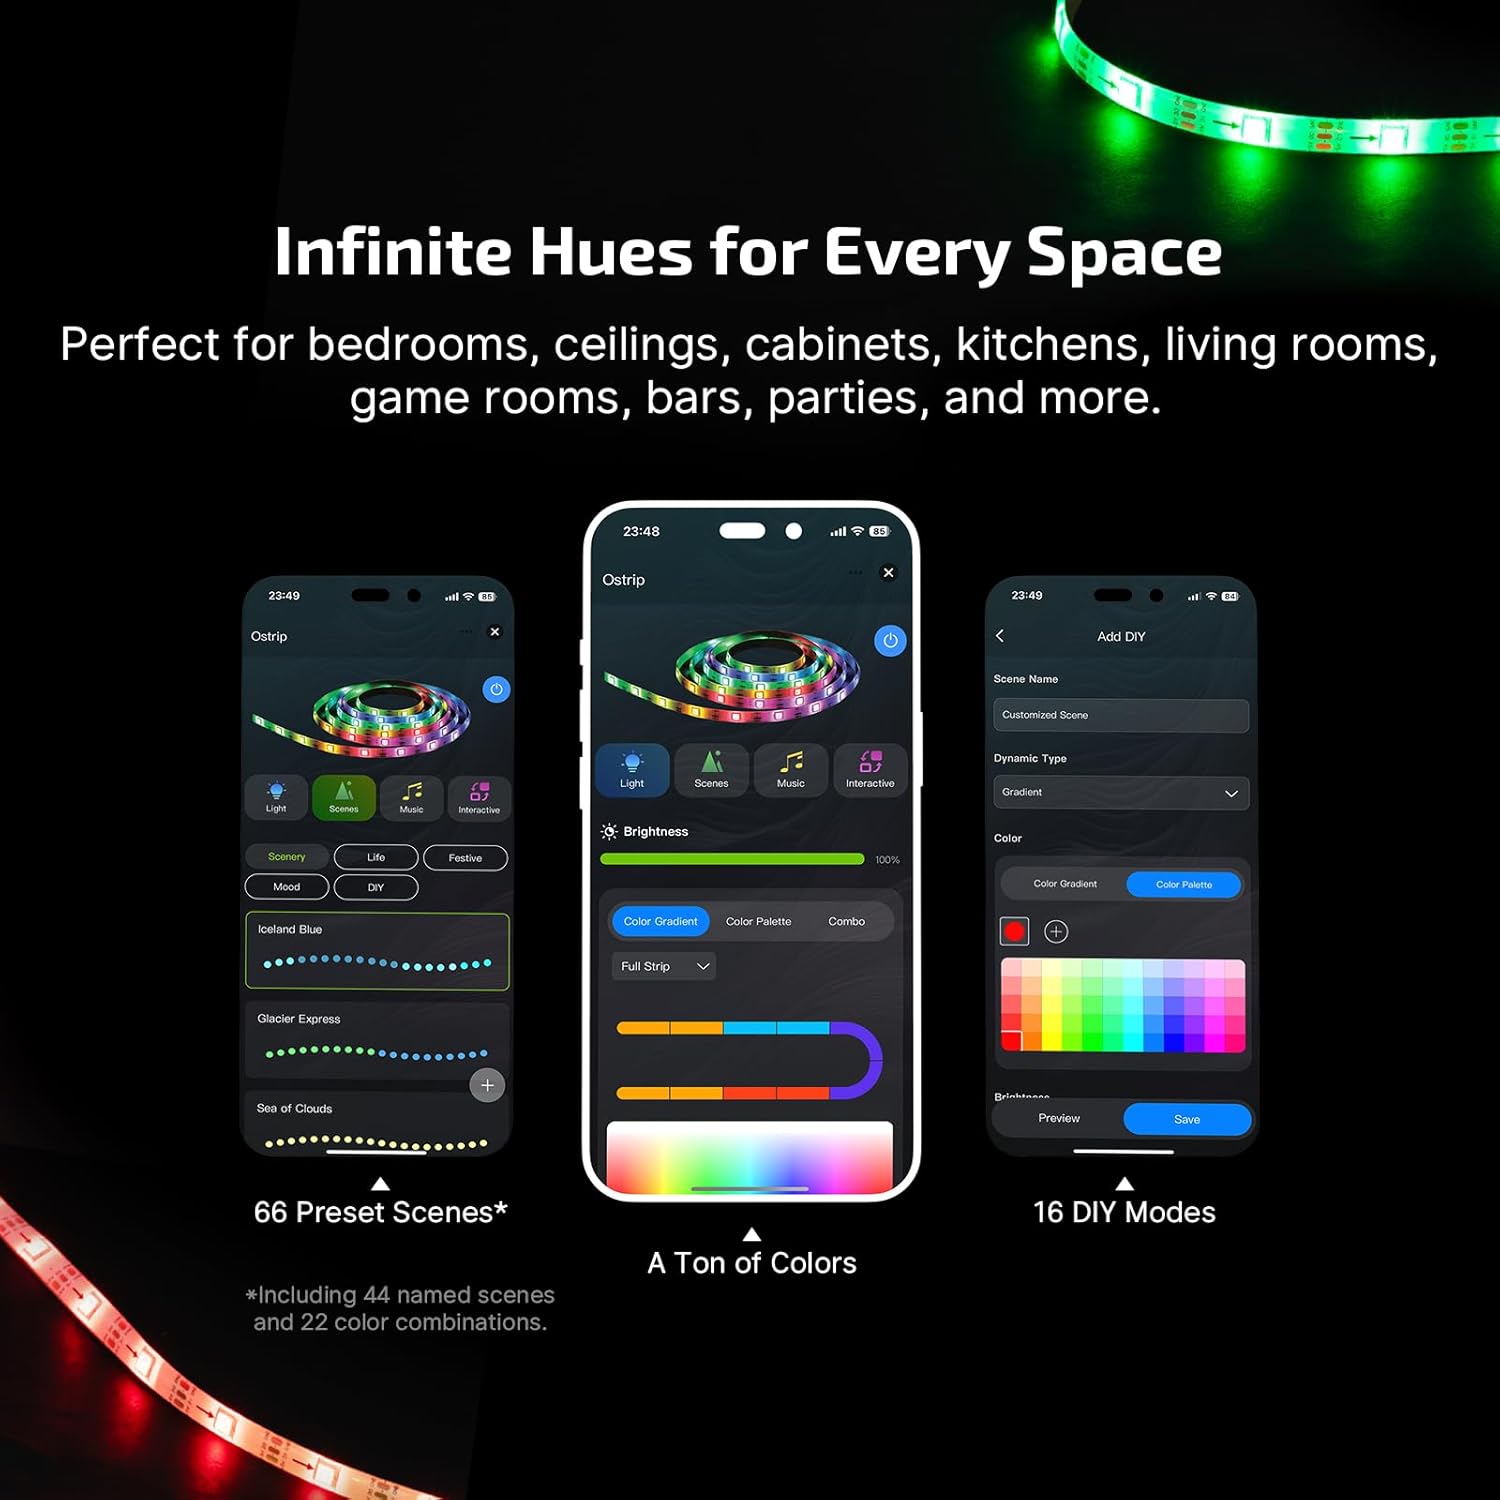
- යෙදුම් පාලනය: Use the OLIGHT app to adjust brightness, select from thousands of colors, and choose from 66 preset scenes (44 named scenes and 22 color combinations). You can also customize colors by paragraph.
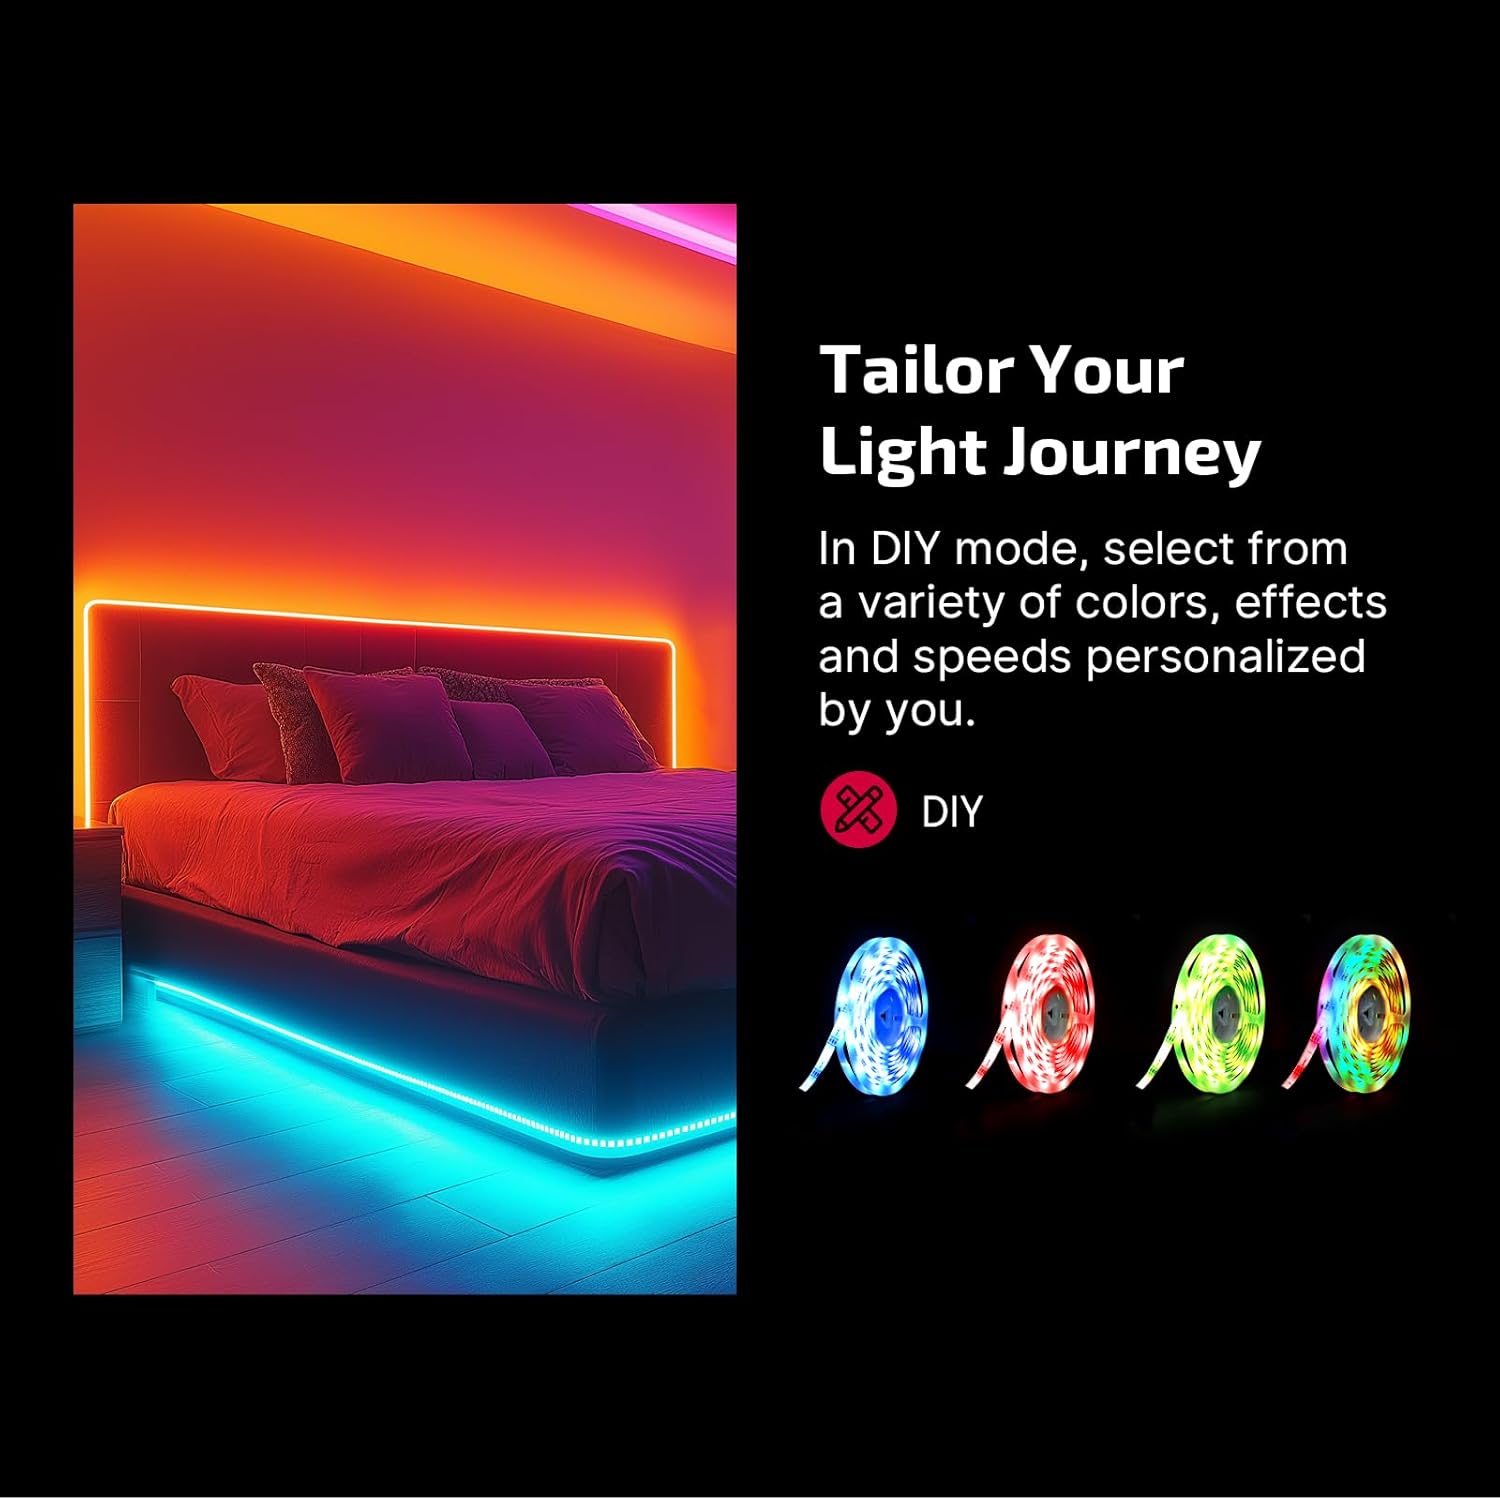
- DIY මාදිලි: Create personalized lighting effects by selecting various colors, speeds, and effects within the app's DIY mode.

- සංගීත සමමුහුර්තකරණය: Enable the music sync feature in the app to make the lights dance and pulse in rhythm with your favorite music.
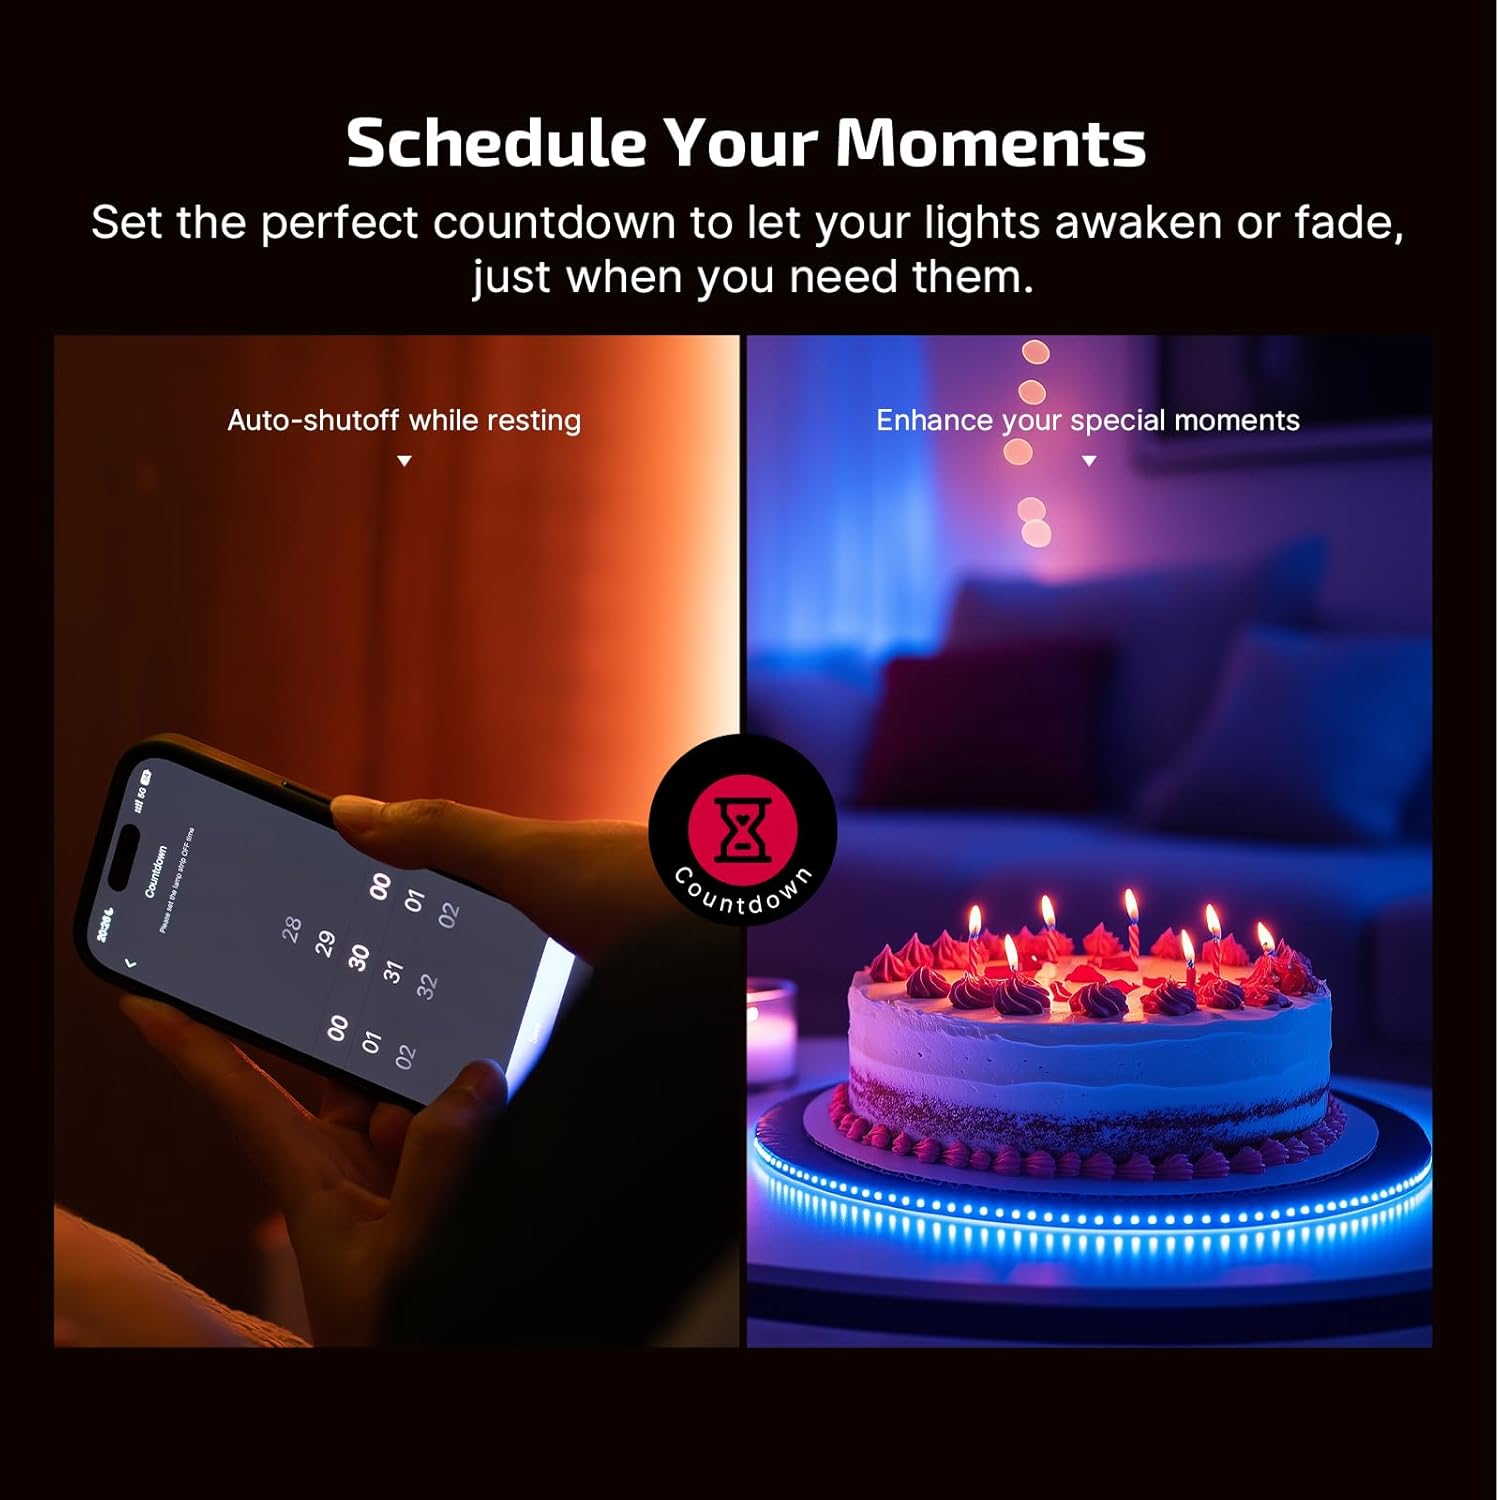
- උපලේඛනගත කිරීම: Use the app to set countdown timers for the lights to awaken or fade, allowing for automated lighting control.
5.2 OLIGHT Perun 3 Headlamp මෙහෙයුම
- බලය සක්රිය / අක්රිය: හිස හැරවීමට බල බොත්තම ඔබා අල්ලාගෙන සිටින්නamp මත හෝ අක්රිය.
- දීප්තිය ගැලපීම: While on, short press the power button to cycle through different brightness levels for the white light.
- රතු ආලෝක මාදිලිය: Double-click the power button to activate the red light. Short press to cycle between red light brightness levels and flashing mode.
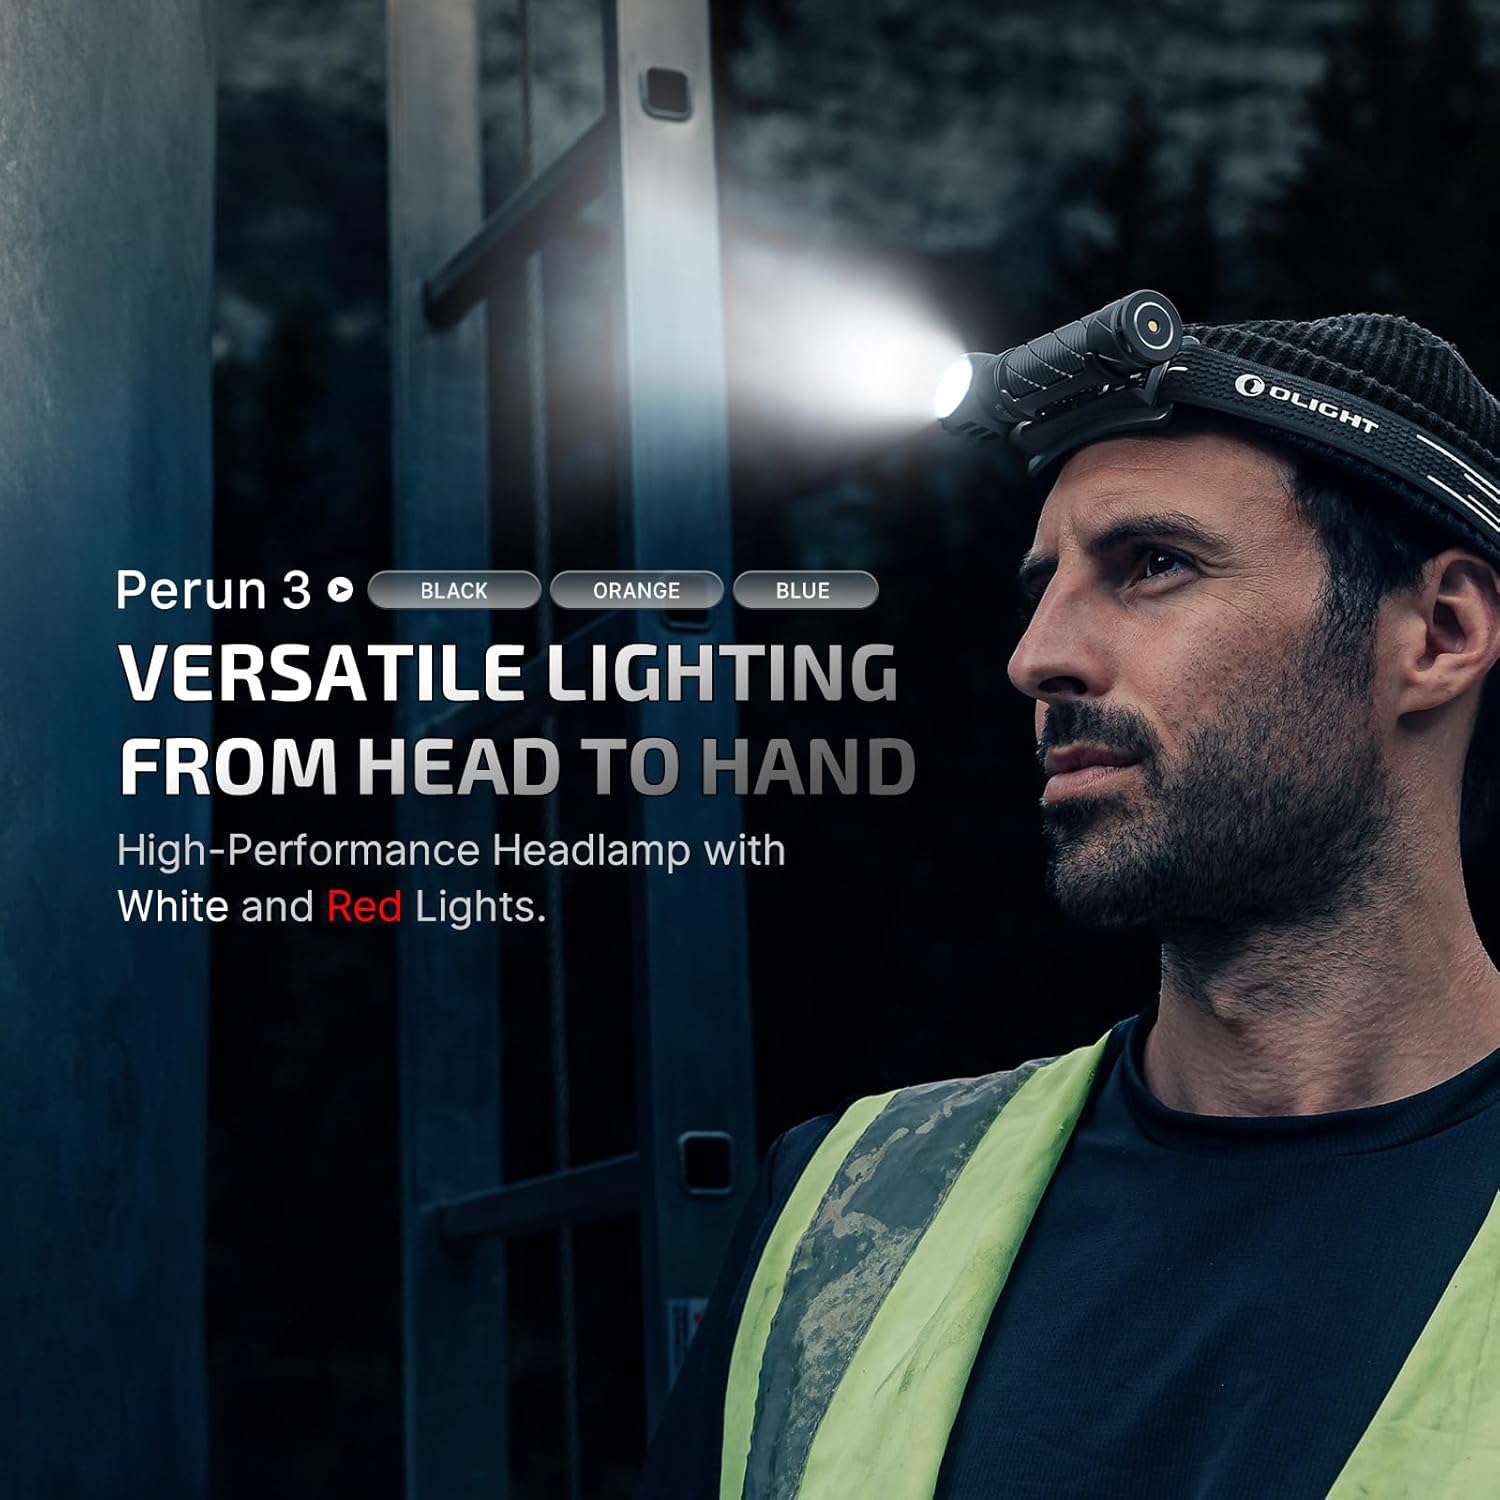
- Hands-Free මෙහෙයුම: The Perun 3 is designed for hands-free use, providing versatile lighting from head to hand.

- Wide Area Illumination: The 3000-lumen floodlight beam illuminates large areas effectively.

6. නඩත්තු කිරීම
පිරිසිදු කිරීම
- Wipe the exterior of both products with a soft, damp රෙදි. උල්ෙල්ඛ පිරිසිදු කරන්නන් හෝ ද්රාවණ භාවිතා නොකරන්න.
- Ensure the charging port of the Perun 3 is clean and free of debris for optimal charging.
ගබඩා කිරීම
- නිෂ්පාදන සෘජු හිරු එළියෙන් සහ අධික උෂ්ණත්වයෙන් ඈත්ව සිසිල් වියළි ස්ථානයක ගබඩා කරන්න.
- For long-term storage of the Perun 3, ensure it is partially charged (around 50%) and recharge it every few months to maintain battery health.
7. දෝශ නිරාකරණය
Ostrip LED තීරු පහන්
- විදුලි පහන් දැල්වෙන්නේ නැත: Check power connection, ensure the adapter is plugged in, and verify the app control is not set to off or minimum brightness.
- යෙදුම් සම්බන්ධතා ගැටළු: Ensure Bluetooth is enabled on your device, the app is updated, and the strip lights are within the 25-meter range. Try restarting the app and the strip lights.
Perun 3 Headlamp
- හෙඩ්ල්amp සක්රිය නොවේ: Ensure the battery is charged. If it's fully discharged, it may take a few minutes on the charger before it responds.
- අයකිරීම නොවේ: Check the magnetic charging cable for proper connection and ensure the USB power source is functional. Clean the magnetic charging port on the headlamp.
8. පිරිවිතර
OLIGHT Ostrip Smart LED Strip Lights
| පාලන ක්රමය | Smart App Control (Bluetooth) |
| පාලන පරාසය | මීටර් 25 දක්වා |
| වර්ණ විකල්ප | Thousands of colors, customizable by paragraph |
| Preset Scenes | 66 (44 named, 22 color combinations) |
| විශේෂ ලක්ෂණ | DIY modes, Music Sync, Scheduling |
| ස්ථාපනය | 3M adhesive, mounting clips and screws |
OLIGHT Perun 3 නැවත ආරෝපණය කළ හැකි හිසamp ෆ්ලෑෂ් ලයිට්
| උපරිම ප්රතිදානය | 3,000 Lumens |
| උපරිම ධාවන කාලය | දින 20 යි |
| ආලෝක ප්රභවය | Premium LEDs (White Light, Red Light) |
| රතු ආලෝක මාදිලි | 2 brightness levels, flashing mode |
| බලශක්ති ප්රභවය | Rechargeable Battery (integrated) |
| ඇතුළත් සංරචක | හෙඩ්ල්amp, Headband, Magnetic Charging Cable |
9. වගකීම් සහ සහාය
OLIGHT products are manufactured with high-quality materials and craftsmanship. We offer a ජීවිත කාලය වගකීම on our products, ensuring peace of mind for our customers.
For technical support, warranty claims, or general inquiries, please visit the official OLIGHT website or contact our customer service team through the contact information provided on our webඅඩවිය.
Official OLIGHT Webඅඩවිය: www.olightstore.com


