1 ආරක්ෂිත තොරතුරු
Please read all instructions carefully before using this monitor. Keep this manual for future reference.
- ගින්නක් හෝ විදුලි කම්පනයක් වළක්වා ගැනීම සඳහා මොනිටරය වර්ෂාවට හෝ තෙතමනයට නිරාවරණය නොකරන්න.
- මොනිටරය විවෘත නොකරන්න casinඋ. ඇතුළත පරිශීලක-සේවා කළ හැකි කොටස් නොමැත. සියලුම සේවා සුදුසුකම් ලත් පුද්ගලයින් වෙත යොමු කරන්න.
- වැටීම වැළැක්වීම සඳහා මොනිටරය ස්ථාවර, පැතලි මතුපිටක් මත තබන්න.
- මොනිටරය වටා නිසි වාතාශ්රය සහතික කරන්න. වාතාශ්රය විවරයන් අවහිර නොකරන්න.
- මොනිටරය සමඟ සපයා ඇති බල ඇඩැප්ටරය පමණක් භාවිතා කරන්න.
- මොනිටරය දිගු කාලයක් භාවිතා නොකරන්නේ නම්, අලෙවිසැලෙන් බල පේනුව විසන්ධි කරන්න.
2. පැකේජ අන්තර්ගතය
ඔබගේ පැකේජයේ සියලුම අයිතම ඇති බව තහවුරු කරගන්න:
- CRUA 34-inch Ultrawide Gaming Monitor
- මොනිටර් ස්ටෑන්ඩ් (පාදය සහ බෙල්ල)
- බල ඇඩැප්ටරය සහ කේබල්
- HDMI කේබලය
- ඩිස්ප්ලේපෝට් (DP) කේබලය
- පරිශීලක අත්පොත
- ස්ටෑන්ඩ් එකලස් කිරීම සඳහා ඉස්කුරුප්පු
3. පිහිටුවීම
3.1 ස්ථාවරය එකලස් කිරීම
- මෘදු මතුපිටක් මත ආරක්ෂිතව තබා ගනිමින්, මොනිටරය එහි ඇසුරුම්වලින් ප්රවේශමෙන් ඉවත් කරන්න.
- සපයා ඇති ඉස්කුරුප්පු භාවිතයෙන් මොනිටරයේ පසුපස පුවරුවට ස්ටෑන්ඩ් බෙල්ල සවි කරන්න.
- ආධාරක පාදය ආධාරක බෙල්ලට සම්බන්ධ කර නම් කරන ලද ඉස්කුරුප්පු ඇණ සමඟ එය සවි කරන්න.
- Place the assembled monitor on a stable desk.
The monitor stand allows for tilt adjustment to find your optimal viewing කෝණය.
3.2 බිත්ති සවි කිරීම (විකල්ප)
This monitor supports VESA wall mounting (75x75mm). To wall mount:
- Remove the stand from the monitor if it is already attached.
- Attach a compatible VESA 75x75mm wall mount bracket (not included) to the monitor's rear panel using appropriate screws.
- ආරක්ෂිත ස්ථාපනය සඳහා ඔබේ බිත්ති සවිකිරීම සමඟ සපයා ඇති උපදෙස් අනුගමනය කරන්න.

රූපය: පසුපස view of the monitor highlighting the 75x75mm wall mount area and various input ports.
3.3 උපාංගයකට සම්බන්ධ කිරීම
Connect your computer or gaming console to the monitor using one of the available ports:
- ඩිස්ප්ලේපෝට් (ඩීපී 1.4): For optimal performance, especially for high refresh rates and FreeSync.
- HDMI (HDMI 1.4 x2): Compatible with most devices.
Connect the power adapter to the monitor's DC input and then plug it into a power outlet.
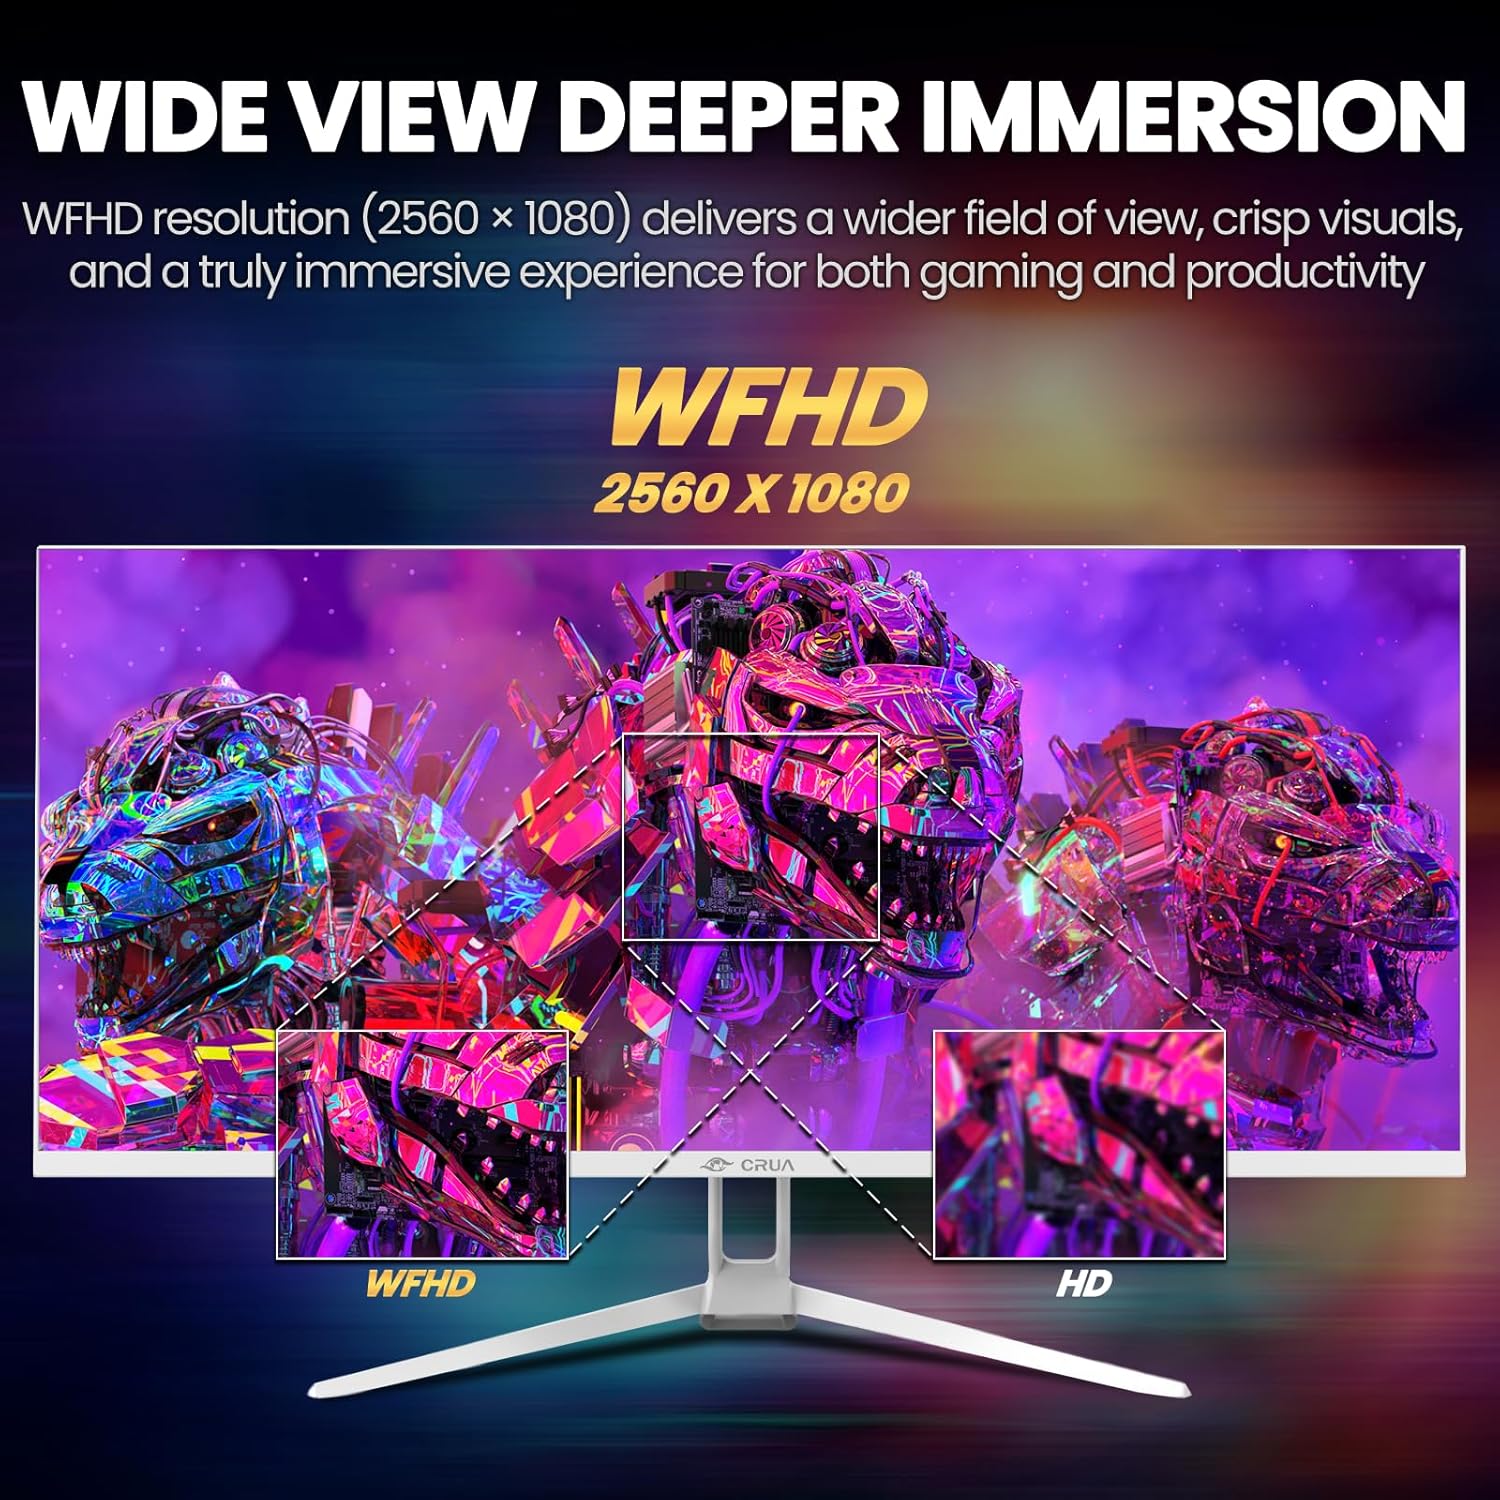
Image: A detailed diagram illustrating the monitor's connectivity options, including two HDMI 1.4 ports, one DisplayPort 1.4, an audio output, a USB charging port, and the DC power input.
4. මෙහෙයුම් උපදෙස්
4.1 බලය සක්රිය / අක්රිය
Press the power button, typically located on the bottom or rear of the monitor, to turn it on or off. The power indicator light will illuminate when the monitor is on.
4.2 තිරය මත සංදර්ශක (OSD) මෙනුව
The OSD menu allows you to adjust various monitor settings. Access it by pressing the OSD menu button (often a joystick-like button or a set of dedicated buttons) on the monitor.
- සංචාලනය: Use the OSD buttons or joystick to navigate through the menu options.
- තේරීම: උප මෙනුවක් ඇතුළු කිරීමට හෝ සැකසුමක් තහවුරු කිරීමට තෝරන්න බොත්තම ඔබන්න.
- පිටවීම: ආපසු යාමට හෝ OSD මෙනුව වැසීමට පිටවීමේ බොත්තම භාවිතා කරන්න.
4.3 පින්තූර සැකසුම්
ප්රශස්ත සඳහා දෘශ්ය පරාමිතීන් සකසන්න viewing:
- දීප්තිය: තිරයේ සමස්ත දීප්තිය පාලනය කරයි.
- වෙනස: ආලෝකය සහ අඳුරු ප්රදේශ අතර වෙනස සකස් කරයි.
- වර්ණ උෂ්ණත්වය: පෙර සැකසූ වර්ණ මාතයන් තෝරයි (උදා: උණුසුම්, සිසිල්, පරිශීලක).
- නිල් ආලෝක පෙරහන: දිගුකාලීන භාවිතයේදී ඇස්වල ආතතිය අවම කිරීම සඳහා නිල් ආලෝක විමෝචනය අඩු කරයි.
- දර්ශන අනුපාතය: Set to 21:9 for ultrawide content or other options as needed.

Image: The CRUA ultrawide monitor showcasing its 21:9 aspect ratio, demonstrating how it provides more horizontal screen space compared to a standard 16:9 display.
4.4 ශ්රව්ය සැකසුම්
The monitor includes built-in speakers. Adjust volume through the OSD menu or your connected device. An external audio output port is also available for headphones or external speakers.
4.5 AMD FreeSync
To enable AMD FreeSync for tear-free gaming, ensure your graphics card supports FreeSync and that it is enabled in your graphics card's control panel. Then, activate FreeSync within the monitor's OSD menu.

Image: A visual comparison demonstrating the effect of AMD FreeSync, showing a torn image when FreeSync is off and a smooth image when FreeSync is on, highlighting the 120Hz refresh rate.
5. නඩත්තු කිරීම
5.1 තිරය පිරිසිදු කිරීම
- මොනිටරය නිවා දමා විදුලි රැහැන විසන්ධි කරන්න.
- මෘදු, ලින්ට් රහිත රෙද්දක් සැහැල්ලුවෙන් භාවිතා කරන්නampජලය හෝ විශේෂිත තිර පිරිසිදු කරන්නෙකු සමඟ.
- Wipe the screen gently. Do not press hard or use abrasive cleaners.
5.2 සාමාන්ය රැකවරණය
- මොනිටරය සෘජු හිරු එළියෙන්, තාප ප්රභවයන්ගෙන් සහ අධික දූවිලි වලින් ඈත් කර තබන්න.
- මොනිටරය හෝ එහි කේබල් මත බර වස්තූන් තැබීමෙන් වළකින්න.
- Do not spray cleaning liquids directly onto the monitor.
6. දෝශ නිරාකරණය
ඔබේ මොනිටරය සමඟ ගැටළු ඇති වුවහොත්, පහත සඳහන් පොදු ගැටළු සහ විසඳුම් වෙත යොමු වන්න:
| ගැටලුව | හැකි විසඳුම |
|---|---|
| තිරයේ රූපයක් නොමැත | Ensure power cable is securely connected and the monitor is turned on. Check video cable (HDMI/DP) connections to both monitor and computer. Select the correct input source via the OSD menu. |
| රූපය දිලිසෙනවා හෝ අස්ථායීයි | Check video cable connections. Ensure your graphics card drivers are up to date. If using FreeSync, try disabling it temporarily to see if the issue persists. Adjust refresh rate in your computer's display settings. |
| බිල්ට් ස්පීකර් වලින් ශබ්දයක් නැත | Increase volume via the OSD menu and your computer's sound settings. Ensure the correct audio output device is selected on your computer. Check if the audio cable (if used) is properly connected. |
| වර්ණ වැරදි ලෙස පෙනේ | Reset picture settings to factory defaults via the OSD menu. Adjust color temperature and individual RGB values if available. |
If the problem persists after trying these solutions, please contact CRUA customer support.
7. පිරිවිතර
Key technical specifications for the CRUA 34-inch Ultrawide Gaming Monitor (Model CR340AU):
| විශේෂාංගය | පිරිවිතර |
|---|---|
| තිර ප්රමාණය | අඟල් 34 |
| පැනල් වර්ගය | IPS |
| විභේදනය | 2560 x 1080 (WFHD) |
| දර්ශන අනුපාතය | 21:9 |
| Refresh Rate | 120Hz |
| ප්රතිචාර කාලය | (Not specified in provided data, typical for IPS is 1-5ms GTG) |
| දීප්තිය | 350 cd/m² |
| වර්ණ ගැමට් | 120% sRGB |
| වර්ණ ගැඹුර | 8-bit (16.7 Million Colors) |
| Viewකෝණ | 178° (තිරස්/සිරස්) |
| අනුවර්තන සමමුහුර්තකරණය | AMD FreeSync |
| සම්බන්ධතාවය | 2x HDMI 1.4, 1x DisplayPort 1.4, Audio Out, USB Charging, DC Power Input |
| බිල්ට් ස්පීකර් | ඔව් |
| වෝල් මවුන්ට් | VESA 75x75 මි.මී |
| නිෂ්පාදන මානයන් | අඟල් 9.4 x 24.13 x 17.47 |
| අයිතමයේ බර | රාත්තල් 14.92 කි |
8. වගකීම් සහ සහාය
CRUA provides high-quality computer monitors and customer service. For any questions or support needs regarding your CRUA 34-inch Ultrawide Gaming Monitor, please contact CRUA customer support.
Refer to your purchase documentation or the official CRUA webනිශ්චිත වගකීම් කොන්දේසි සහ සම්බන්ධතා තොරතුරු සඳහා අඩවිය.


