
1. හැඳින්වීම
This manual provides essential information for the safe and efficient use of your URAO 14-inch Android 15 Tablet, model G140L. Please read this manual thoroughly before operating the device to ensure proper setup and functionality. Keep this manual for future reference.
2. පැකේජ අන්තර්ගතය
සියලුම අයිතම පැකේජයේ ඇති බව තහවුරු කරගන්න:
- URAO 14-inch Android 15 Tablet (G140L)
- බ්ලූටූත් යතුරු පුවරුව
- Bluetooth Mouse (Note: Batteries not included)
- ස්ටයිලස් පෑන
- ආරක්ෂිත නඩුව
- හෙඩ්ෆෝන්
- USB Type-C ආරෝපණ කේබලය
- බල ඇඩැප්ටරය (ආරෝපණය)

Image: A visual representation of the URAO G140L tablet, highlighting its ports and buttons, alongside all standard accessories provided in the retail package.
3. පිහිටුවීම
3.1 ආරම්භක බලය සක්රීය කිරීම
- Press and hold the Power ON/OFF button located on the side of the tablet until the screen illuminates.
- ඔබේ භාෂාව තේරීමට, Wi-Fi ජාලයකට සම්බන්ධ වීමට සහ ඔබේ Google ගිණුම සැකසීමට තිරයේ ඇති විමසීම් අනුගමනය කරන්න.
3.2 ටැබ්ලටය ආරෝපණය කිරීම
Before first use, fully charge the tablet. Use the provided USB Type-C charging cable and power adapter.
- Connect the USB Type-C cable to the tablet's charging port.
- බල ඇඩැප්ටරය බිත්ති අලෙවිසැලකට සම්බන්ධ කරන්න.
- The battery indicator on the screen will show charging status. A full charge typically takes approximately 2.5 hours with the 30W fast charging capability.
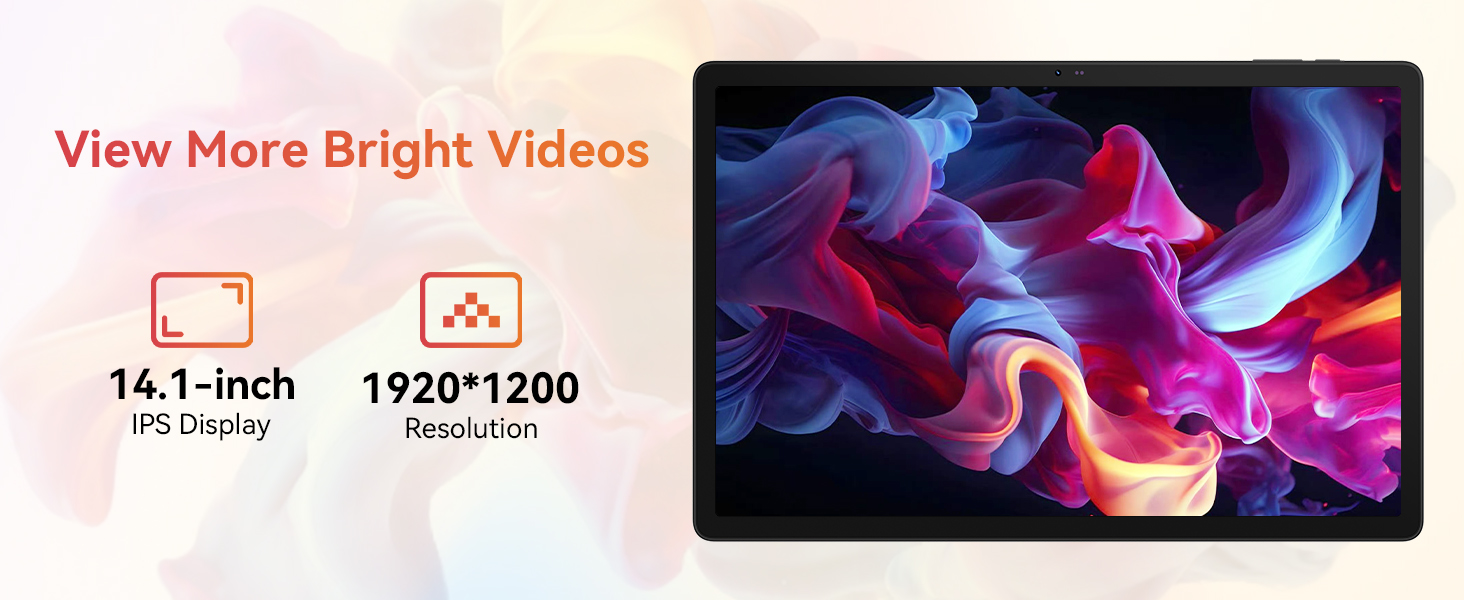
Image: The URAO tablet connected to a charger via its Type-C port, illustrating the 10000mAh battery and 30W fast charging feature.
3.3 Connecting Peripherals (Keyboard, Mouse, Stylus)
The included keyboard, mouse, and stylus connect via Bluetooth.
- වෙත යන්න සැකසීම් > සම්බන්ධිත උපාංග > බ්ලූටූත් ඔබේ ටැබ්ලටයේ.
- බ්ලූටූත් ක්රියාත්මක කර ඇති බව සහතික කර ගන්න On.
- Put the keyboard, mouse, or stylus into pairing mode (refer to each accessory's individual instructions for specific pairing steps).
- Select the accessory from the list of available devices on your tablet to pair.
3.4 ජාල සම්බන්ධතාවය (Wi-Fi)
අන්තර්ජාල ප්රවේශය සඳහා Wi-Fi ජාලයකට සම්බන්ධ කරන්න.
- වෙත යන්න සැකසීම් > ජාලය සහ අන්තර්ජාලය > අන්තර්ජාලය.
- හැරෙන්න Wifi මත.
- Select your desired Wi-Fi network from the list and enter the password if required. The tablet supports Wi-Fi 6 (802.11ax) for faster and more stable connections.
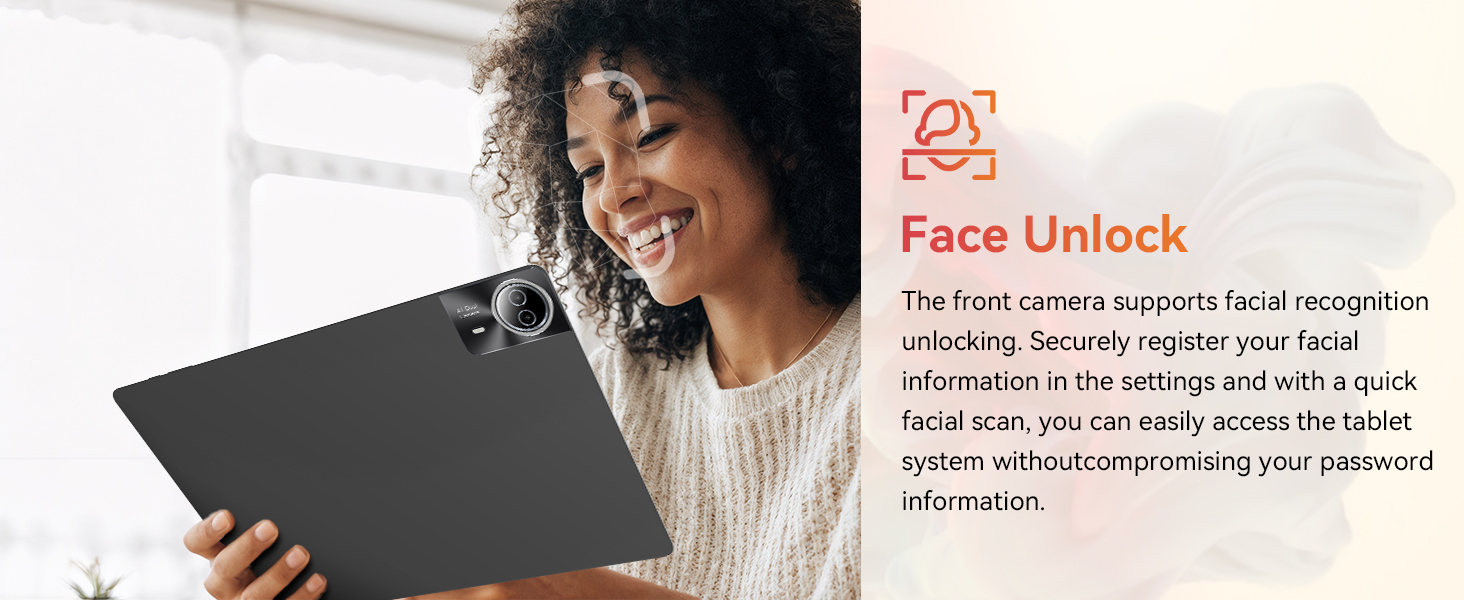
Image: The URAO tablet screen showing icons for dual-band Wi-Fi (2.4G+5G) and Bluetooth 5.4, indicating its connectivity features.
4. මෙහෙයුම් උපදෙස්
4.1 මූලික සංචාලනය (Android 15)
Your tablet runs on Android 15, offering an intuitive user interface. Use touch gestures for navigation:
- තට්ටු කරන්න: අයිතමයක් තෝරන්න.
- ස්වයිප්: Scroll through pages or lists.
- පින්ච්: රූප විශාලනය කරන්න හෝ අඩු කරන්න සහ web පිටු.
- දිගු මුද්රණ යන්ත්රය: සන්දර්භීය මෙනු වෙත ප්රවේශ වන්න හෝ අයිකන ගෙන යන්න.
4.2 දර්ශන සැකසුම්
The 14.1-inch IPS FHD display offers a resolution of 1920x1200 pixels for clear visuals. Adjust display settings via සැකසීම් > ප්රදර්ශනය කරන්න.
- දීප්තියේ මට්ටම: තිරයේ දීප්තිය සකසන්න.
- අඳුරු තේමාව: Enable for reduced eye strain in low light.
- අක්ෂි ආරක්ෂණ මාදිලිය: Reduces blue light emission.
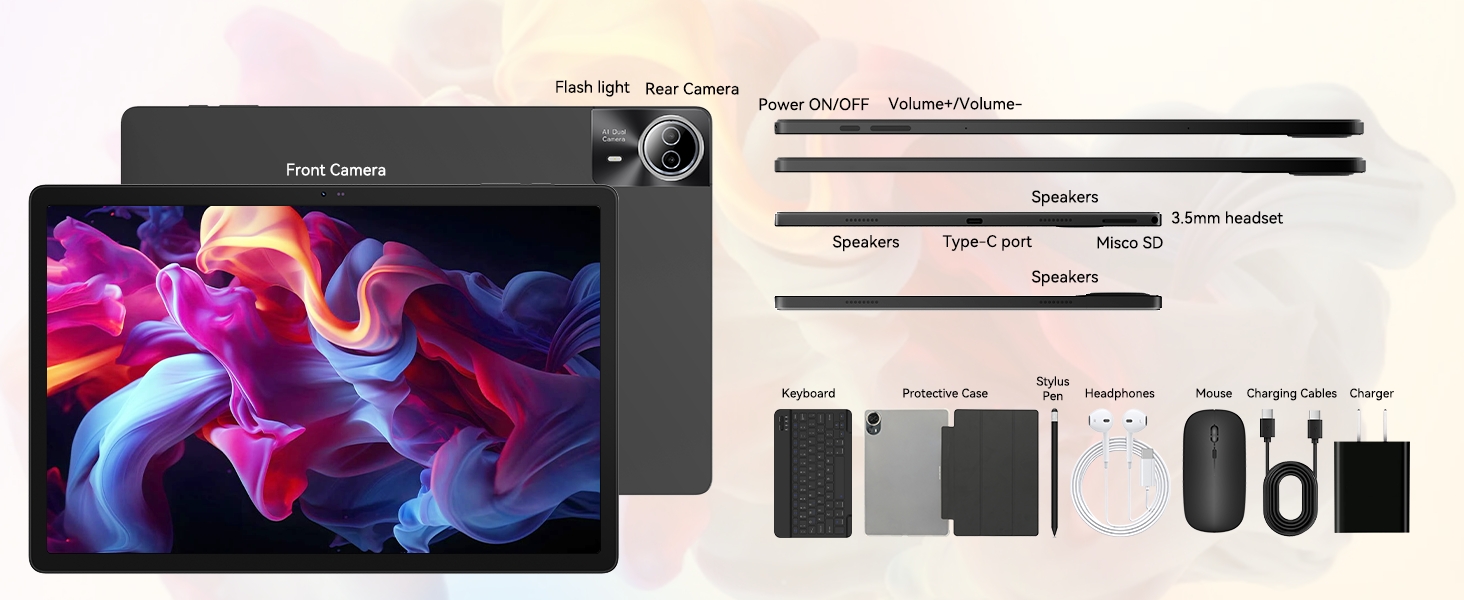
Image: The URAO tablet displaying a high-resolution image, emphasizing its 14.1-inch IPS display and 1920x1200 pixel resolution for bright and clear visuals.
4.3 කැමරා භාවිතය
ටැබ්ලටයේ 5MP ඉදිරිපස කැමරාවක් සහ 8MP පසුපස කැමරාවක් ඇත.
- විවෘත කරන්න කැමරාව මුල් තිරයෙන් හෝ යෙදුම් ලාච්චුවෙන් යෙදුම.
- ඉදිරිපස සහ පසුපස කැමරා අතර මාරු වීමට කැමරා නිරූපකය තට්ටු කරන්න.
- ඡායාරූප ගැනීමට හෝ වීඩියෝ පටිගත කිරීම ආරම්භ කිරීමට/නවත්වා ගැනීමට ෂටර් බොත්තම තට්ටු කරන්න.
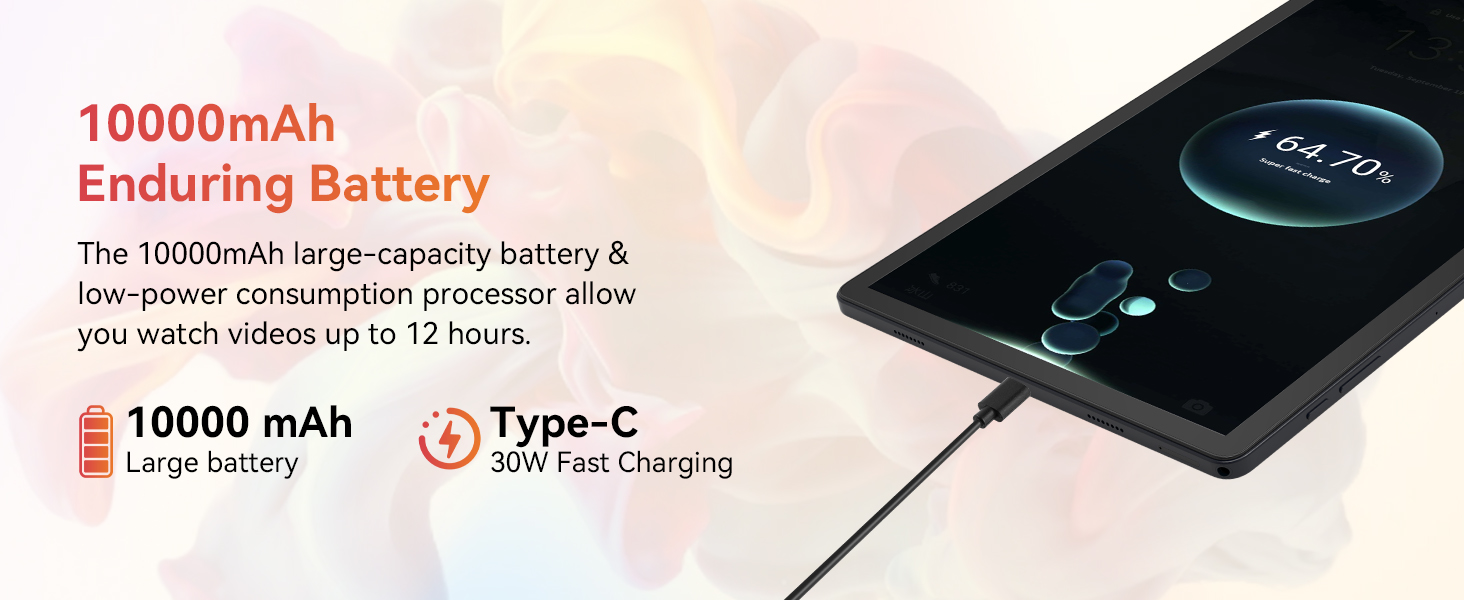
Image: A collage demonstrating the photo capabilities of the URAO tablet, featuring images taken with its 8MP rear camera and 5MP front camera, suitable for video calls and capturing moments.
4.4 ශ්රව්ය උපකරණ
The tablet is equipped with Stereo 4 Speakers for an immersive audio experience. Volume can be adjusted using the Volume +/- buttons on the side of the tablet or through the on-screen controls.
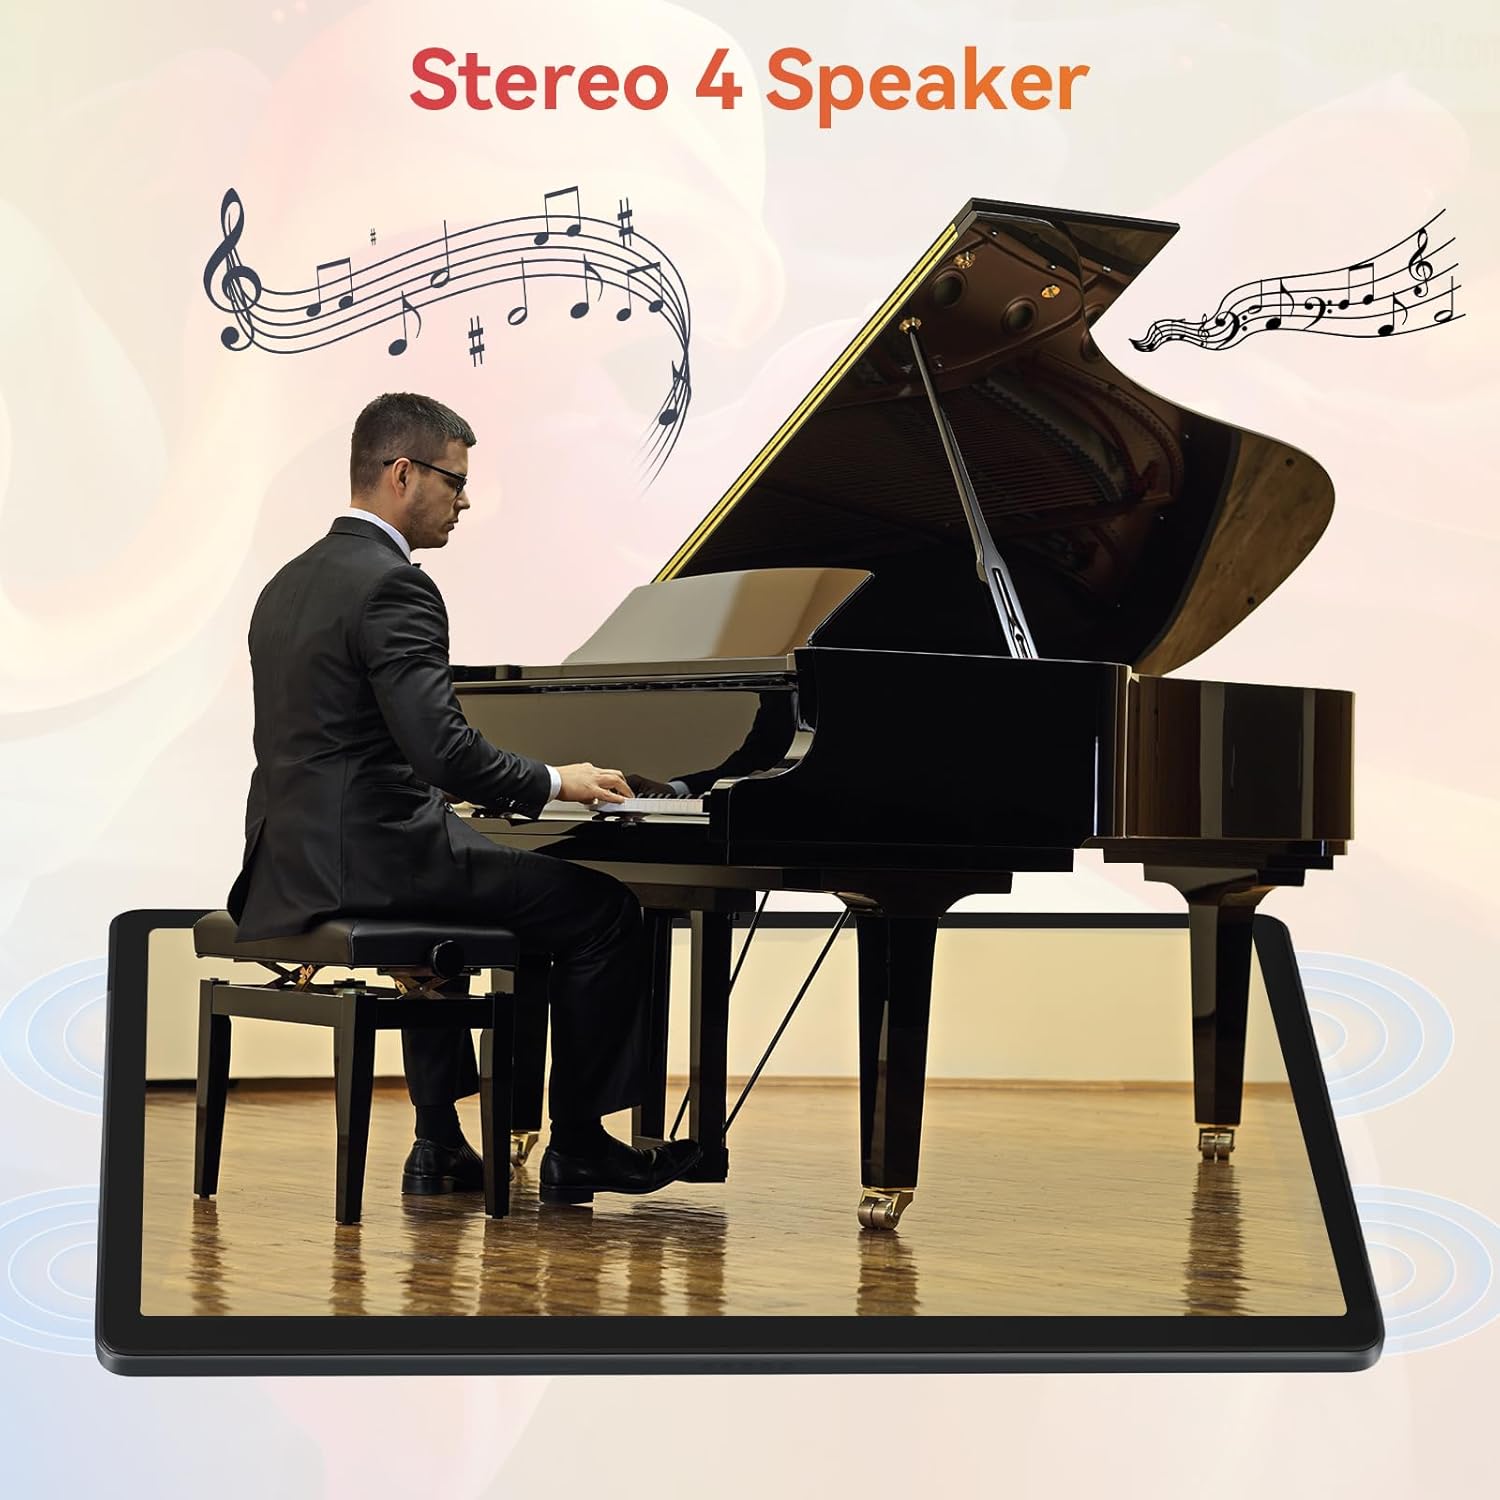
Image: The URAO tablet positioned in front of a piano player, with a graphic overlay indicating the presence of Stereo 4 Speakers for enhanced sound.
4.5 ගබඩා කළමනාකරණය
Your tablet comes with 256GB of internal storage and 30GB of RAM (6GB physical + 24GB virtual expansion). Storage can be expanded up to 1TB using a TF (Micro SD) card (not included).
- To insert a TF card, locate the card slot on the side of the tablet and gently push the card in until it clicks.
- Manage storage via සැකසීම් > ගබඩා කිරීම.

Image: The URAO tablet displaying multiple application icons, with graphics indicating its 30GB RAM (6+24GB), 256GB ROM, and support for up to 1TB external storage.
4.6 2-in-1 මාදිලිය
Transform your tablet into a laptop-like experience by connecting the Bluetooth keyboard and mouse. The protective case can also function as a stand.

Image: A multi-panel image showing the URAO tablet in different usage scenarios, including note-taking with a stylus, typing with the keyboard and mouse, and watching videos, demonstrating its versatility.
4.7 මුහුණු හඳුනාගැනීම
The front camera supports facial recognition for convenient unlocking.
- වෙත යන්න සැකසීම් > ආරක්ෂාව සහ පෞද්ගලිකත්වය > මුහුණෙන් අගුලු හැරීම.
- Follow the on-screen instructions to register your facial data.
- Once set up, you can unlock your tablet by simply looking at the front camera.
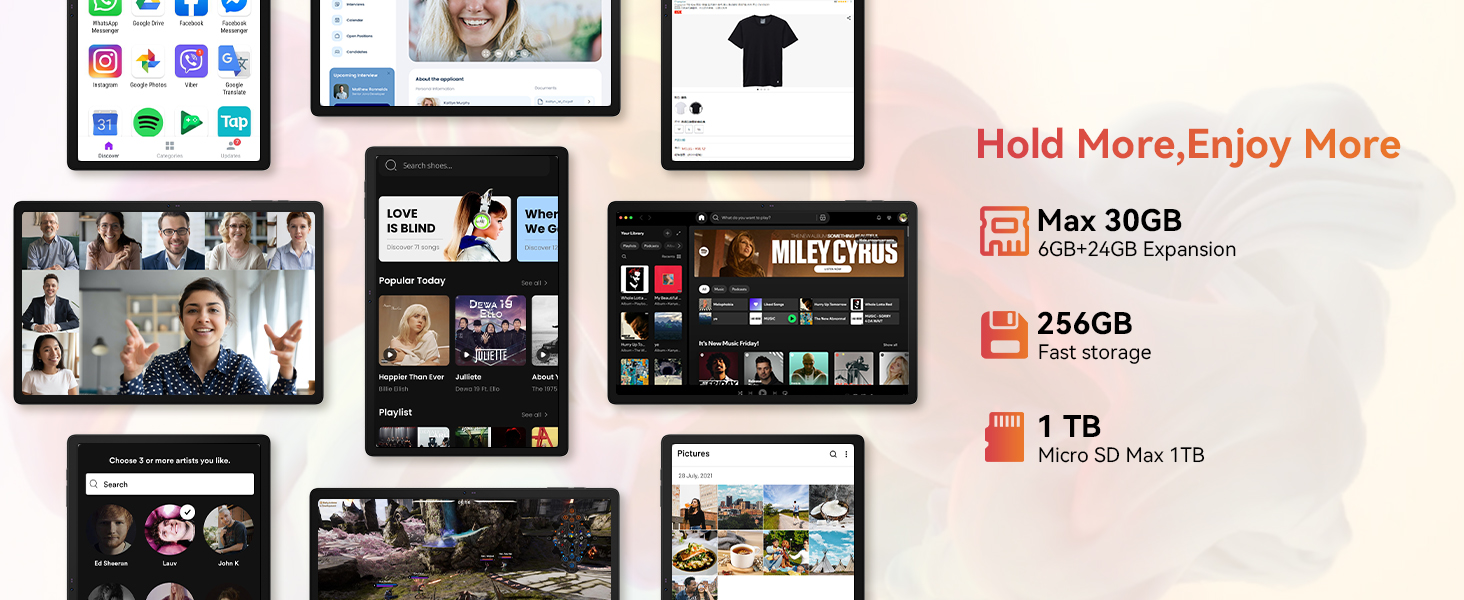
Image: A woman demonstrating the face unlock feature of the URAO tablet, with an icon indicating facial recognition technology.
5. නඩත්තු කිරීම
5.1 උපාංගය පිරිසිදු කිරීම
- ටැබ්ලටයේ තිරය සහ ශරීරය පිරිසිදු කිරීමට මෘදු, ලින්ට් රහිත රෙද්දක් භාවිතා කරන්න.
- දරුණු රසායනික ද්රව්ය හෝ උල්ෙල්ඛ ද්රව්ය භාවිතා කිරීමෙන් වළකින්න.
- පිරිසිදු කරන්නන් කෙලින්ම තිරය මතට ඉසින්න එපා.
5.2 මෘදුකාංග යාවත්කාලීන
ප්රශස්ත කාර්ය සාධනය සහ ආරක්ෂාව සහතික කිරීම සඳහා පද්ධති යාවත්කාලීන කිරීම් සඳහා වරින් වර පරීක්ෂා කරන්න.
- වෙත යන්න සැකසීම් > පද්ධතිය > පද්ධති යාවත්කාලීන කිරීම.
- පවතින ඕනෑම යාවත්කාලීනයක් බාගත කර ස්ථාපනය කිරීමට තිරයේ ඇති උපදෙස් අනුගමනය කරන්න.
5.3 බැටරි සත්කාර
බැටරි ආයු කාලය වැඩි කිරීම සඳහා:
- ටැබ්ලටය අධික උෂ්ණත්වයකට නිරාවරණය කිරීමෙන් වළකින්න.
- බැටරිය නිතර නිතර සම්පූර්ණයෙන්ම විසර්ජනය වීමට ඉඩ නොදෙන්න.
- සපයා ඇති චාජරය සහ කේබලය පමණක් භාවිතා කරන්න.
6. දෝශ නිරාකරණය
6.1 උපාංගය ක්රියාත්මක නොවේ
- ටැබ්ලටය ප්රමාණවත් ලෙස ආරෝපණය කර ඇති බවට වග බලා ගන්න. අවම වශයෙන් විනාඩි 30 ක් සඳහා එය චාජරයට සම්බන්ධ කරන්න.
- Press and hold the Power ON/OFF button for 10-15 seconds to perform a forced restart.
6.2 Wi-Fi සම්බන්ධතා ගැටළු
- ඔබගේ Wi-Fi රවුටරය සහ ටැබ්ලටය නැවත ආරම්භ කරන්න.
- ඔබ Wi-Fi සංඥා පරාසය තුළ සිටින බව සහතික කර ගන්න.
- Wi-Fi මුරපදය නිවැරදිව ඇතුළත් කර ඇති බව තහවුරු කරන්න.
6.3 Peripherals Not Connecting (Keyboard/Mouse/Stylus)
- ටැබ්ලටයේ බ්ලූටූත් සක්රීය කර ඇති බවත් උපාංගය යුගල කිරීමේ ප්රකාරයේ ඇති බවත් සහතික කර ගන්න.
- Check if the accessory has sufficient battery (e.g., replace mouse batteries).
- Unpair and re-pair the accessory from the tablet's Bluetooth settings.
6.4 ස්පර්ශ තිර ප්රතිචාර නොදැක්වීම
- ටැබ්ලටය නැවත ආරම්භ කරන්න.
- තිරය පිරිසිදු බවත් සුන්බුන් හෝ ද්රව වලින් තොර බවත් සහතික කර ගන්න.
- If the issue persists, a factory reset may be necessary (back up your data first).
7. පිරිවිතර
Technical Specifications for URAO G140L Tablet:
| ආකෘතිය | G140L |
| මෙහෙයුම් පද්ධතිය | Android 15 |
| තිර ප්රමාණය | අඟල් 14.1 |
| තිර විභේදනය | 1920 x 1200 පික්සල (FHD IPS) |
| ප්රොසෙසරය | 2.0 GHz ඔක්ටා-කෝර් |
| RAM | 30GB (6GB භෞතික + 24GB අතථ්ය) |
| අභ්යන්තර ගබඩාව (ROM) | 256GB |
| පුළුල් කළ හැකි ගබඩාව | Up to 1TB (TF card, not included) |
| බැටරි ධාරිතාව | 10000mAh |
| අයකිරීම | 30W Fast Charging, USB Type-C |
| සාමාන්ය බැටරි ආයු කාලය | පැය 12 දක්වා (මිශ්ර භාවිතය) |
| රැහැන් රහිත සම්බන්ධතාව | Wi-Fi 6 (802.11ax), බ්ලූටූත් 5.4 |
| ඉදිරිපස කැමරාව | 5MP |
| පසුපස කැමරාව | 8MP |
| ශ්රව්ය උපකරණ | Stereo 4 Speakers |
| සංවේදක | ගුරුත්වාකර්ෂණ ත්වරණය සංවේදකය |
| මානයන් (LxWxH) | අඟල් 12.8 x 8.39 x 0.39 |
| අයිතමයේ බර | රාත්තල් 4.29 කි |
8. වගකීම් සහ සහාය
8.1 වගකීම් තොරතුරු
Your URAO G140L Tablet is covered by a manufacturer's warranty. Please refer to the warranty card included in your package for specific terms and conditions. Keep your proof of purchase for warranty claims.
8.2 පාරිභෝගික සහාය
For technical assistance, troubleshooting, or warranty inquiries, please contact URAO customer support through the retailer where the product was purchased or visit the official URAO webසම්බන්ධතා තොරතුරු සඳහා අඩවිය.

